


Key Takeaways:
- Learn the basics of applying blooming gel to create stunning nail art.
- Understand the importance of each step in the blooming gel application process.
- Discover tips and tricks to enhance your blooming gel nail art technique.
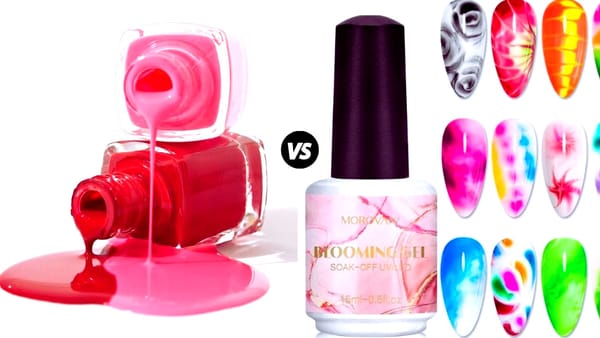
Blooming gel has taken the nail art world by storm, offering an innovative way to create mesmerizing designs that look like they've been done by a professional nail artist. If you're new to this trend, you might be wondering how to use blooming gel for beginners. This article will guide you through the process, ensuring that you can achieve that blooming effect with ease.
Understanding Blooming Gel
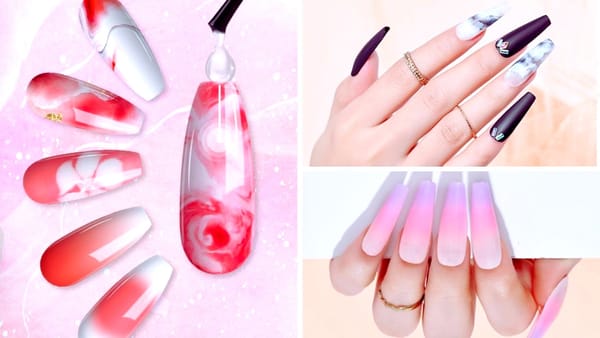
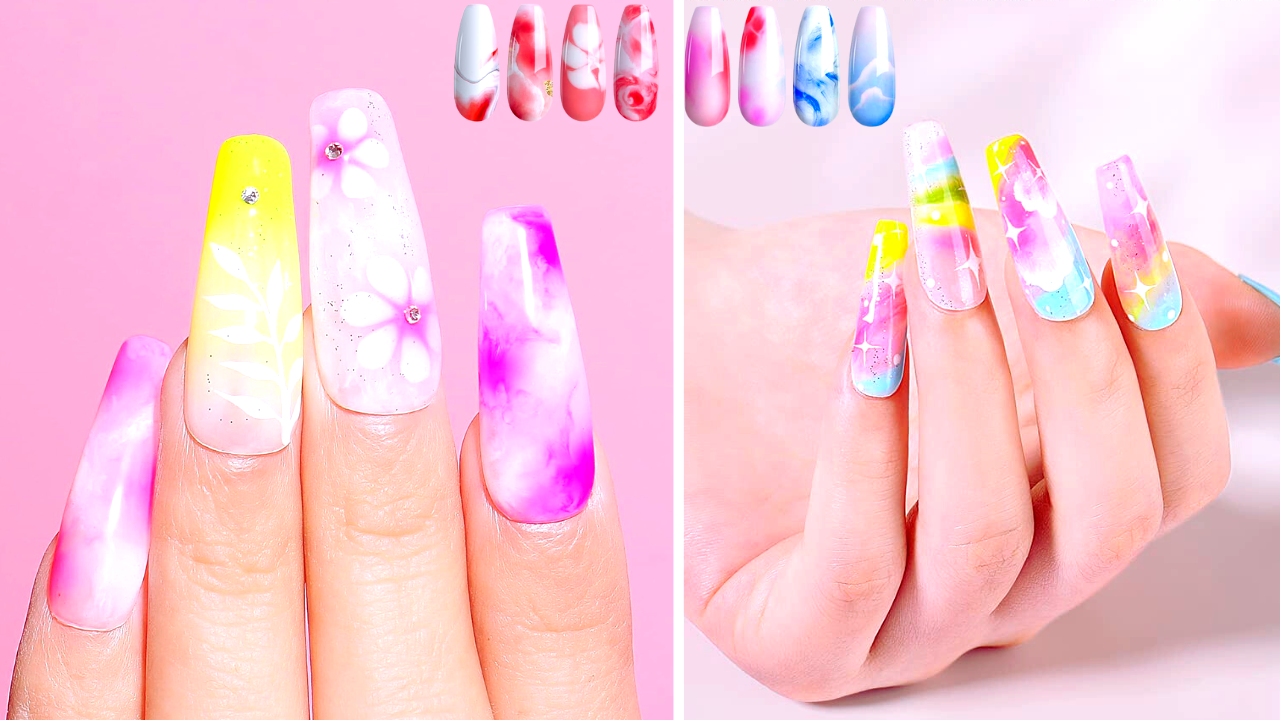
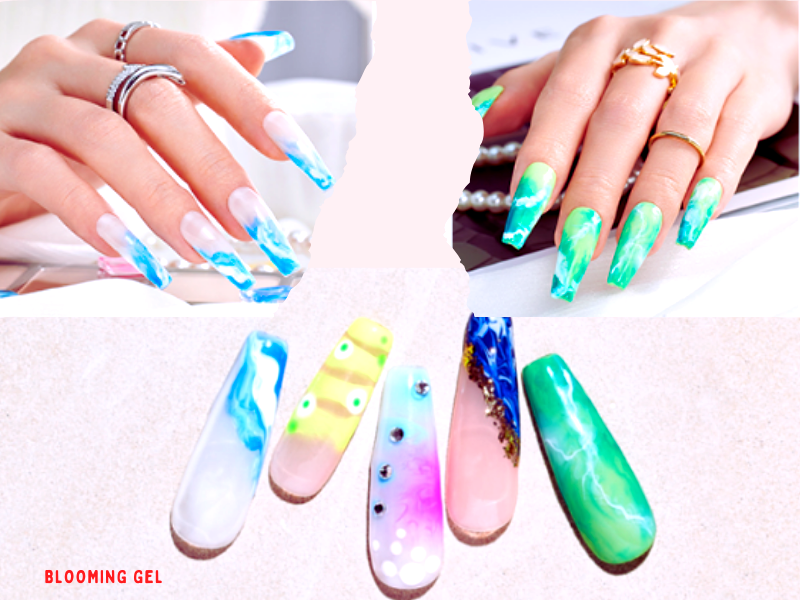
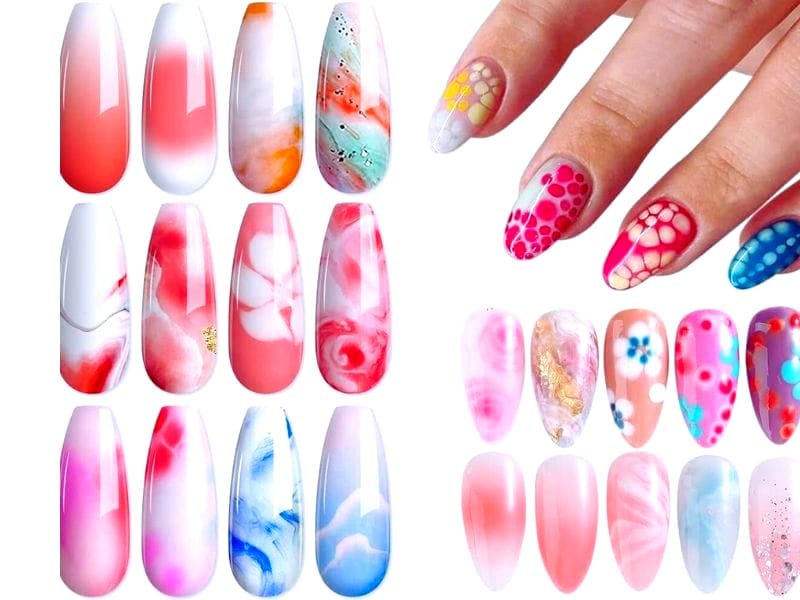
Blooming gel is a type of nail polish that allows you to create a watercolor or marbled effect on your nails. Unlike regular polish, this translucent formula spreads out when applied, creating the signature bloom. It's a fantastic way to add a touch of creativity to your manicure without needing advanced nail art skills.
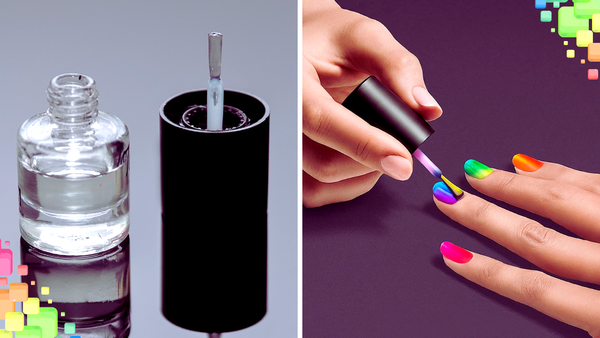
To start, you'll need a few supplies: blooming gel polish, a base coat, a top coat, an LED lamp, and a dotting tool or thin brush. Make sure your nails are clean, filed, and free from oils. Apply a base coat and cure it under the LED lamp as per the manufacturer's instructions. This step is crucial as it protects your nails and provides a smooth canvas for your blooming gel.
Applying the Base Layer
Once your base coat is cured, apply a thin layer of blooming gel polish. The key here is to keep it thin; a thick layer won't allow the blooming gel to spread correctly. Cure this layer under the LED lamp, but be careful not to overdo it – you want the gel to be slightly tacky for the blooming effect to work.
Now, it's time for the fun part. Using a dotting tool or a thin brush, apply a coat of a different color blooming gel polish onto the tacky layer. You don't need to be precise; random dots or strokes will create a unique design as they spread.
Creating the Blooming Effect
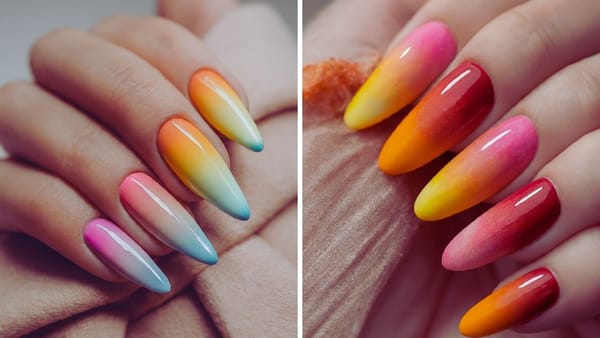
After applying your dots or strokes, you'll notice the blooming effect starting to happen. The blooming gel will begin to spread outwards, creating a beautiful, flower-like pattern. If you want to manipulate the design further, you can use a clean brush or dotting tool to gently push the gel into the desired shape.
Remember, the blooming effect works best when the underlying layer is still wet, so you'll need to work relatively quickly. Once you're satisfied with your design, cure it under the LED lamp to set everything in place. This step is essential to ensure your blooming gel nail art lasts as long as possible.

Finishing Touches
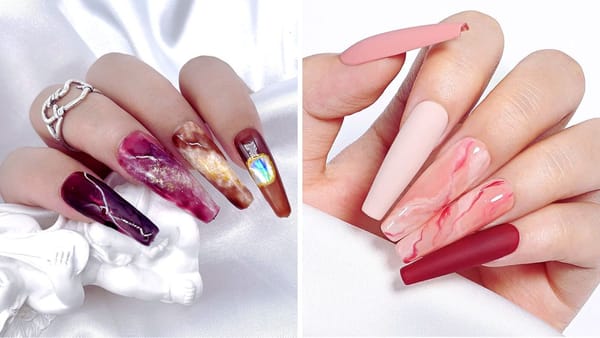
After curing the blooming design, it's time to seal your artwork with a top coat. Apply a thin layer of top coat over your blooming gel nail art to protect it and add a glossy finish. Cure the top coat under the LED lamp, and voila – you've created a stunning blooming gel manicure!
It's important to note that blooming gel can be used over regular polish as well, but the effect might not be as pronounced. Use blooming gel polish over a cured gel base for the best results.
Summary
Blooming gel offers a simple yet effective way to create intricate nail art designs. By following these steps – preparing your nails, applying a base coat, adding a thin layer of blooming gel, creating the blooming effect, and finishing with a top coat – you can achieve professional-looking nails at home. Remember to work quickly to ensure the best blooming effect and cure each layer properly to make your manicure last.
FAQ Section
Can I use blooming gel over regular nail polish?
Yes, you can use blooming gel over regular polish, but for optimal results, it's recommended to use it over a cured gel base.
How long should I cure each layer of blooming gel?
The curing time can vary depending on the LED lamp and the gel polish brand. Always follow the manufacturer's instructions for the best results.
Do I need special tools to create blooming gel nail art?
A dotting tool or a thin brush helps apply the blooming gel and create designs. However, you can also experiment with different tools to achieve various effects.