


Key Takeaways:
- Blooming gel requires curing under a UV or LED lamp to achieve the desired effect.
- It's a versatile product that can be used with both colored gel polishes and regular nail polish.
- Proper application technique is crucial for creating stunning blooming gel nail art.
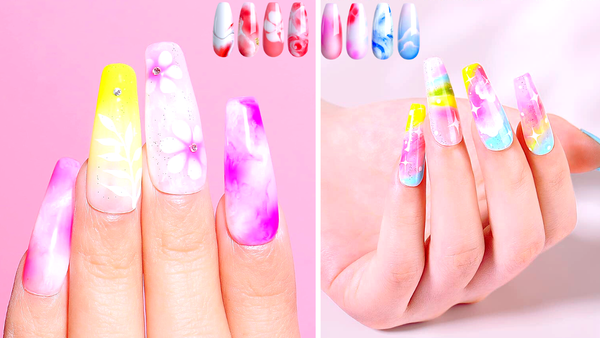
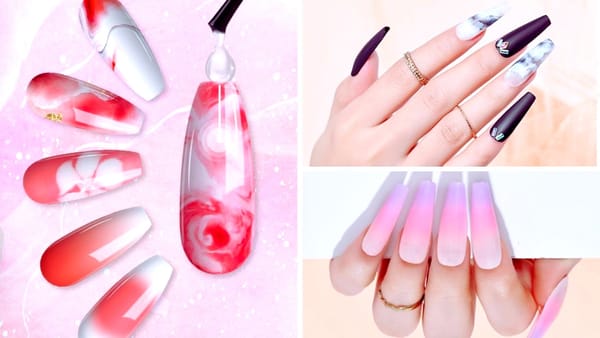
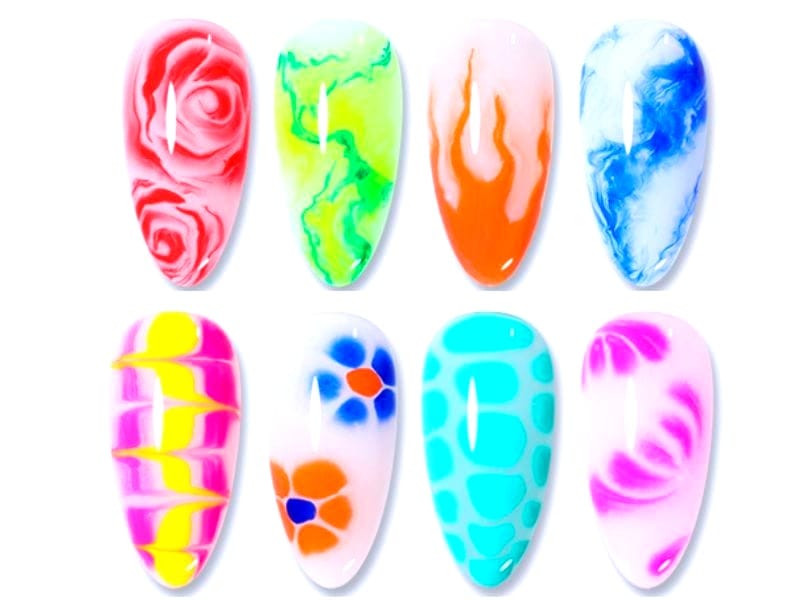
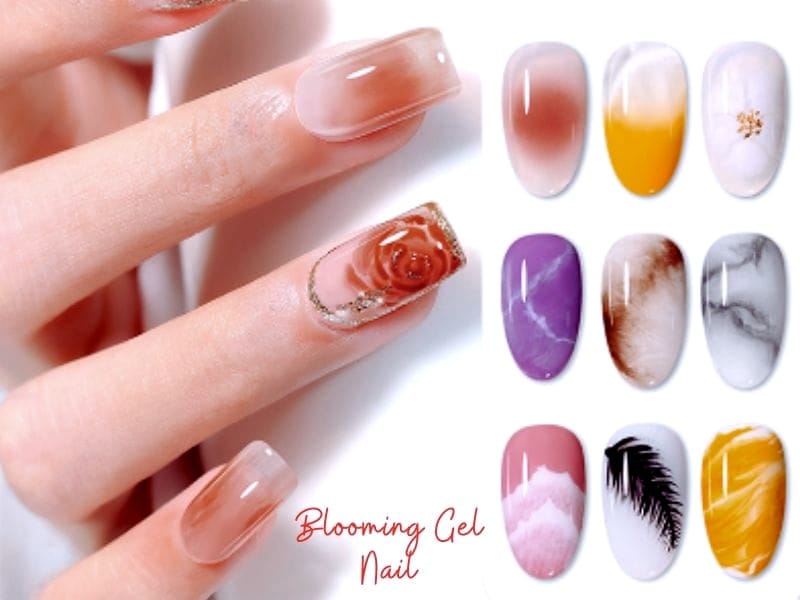
What are blooming gels for nails? Blooming gel has become a staple in the nail art world, known for its ability to create mesmerizing designs that mimic natural stone, tie-dye, and floral prints. But for those new to the trend, a common question arises: does blooming gel need to be cured? The answer is a resounding yes, and understanding the process is key to mastering this salon-worthy technique.
The Basics of Blooming Gel
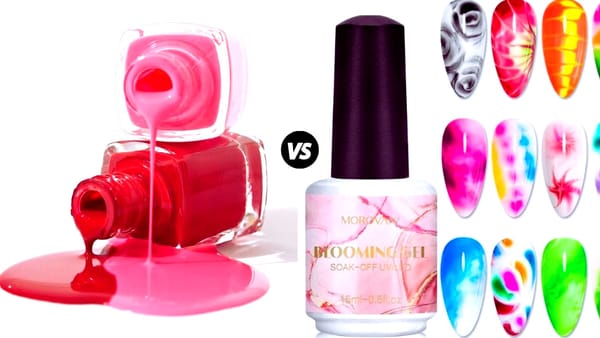
Blooming gel is a specialized product that, when applied to the nails, allows for the blooming effect where colors disperse and spread to create unique patterns. Unlike regular polish, blooming gel nail polish is designed to be used in conjunction with a base coat and a gel topcoat, both of which require curing under a UV or LED lamp to set properly.
The Curing Process Explained
Curing is the process of hardening the gel polish using a UV or LED lamp. When you apply blooming gel, it remains wet until it's cured, which is essential for achieving the spread and disperse effect that makes blooming gel nail art so distinctive. Without curing, the gel would not be set, and the design would not be preserved.
Preparing the Nails for Blooming Gel
Before you begin, ensure your nails are clean, filed, and free of any oils. Apply a thin layer of base coat and cure it under the lamp per the manufacturer's instructions. This step is crucial for the longevity of your blooming gel manicure.
Applying the Blooming Gel
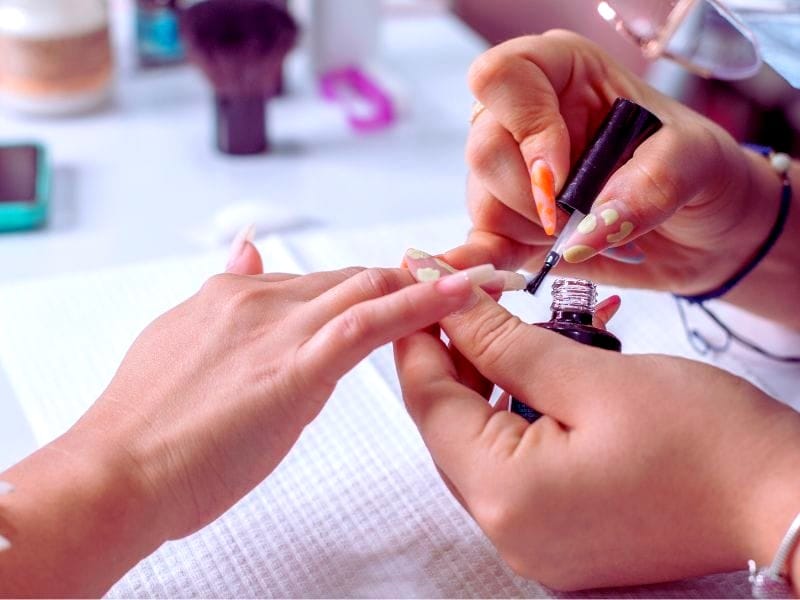
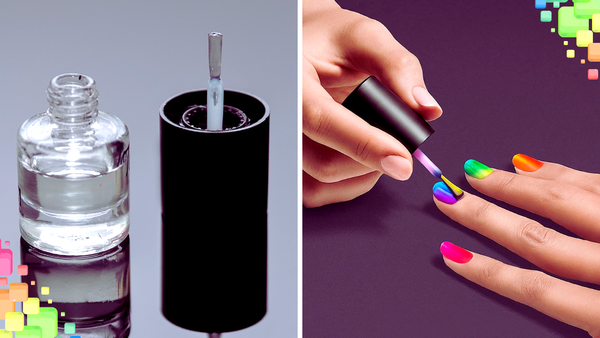
Once the base coat is cured, apply a thin layer of clear blooming gel, or your chosen colored gel polishes. Do not cure this layer yet. Instead, while the gel is still wet, add drops of a contrasting color or clear gel polish to create the blooming effect.
Creating the Blooming Effect
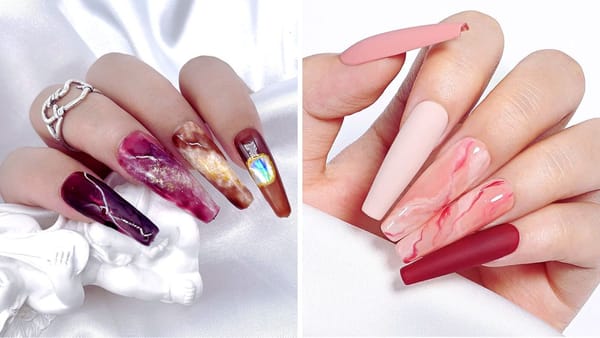
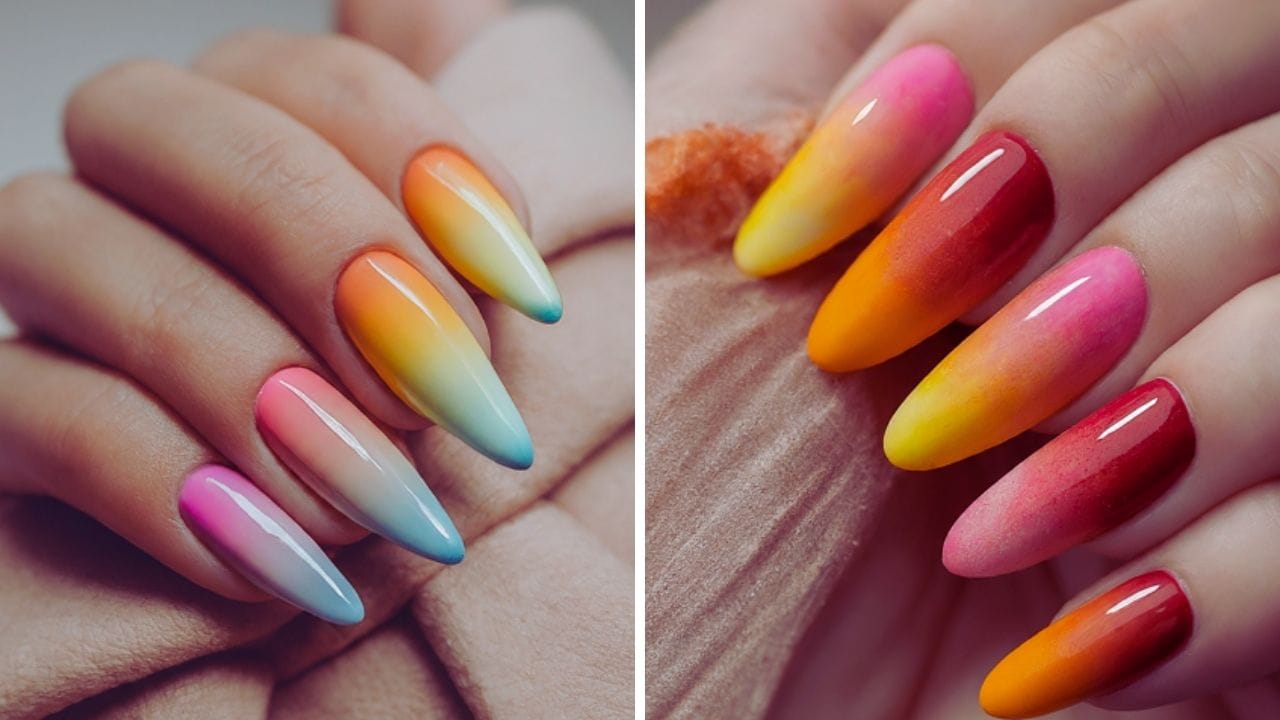
Using a fine paintbrush or the tip of a dotting tool, gently nudge the drops of polish to encourage them to spread and create the desired pattern. This is where the magic happens, as the uncured blooming gel allows the colors to flow into each other, forming designs reminiscent of watercolor paintings or marble.
Curing the Blooming Gel
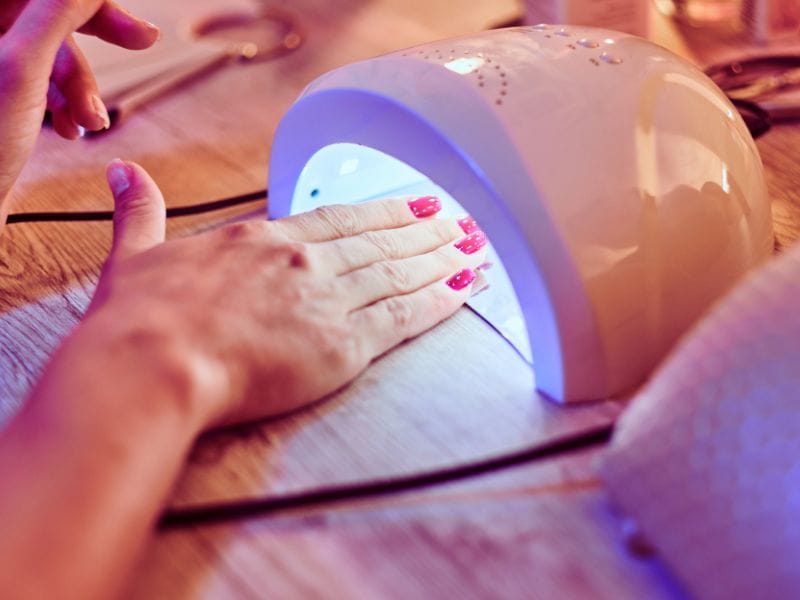
After you've achieved the blooming effect, it's time to cure the nails. Place your hand under the LED or UV lamp for the time specified by the blooming gel's brand. This will set the design and prevent it from smudging.
The Role of the Top Coat
Following the curing of your blooming gel, apply a gel top coat to seal in the design. This not only adds a glossy finish but also protects the nail art from chipping and peeling. Cure the top coat under the lamp to complete the process.
Blooming Gel with Regular Nail Polish
For those who prefer regular nail polish, you can still enjoy the blooming effect. Apply blooming gel over a cured base coat of clear gel polish, then use regular polish to create the design. Remember, the regular polish won't need curing, but the blooming gel and top coat will.
Nail Art Trends and Blooming Gel
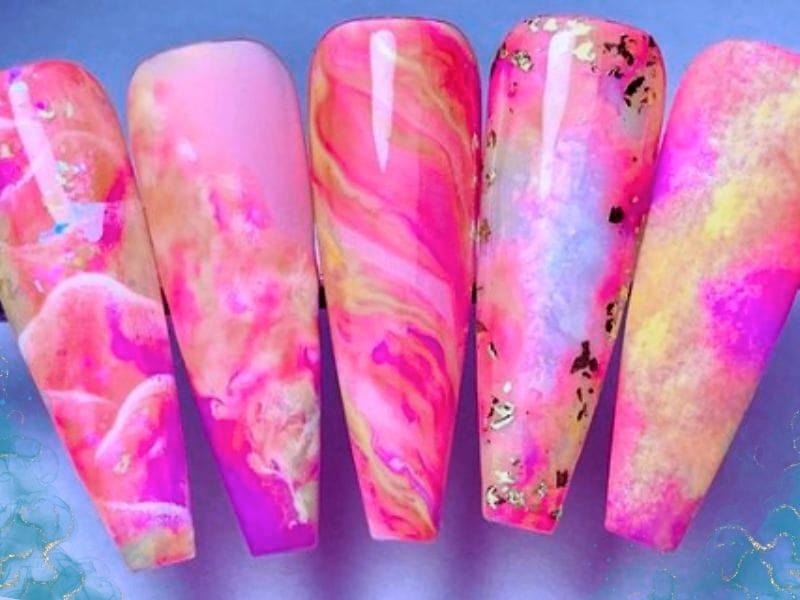
Blooming gel nails are at the forefront of nail trends, allowing nail artists to create intricate patterns with ease. From delicate flowers to abstract designs, the possibilities are endless. The key to success is patience and practice, as well as a good quality LED or UV lamp.
DIY Blooming Gel Nails
DIY enthusiasts can also achieve professional-looking blooming gel nails at home. With the right supplies and a bit of creativity, you can create stunning designs without a trip to the salon. Just remember to follow the steps carefully and always cure the gel as required.
Troubleshooting Common Issues
If you find that your blooming gel isn't spreading as desired, it may be due to applying too thick a layer or not curing the base coat properly. Ensure each layer is thin and even, and give the gel enough time to cure under the lamp.
Maintaining Your Blooming Gel Manicure
To keep your blooming gel nails looking their best, avoid using your nails as tools and wear gloves when doing household chores. Regularly apply cuticle oil to keep your nails and skin hydrated, and when it's time to remove the gel, do so gently to avoid damage.
Summary
Blooming gel is a revolutionary product in the nail art industry, allowing for the creation of stunning, fluid designs that were once only achievable by seasoned professionals. It does require curing under a UV or LED lamp to set the design and ensure durability. With the right technique and a bit of practice, anyone can create beautiful, blooming gel nails that are sure to turn heads.
FAQ Section
Can I use blooming gel with regular nail polish?
Yes, you can use blooming gel with regular nail polish. Apply the blooming gel over a cured base coat of clear gel polish, then use regular polish to create the design. Cure the blooming gel and finish with a gel top coat.
How long does blooming gel take to cure?
The curing time for blooming gel varies depending on the brand and whether you're using a UV or LED lamp. Typically, it ranges from 30 seconds to 2 minutes. Always refer to the manufacturer's instructions for the best results.
Can I create a blooming effect without a UV or LED lamp?
No, a UV or LED lamp is necessary to cure the blooming gel and achieve the blooming effect. Without curing, the gel will not be set, and the design will not be preserved.