Key Takeaways:
- Yes, you can use regular nail polish with blooming gel to create unique nail art designs.
- The process requires specific steps to ensure the regular polish interacts correctly with the blooming gel for the desired effect.
- Proper curing and sealing with a gel topcoat are essential for durability and shine.
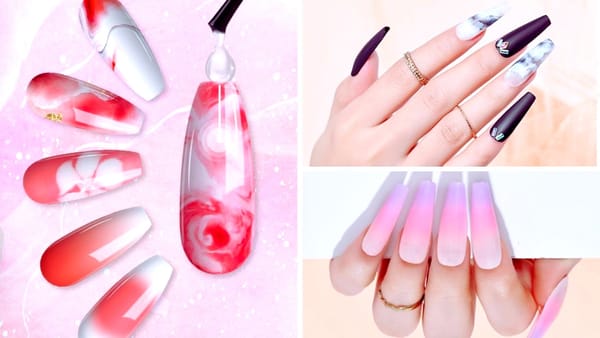
Nail art enthusiasts are always on the lookout for new techniques to elevate their manicure game. One such technique that has gained popularity is the use of blooming gel to create mesmerizing designs that resemble watercolor paintings or marble effects. But a common question arises: can you use regular nail polish with blooming gel? Let's dive into the details and find out.
Understanding Blooming Gel and Its Purpose
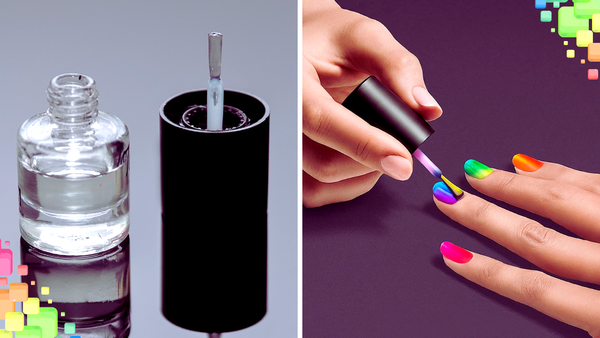
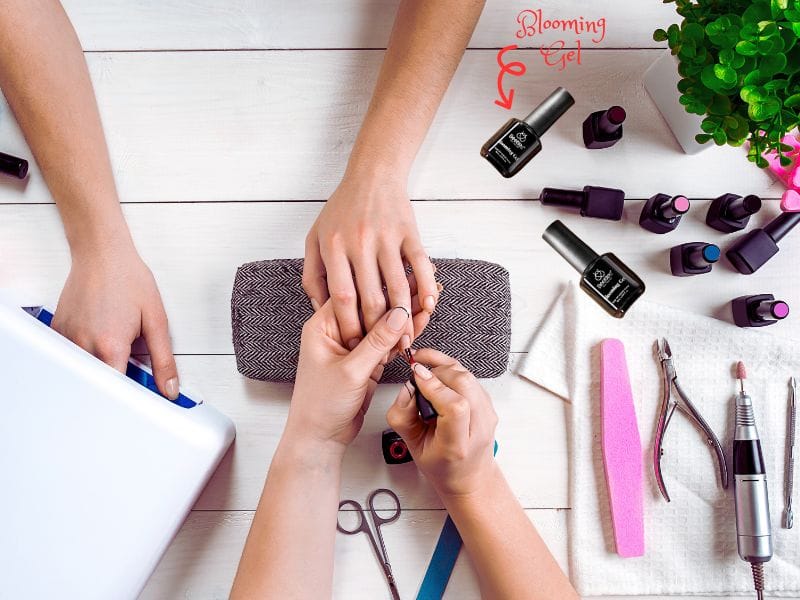
Blooming gel is a specialized product that, when applied to the nails, allows for the creation of unique, fluid designs. It's a clear gel that spreads and allows other colors to bloom into it, creating a tie-dye or watercolor effect. This gel is typically used with gel polishes, but what if you want to use your vast collection of regular nail polishes? Is it possible to mix mediums and still achieve that coveted blooming effect?
The Compatibility of Regular Nail Polish with Blooming Gel
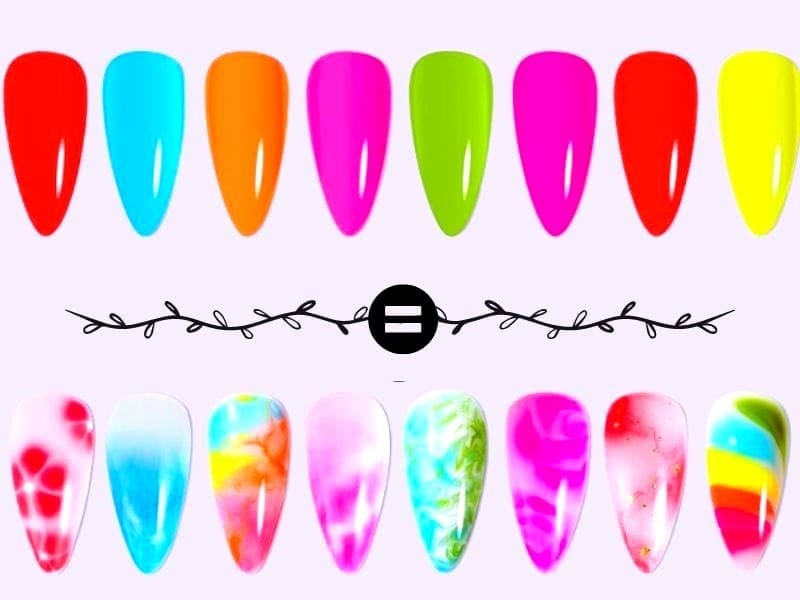
The short answer is yes, you can use regular nail polish with blooming gel. However, it's not as straightforward as painting your nails with any regular polish. There's a technique to it, ensuring that the regular polish doesn't just mix into the blooming gel but rather, interacts with it to create the desired effect.
Preparing Your Nails for the Blooming Gel Technique
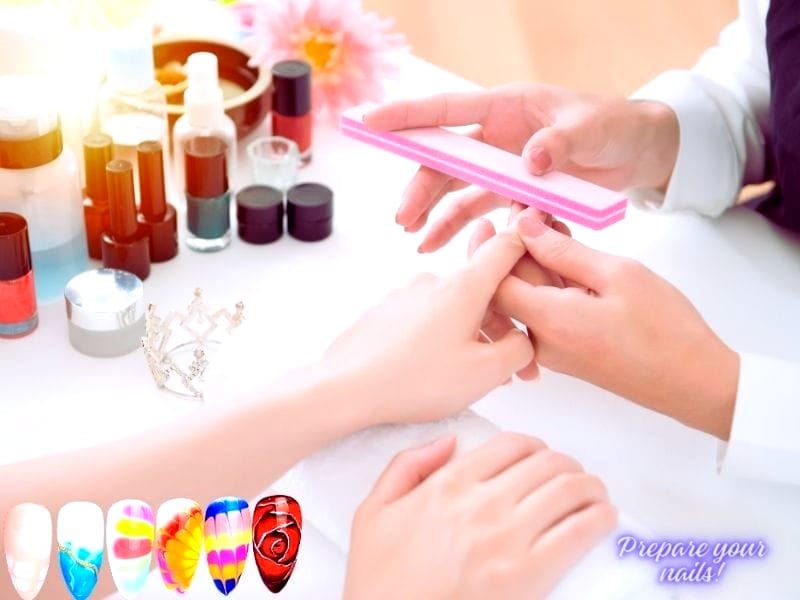
Before you begin, it's essential to prepare your nails properly. Start with clean, dry nails, and push back your cuticles. Apply a gel base coat and cure it under a UV or LED lamp according to the manufacturer's instructions. This step ensures that your regular polish has a proper foundation to adhere to.
Applying Regular Nail Polish with Blooming Gel
Once your base coat is cured, apply a thin layer of regular nail polish. Wait for it to dry completely; this is crucial because applying blooming gel over wet regular polish will not give you the blooming effect. After the regular polish is dry, apply a thin layer of blooming gel over it without curing.
Creating the Blooming Effect with Regular Polish
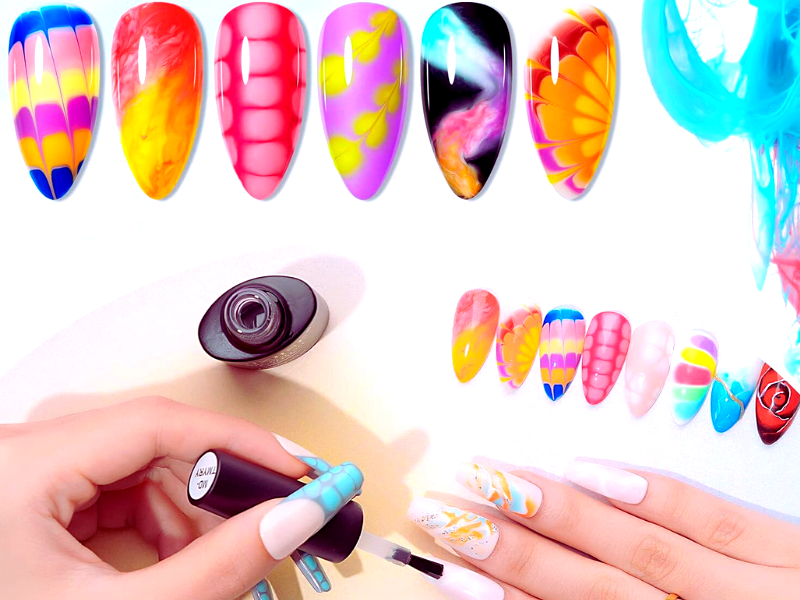
Now comes the fun part. While the blooming gel is still wet, use a brush to dot or paint with another color of regular nail polish over it. The polish will start to spread and create a blooming effect. You can experiment with different colors and techniques to see what works best for you.
Enhancing the Longevity of Your Blooming Gel Manicure
Have you ever wondered how to make your blooming gel nails last even longer? It's all about the prep and the finish! Before you start painting, make sure your nails are clean and free of oils. An alcohol wipe can work wonders in removing any residue. Once your nails are prepped, apply a thin layer of gel base coat and cure it under a UV or LED lamp. This creates the perfect canvas for your blooming gel nail art.
Now, let's talk about the grand finale – the top coat. After you've achieved the desired effect with your blooming gel and regular nail polish, don't rush to admire your handiwork just yet. Apply a gel topcoat to seal in the design and provide that extra layer of protection. Cure it under the lamp, and voilà, you've got a shiny, durable finish that's more resistant to chipping and peeling. Remember, patience goes a long way in keeping your nails looking salon-fresh!
The Role of Nail Prep in Blooming Gel Techniques
Now, let's focus on the base. A good gel base coat is crucial for a successful blooming gel application. Not only does it protect your natural nails from staining, but it also provides a sticky layer that helps the blooming gel polish to spread evenly for that desired effect. Apply a thin layer of the gel base coat and cure it under a UV or LED lamp before proceeding with your regular nail polish. Remember, patience is key! Allow each layer to cure fully before moving on to the next step. This meticulous prep work will pay off when you flaunt your flawless, blooming gel nails.
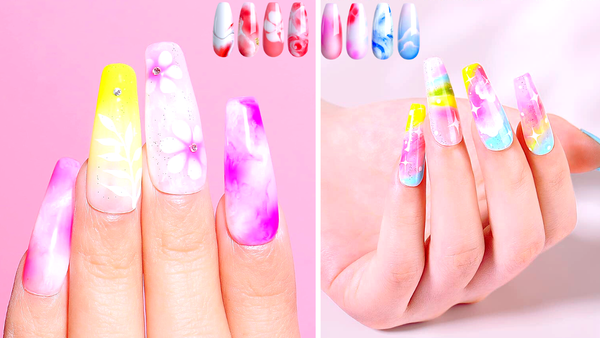
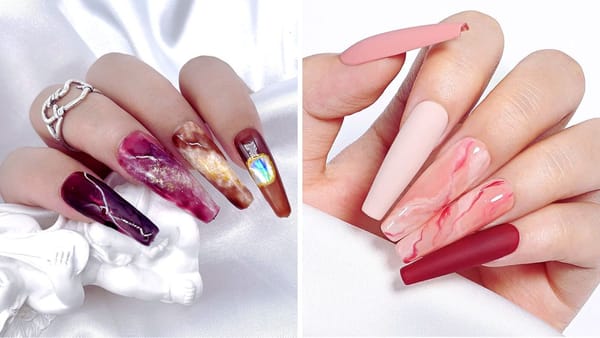
The Artistic Possibilities with Blooming Gel and Regular Polish
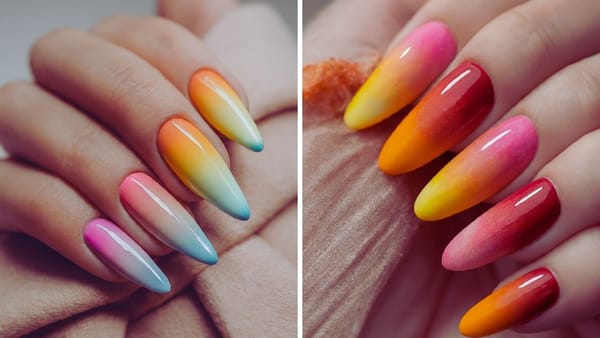
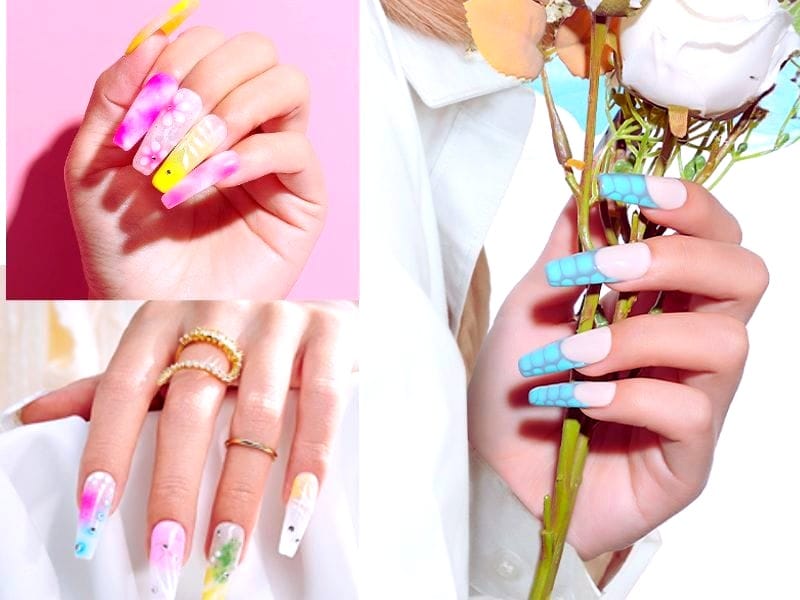
Unleash your inner nail artist and dive into the world of blooming gel nail art! The beauty of using blooming gel with regular nail polish is the endless creative potential. Imagine painting a delicate flower on your nails, with petals that gracefully spread out to create a tie-dye effect. Or perhaps you're in the mood for something more abstract – a marble look, maybe? Just apply a few drops of your chosen regular polishes onto the uncured blooming gel, and use a thin brush or dotting tool to swirl the colors together.
The Role of Curing in the Blooming Gel Process
Curing is not just about drying the gel; it's a chemical process that sets the gel in place. Without proper curing, your blooming gel nails won't have the durability or shine that gel manicures are known for. Always use a UV or LED lamp for curing and follow the timing guidelines strictly.
Tips for Working with Regular Nail Polish and Blooming Gel
When using regular nail polish with blooming gel, work in thin layers to avoid a goopy mess. Also, be mindful of the drying time of your regular polish before applying the blooming gel. Patience is key to achieving the perfect blooming effect.
The Final Look: Achieving Professional-Quality Blooming Gel Nails at Home
With practice, you can achieve salon-quality blooming gel nails at home using your regular nail polishes. The key is to experiment with different brands and formulas to see which ones work best with the blooming gel. Remember, the thinner the regular polish, the easier it will spread and bloom.
The Environmental and Ethical Considerations of Nail Products
When choosing your blooming gel and regular polishes, consider opting for cruelty-free and non-toxic options. Many brands are committed to creating products that are not only beautiful but also environmentally friendly and ethical.
Summary
Using regular nail polish with blooming gel is a fantastic way to expand your nail art repertoire. By preparing your nails correctly, applying thin layers, and allowing adequate drying time, you can create stunning blooming gel designs with the regular polishes you already own. Remember to cure and seal your design properly for a long-lasting, professional-quality manicure. With a bit of practice and patience, you'll be able to master this technique and enjoy the endless creative possibilities it offers.
FAQ Section
Can I use any brand of regular nail polish with blooming gel?
While you can use most regular nail polishes with blooming gel, some formulas work better than others. It's best to experiment with different brands to find the ones that give you the best blooming effect.
How long do I need to cure the blooming gel after applying regular polish?
The curing time for blooming gel varies by brand, but it's typically between 30 seconds to 2 minutes under a UV or LED lamp. Always follow the manufacturer's instructions for the best results.
Can I achieve the blooming effect without a UV or LED lamp?
No, curing with a UV or LED lamp is essential for setting the blooming gel and ensuring the longevity of your manicure. Regular drying methods will not work for this technique.