


Key Takeaways:
- Marble nail polish is a technique rather than a specific product.
- Achieving the marble effect involves a water-marbling process with regular nail polish colors.
- Patience and practice are key to mastering the marble nail art technique.
Marble nails have been a buzzword in the beauty and nail art community, captivating enthusiasts with their intricate and unique designs. But when it comes to the question, "Is there a marble nail polish?" the answer isn't as straightforward as one might think. Let's dive into the swirling world of marble nails and discover how to achieve this sought-after look.
The Essence of Marble Nails
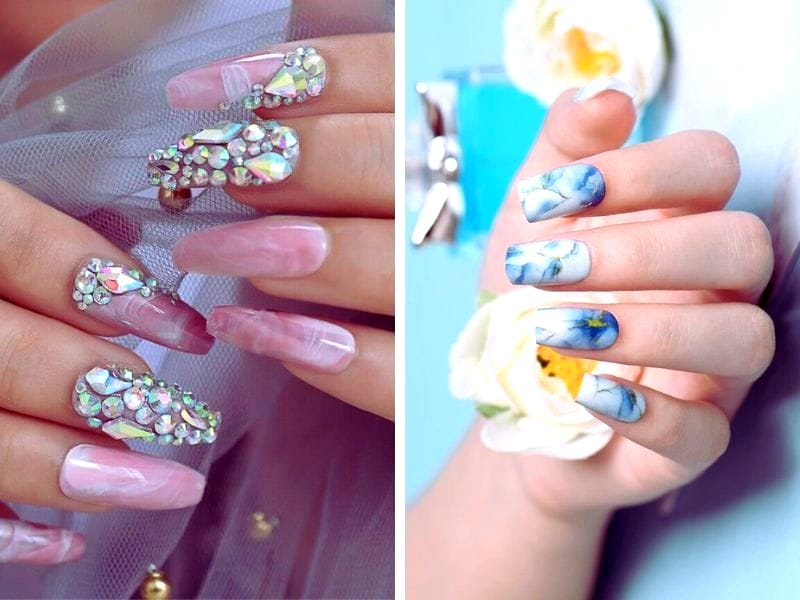
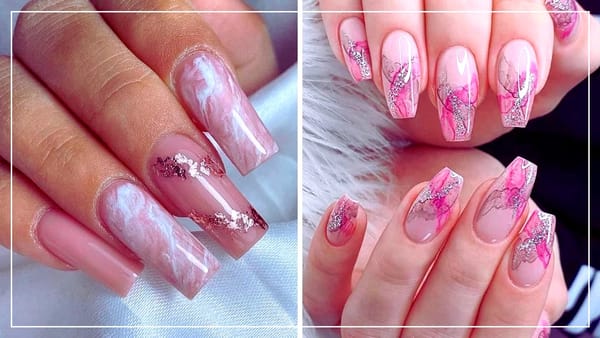
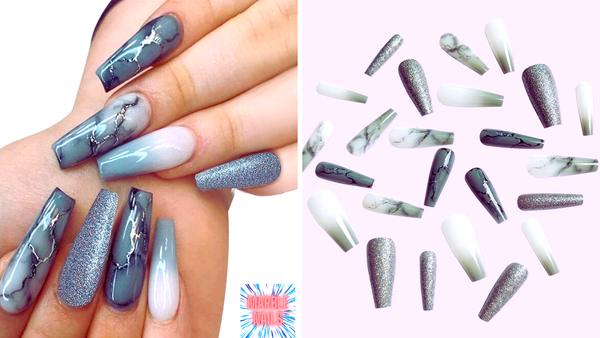
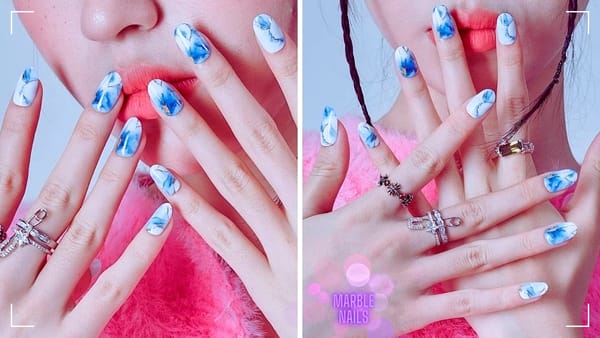
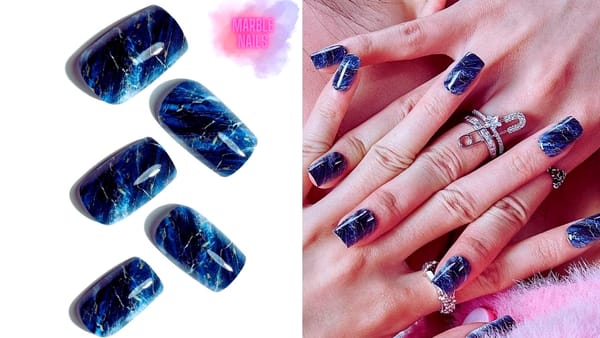
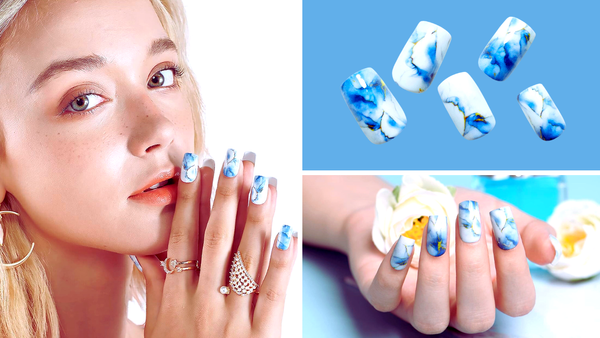
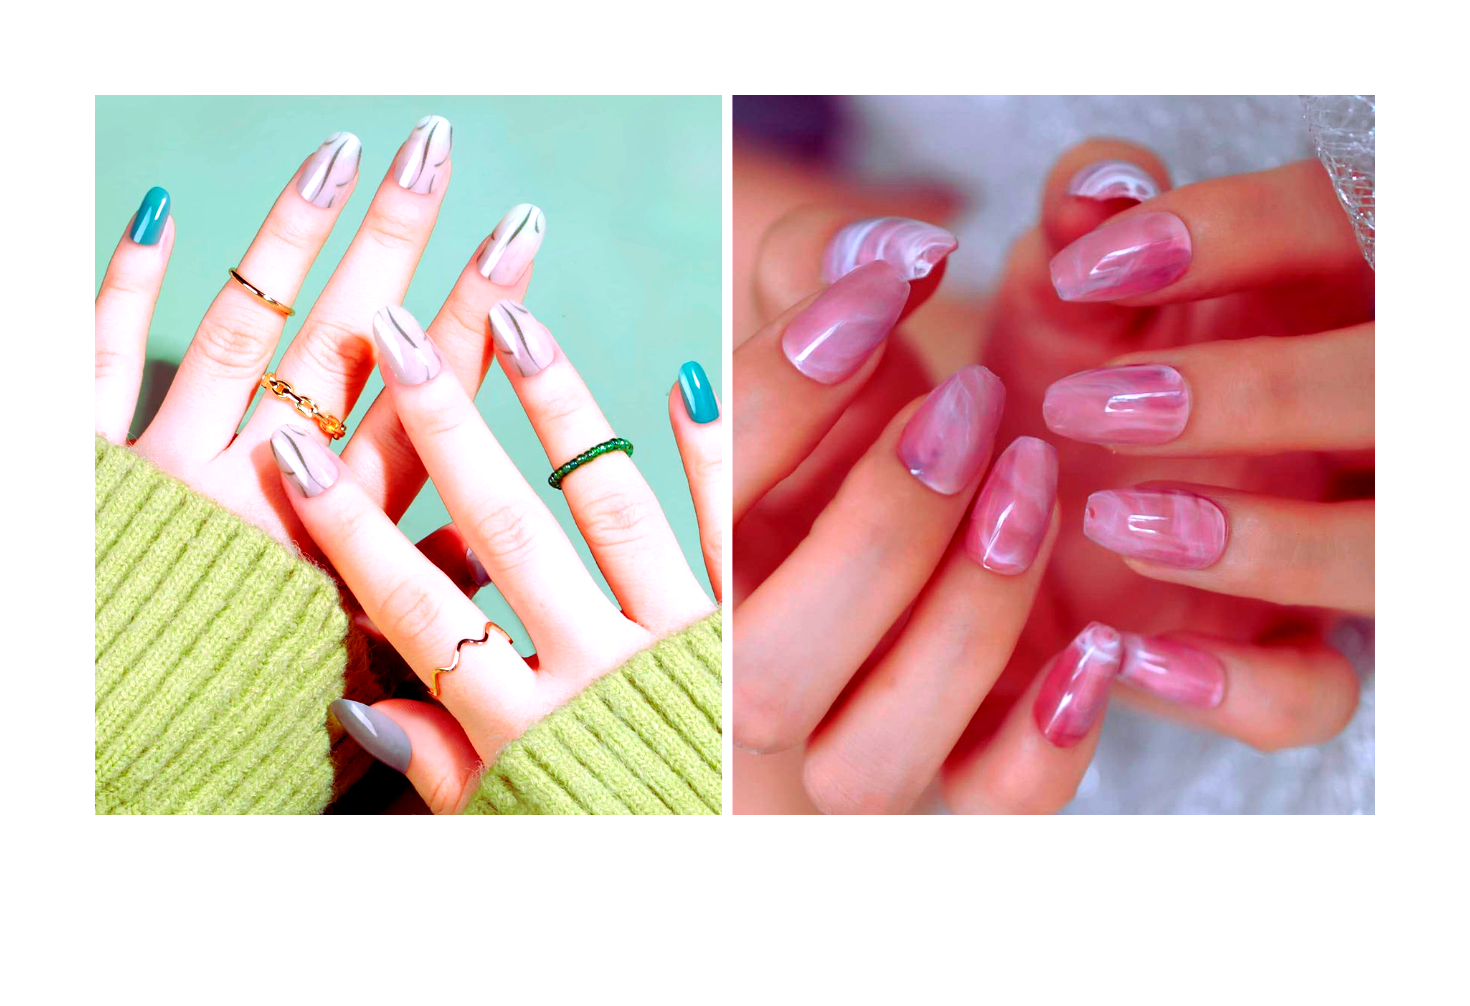
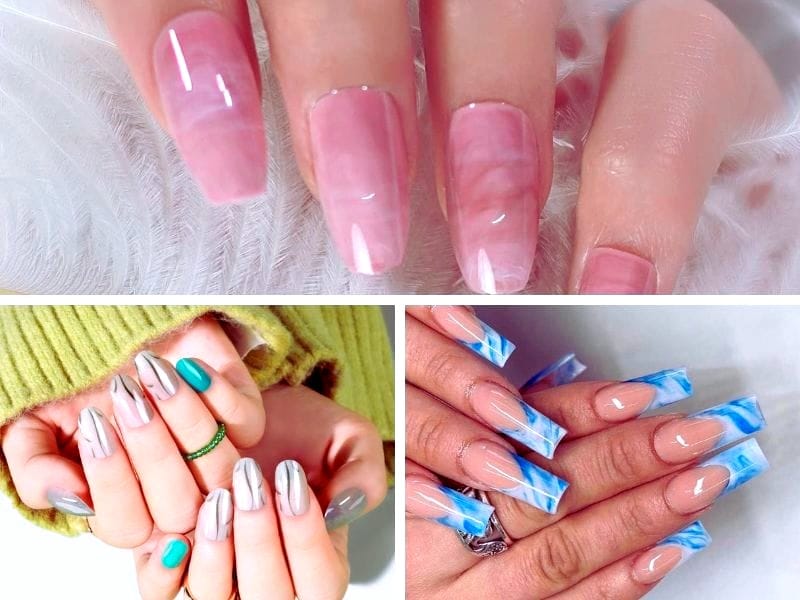
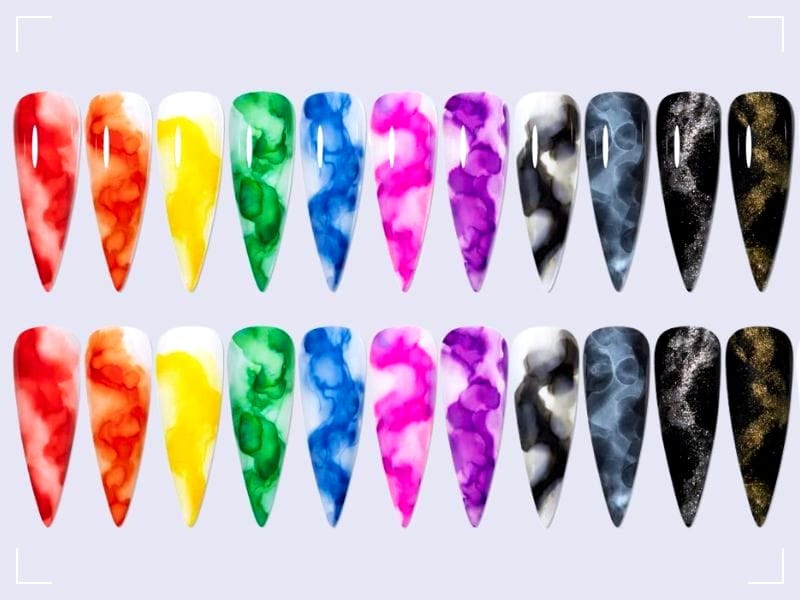
Marble nails refer to the aesthetic of natural marble stone replicated on your nails. This effect is achieved not by a single type of nail polish but through a creative process using various nail polish colors. The marble effect is known for its swirling patterns and can be customized with various colors to fit any style or occasion.
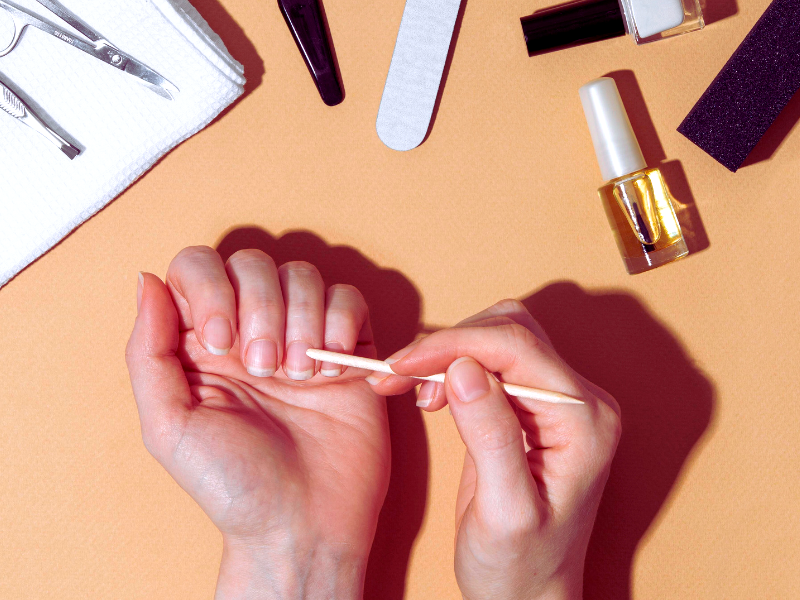
Materials Needed for Marble Nails
To create marble nails, you'll need a few essential materials: a selection of nail polish colors, a base coat, a top coat, room temperature water, a disposable cup or bowl, a toothpick or orange stick, liquid latex or tape, and cotton swabs. These items help you prep, create, and perfect your marble nail art.
Preparing Your Nails
Before you begin the marbling process, it's important to prep your nails. Apply a base coat to protect your nails and ensure the best results. Once dry, apply a base color that will complement your chosen marble design. This color will show through the marble effect, so choose wisely!
Protecting Your Skin
Marbling can get messy, so it's crucial to protect the skin around your nails. Apply liquid latex or tape around your cuticles and finger to make cleanup easier. This step will save time and prevent excess polish from staining your skin.
The Fun Part: Creating Marble Nails
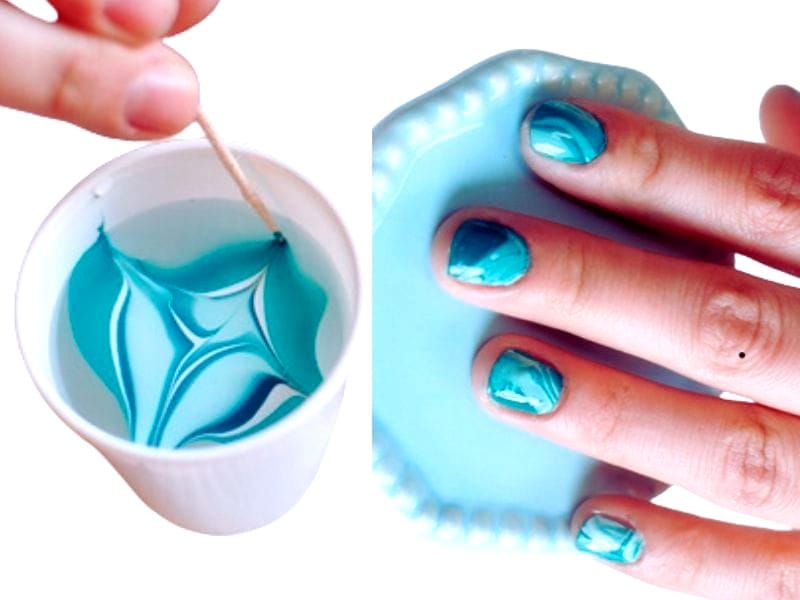
Fill a disposable cup with room temperature water, as cold or hot water can affect how the polish spreads on the surface. Then, drop your chosen nail polish colors into the water individually. The polish should spread out and form rings.
Swirling to Perfection
Using a toothpick or an orange stick, gently swirl the polish drops in different directions to create a marble design. Work quickly, as the polish will start to dry and become unworkable. Once you're satisfied with the pattern, it's time to dip your finger into the design.
Dipping and Sealing the Design
Carefully align your nail over the part of the design you like best and dip it into the water. Wait a few seconds, then use a cotton swab or toothpick to gather and remove the excess polish from the water's surface before pulling your finger out. This prevents the design from being ruined as you remove your finger.
The Top Coat: A Vital Step
After allowing your nails to dry completely, seal your marble design with a top coat. This not only protects your manicure but also enhances the marble effect, giving it a glossy and professional finish. Remember, patience is key—don't rush the drying process for the best results.
Troubleshooting Common Marble Nail Issues
Sometimes, creating marble nails can be challenging. If the polish isn't spreading in the water, check the temperature or try a different polish. Some nail polish colors may not be suitable for water marbling. Experimentation and practice will help you find the best combinations.
Enhancing Your Marble Nail Technique
As you repeat steps and practice, you'll discover tricks and techniques that work best for you. Each attempt will bring you closer to achieving the perfect marble nail art. Don't be afraid to play with different directions, colors, and swirling patterns to create a unique design.
Marble Nail Art: A Review
Marble nails are a fun and creative way to express your style. While there isn't a specific marble nail polish, water marbling with regular nail polish colors allows for endless possibilities. With the right materials and patience, you can master this beautiful nail art technique.
Sign Up for a Marble Nail Tutorial
If you want more guidance, consider signing up for a marble nail art tutorial. Many beauty bloggers and professional nail artists offer step-by-step guides and can provide personalized tips to help you refine your skills.
Summary
Marble nails are a stunning and intricate nail art that requires practice and patience. While there isn't a one-bottle marble nail polish solution, the water marbling technique allows for a customizable and unique manicure every time. With the right preparation, protection, and a steady hand for swirling, anyone can create beautiful marble nails.
FAQ Section
Can I use any type of nail polish for marble nails?
Most nail polish colors can be used for marble nails, but some may not spread well in water. It's best to test your polishes beforehand and use those that create a good marble
How long does it take for marble nails to dry?
Marble nails can take longer to dry than regular polish due to the layers involved. It's important to wait until each layer is completely dry before applying the next, especially before sealing with a top coat.
Do I need any special tools for creating marble nails?
While no special tools are required, having items like a disposable cup, toothpick, liquid latex, and cotton swabs can make the process easier and cleaner. These tools help in creating the design and protecting your skin from excess polish.