


Key Takeaways:
- Learn the step-by-step process to create stunning marble nails at home.
- Discover essential tips and tricks for achieving the perfect marble effect.
- Understand the importance of using the right tools and techniques for long-lasting marble nail art.
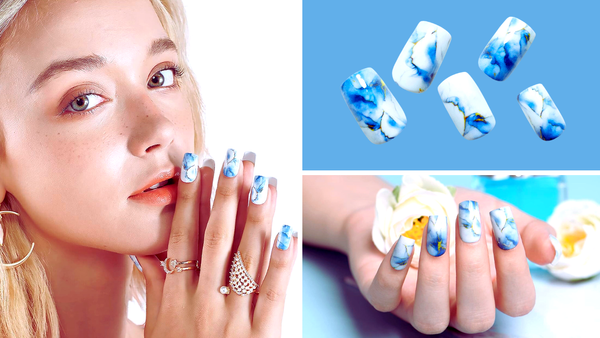
Marble nails are a sophisticated and stylish choice for anyone looking to add an artistic touch to their manicure. This comprehensive guide will walk you through creating your marble nails, from the initial preparation to the finishing touches. Whether you're a seasoned nail art enthusiast or a beginner, these instructions will help you achieve a salon-quality marble mani right home.
Preparing Your Nails for Marble Art
Before diving into the marble nail art process, it's crucial to prepare your natural nails. Start by shaping your nails to your desired pattern and ensuring they are clean and free of old polish. Apply a base coat to protect your nails and create a smooth surface for the polish to adhere to. This step is essential for a long-lasting manicure.
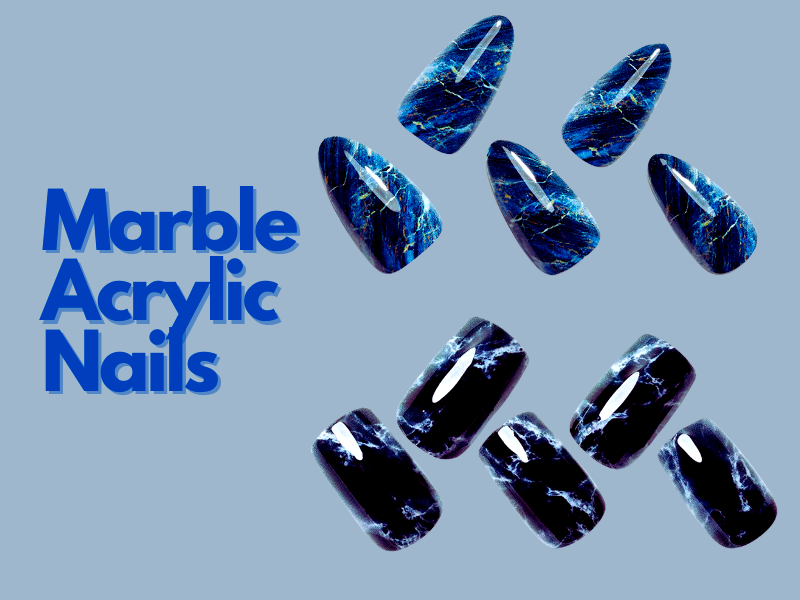
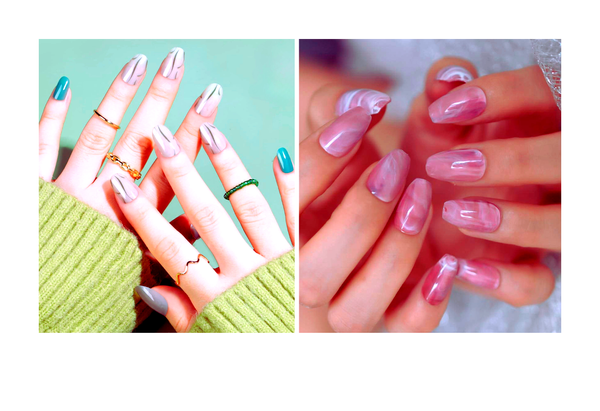
Choosing Your Marble Nail Polish Colors
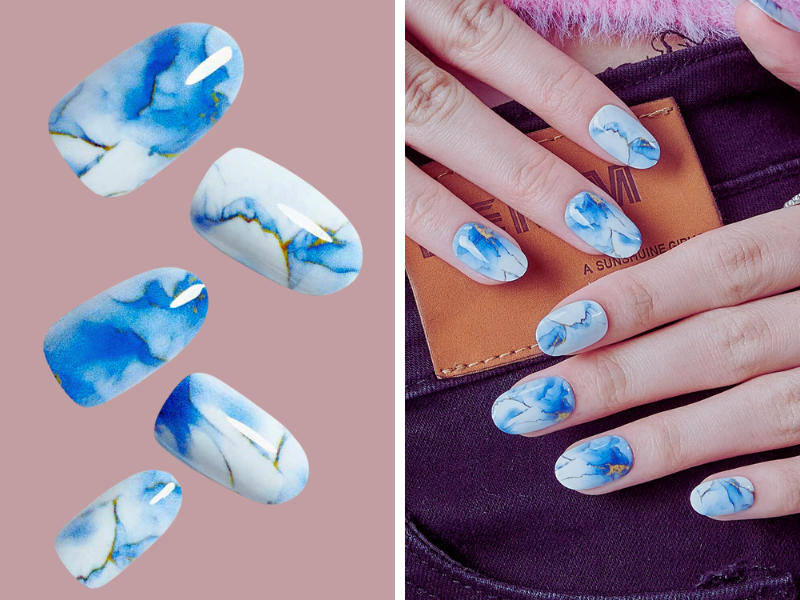
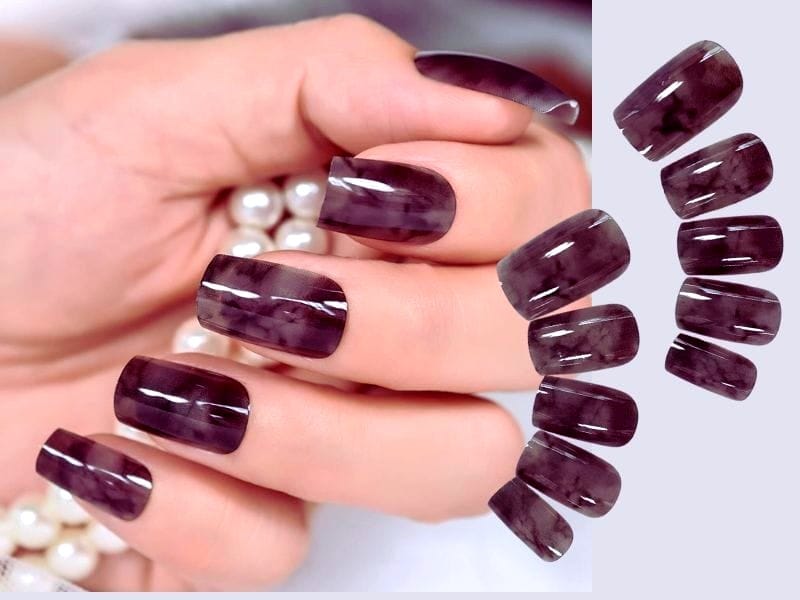
Selecting the right nail polish colors is the next step. For a classic white marble look, you'll need a white base color and one or two additional colors to create the marble effect. However, get creative and choose any color combination that suits your style. Remember to pick polishes with good consistency and opacity for the best results.
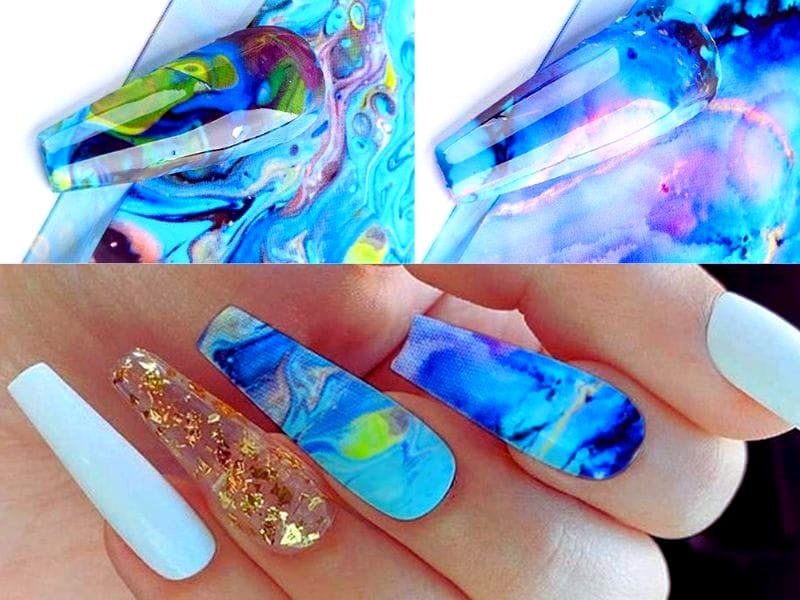
Creating the Marble Design with Water
Water marble nails involve dropping nail polish into room-temperature water to create a desired pattern. Begin by filling a small container with water. Then, drop your chosen polish colors onto the water's surface individually. Use a toothpick or a detail brush to swirl the colors together, forming squiggly lines or other designs.
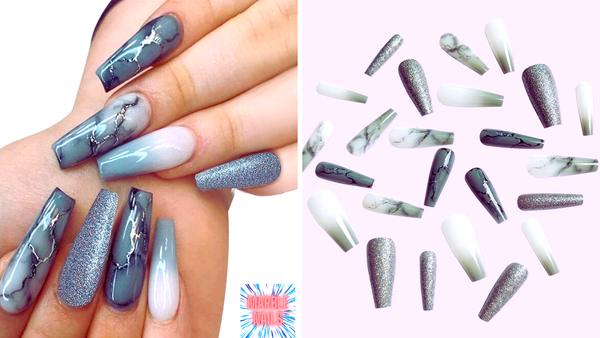
Experimenting with Marble Nail Art Techniques
Creating the perfect marble nail art is all about experimenting with different techniques to find what works best for you. One popular method uses a detail brush to paint swirl lines directly onto the nail. Start with a white marble base coat, and once it's dry, dip your detail brush into a small amount of your chosen nail polish colors. Gently draw squiggly lines or your desired pattern on the nail. This technique allows for precise control and can create intricate marble designs that are truly unique.
Another fun approach is the blooming gel technique, which gives a softer, more diffused marble effect. After applying your base color, add a thin layer of blooming gel over the entire nail. While the gel is still wet, drop in your polish colors in different directions. The blooming gel will cause the colors to spread and create a natural marble pattern. This method is perfect for those who want a more subtle marble mani without the water marble steps. Remember to seal your design with a top coat to ensure it shines and lasts longer.
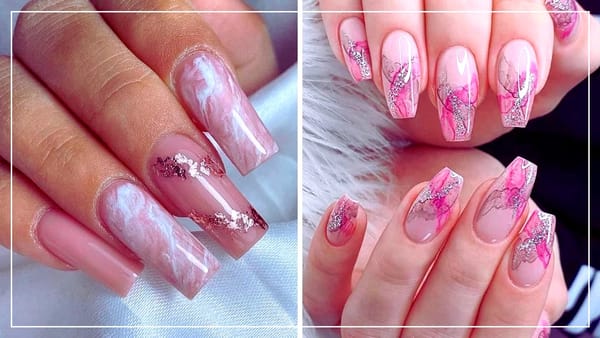
Incorporating Different Marble Nail Art Techniques
Marble nails are not just about the classic swirls and veins that mimic the natural stone; there are various techniques to create a unique marble effect. One popular method is using a detail brush to hand-paint the marble lines after applying your base color. This allows for precise control over the design, enabling you to create intricate patterns that resemble natural marble. You can use thin coats of polish to build up the design gradually, ensuring each layer is dry before adding the next. This technique is perfect for those who love to add a personal touch to their nail art.
Another exciting technique is the blooming gel method, which creates a stunning watercolor effect on your nails. After applying a base coat, add a layer of blooming gel, then dot different nail polish colors onto the nail. The blooming gel causes the polish to spread and create a marble-like pattern. You can manipulate the spread by tilting your finger in different directions or using a toothpick to guide the polish. This method is excellent for achieving a softer, more fluid marble look that will turn heads.
Maintaining Your Marble Nails for Longevity
To keep your marble nails looking elegant for as long as possible, it's essential to apply two thin coats of a durable top coat. This not only adds a beautiful shine to your manicure but also protects the nail art from chipping and wear. Be sure to wrap the tip of the nail with the top coat as well, as this can significantly extend the life of your manicure. Reapply a top coat every few days to maintain the gloss and protection.
In addition to the top coat, be mindful of how you use your hands. Avoid using your nails as tools to prevent chipping your marble design. When doing chores or activities that might damage your nails, consider wearing gloves to protect your manicure. With these tips and regular maintenance, your marble nails can remain a stunning accessory to your look for weeks. Share your marble nail art on platforms like Instagram to inspire others and show off your beautiful, long-lasting designs.
Dipping Your Finger for the Marble Effect
Once you're happy with your water marble design, it's time to dip your finger. Apply a small amount of liquid latex around your nail to protect your skin from excess polish. Carefully align your nail over the design and submerge it in the water. Wait a few seconds before slowly lifting your finger out.
Cleaning Up and Perfecting Your Marble Nails
After dipping, you'll likely have some polish on your skin. Use a clean-up brush dipped in nail polish remover to tidy up the edges and remove any unwanted polish. This step is crucial for a neat and professional-looking marble mani.
Sealing Your Marble Nail Art with a Top Coat
To ensure your marble nails have a beautiful shine and last as long as possible, apply a top coat. This will seal in the design and prevent chips. For an extra glossy finish, use a gel top coat and cure it under a UV or LED lamp.
Summary
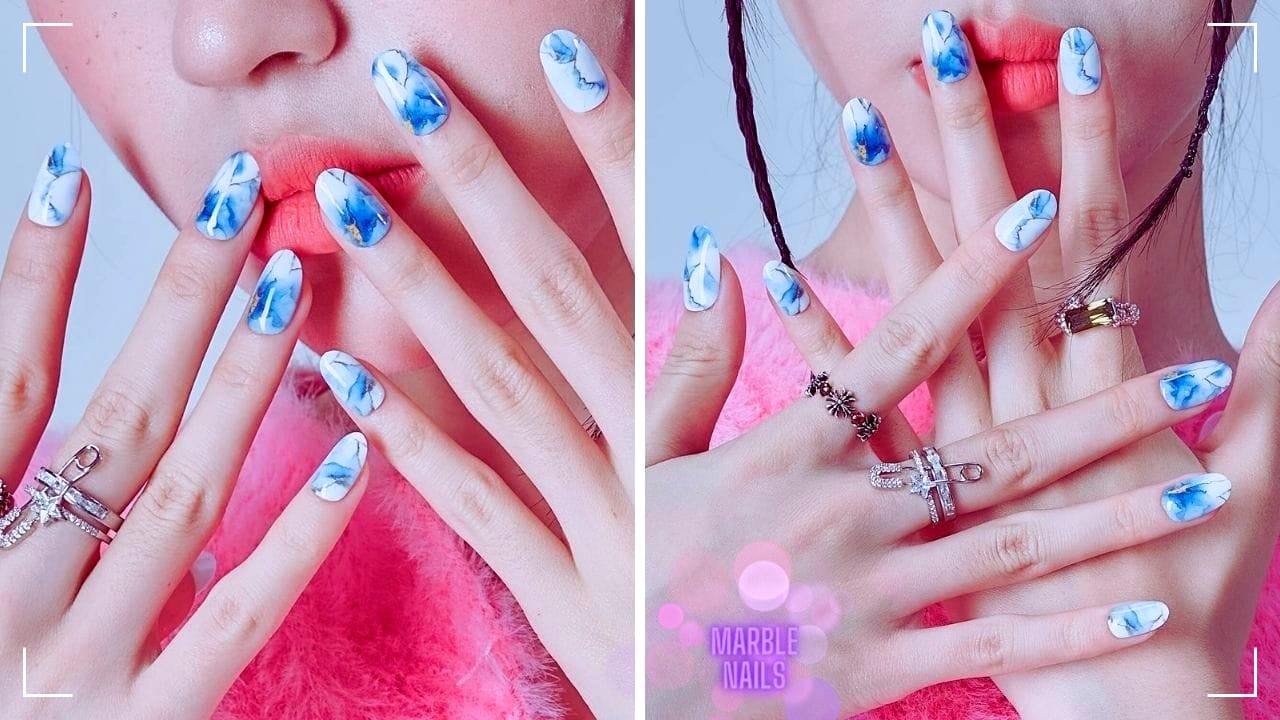
Marble nails are a chic and fun way to express your creativity through nail art. By following this step-by-step guide, you can create your marble nails with confidence. Remember to prepare your nails properly, choose the right colors, and take time with each step. With a little practice, you'll be able to achieve a flawless marble effect that's sure to turn heads.
FAQ Section
Can I create marble nails without water?
Yes, you can create a marble effect without water by using dry marbling. Apply a base color, then while it's still wet, add drops of other colors and use a detail brush or toothpick to swirl the colors directly on the nail.
How long do water marble nails last?
Water marble nails can last as long as a regular manicure, typically around one to two weeks, especially if you use a good quality top coat and avoid activities that can cause chips or wear.
What can I do if the polish doesn't spread in the water?
If the polish isn't spreading in the water, it could be due to the temperature of the water or the consistency of the polish. Make sure to use room-temperature water and polishes that are not too thick or too thin. You can also try shaking the container gently to help the polish spread.