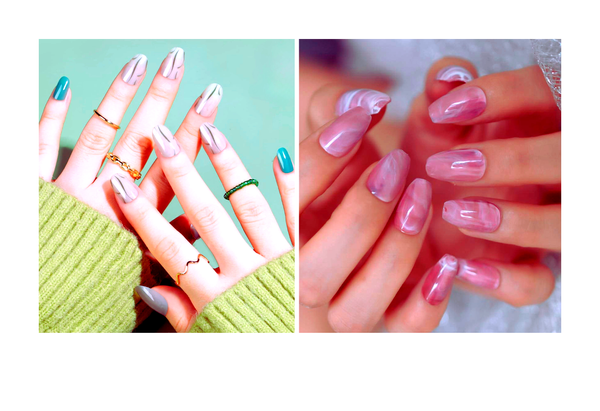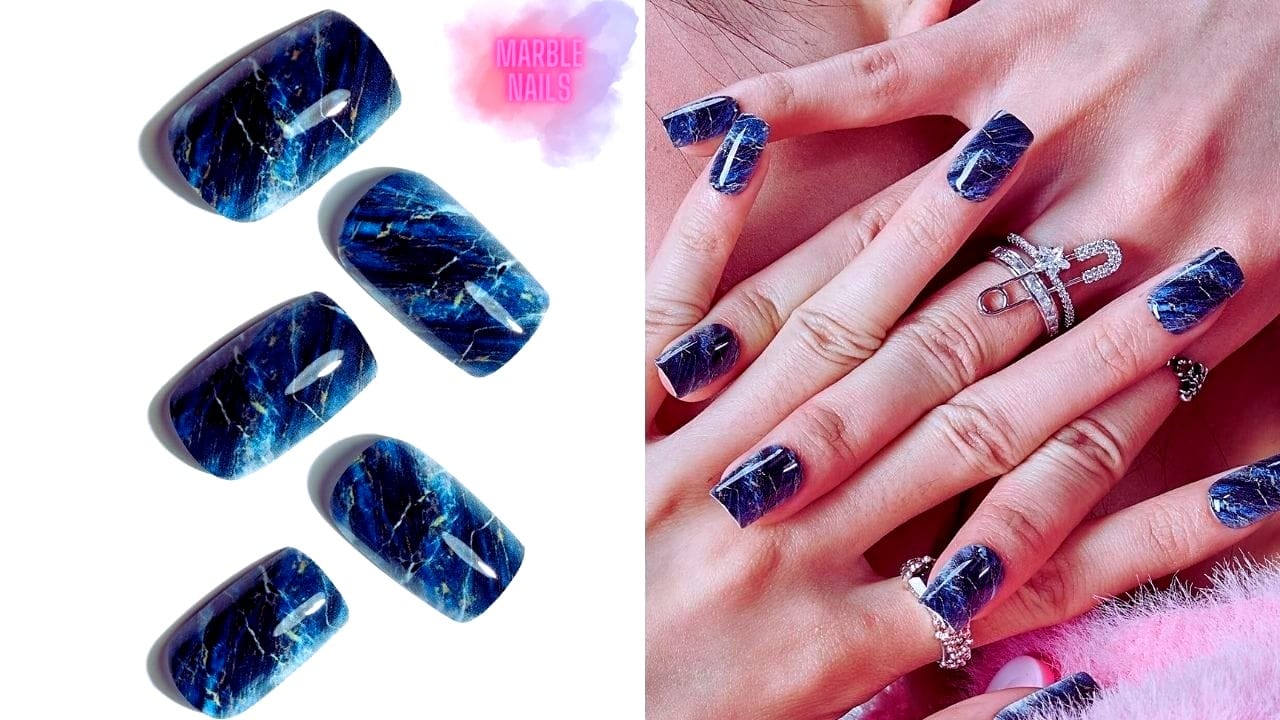


Marble nails have become a staple in nail art, offering a luxurious and sophisticated look that's surprisingly easy to achieve. If you're looking to dive into the world of marble nails using acrylic, you're in for a treat. This comprehensive guide will walk you through the process step by step, ensuring that you can create your very own marble nails with confidence.
Key Takeaways:
- Learn the step-by-step process to create marble nails using acrylic.
- Discover essential tips and tricks to achieve a flawless marble design.
- Understand how to maintain and protect your marble nail art for lasting beauty.
Preparing Your Nails for the Marble Effect
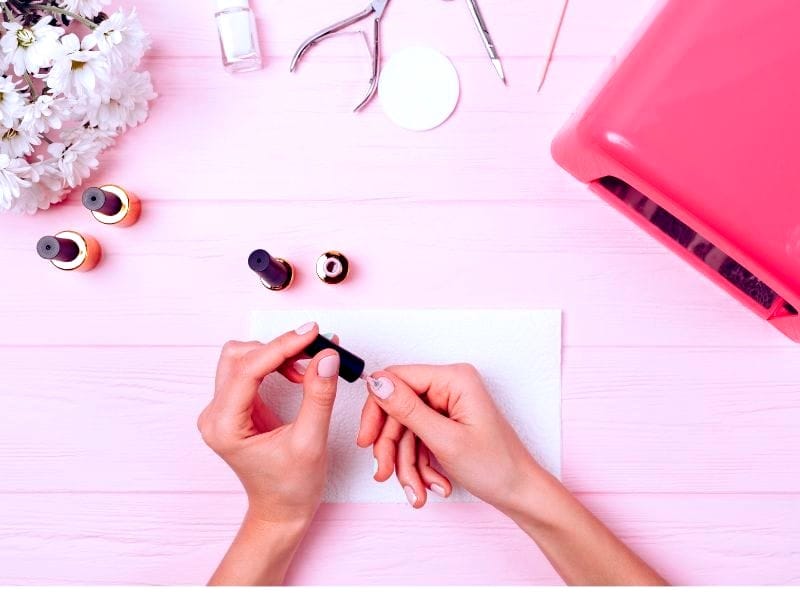
Before you start creating your marble nails, it's crucial to prepare your nails properly. Ensure your nails are clean and free from any old nail polish. Push back your cuticles and buff the surface of your nails to create a smooth base for the acrylic to adhere to. Applying a base coat can also help protect your nails and improve the longevity of your nail art.
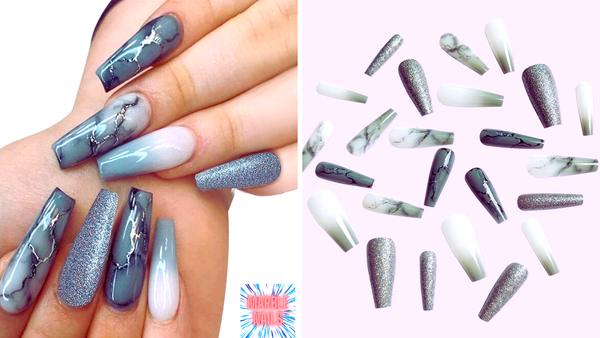
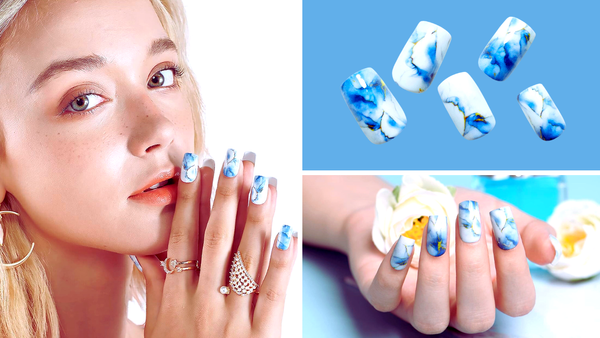
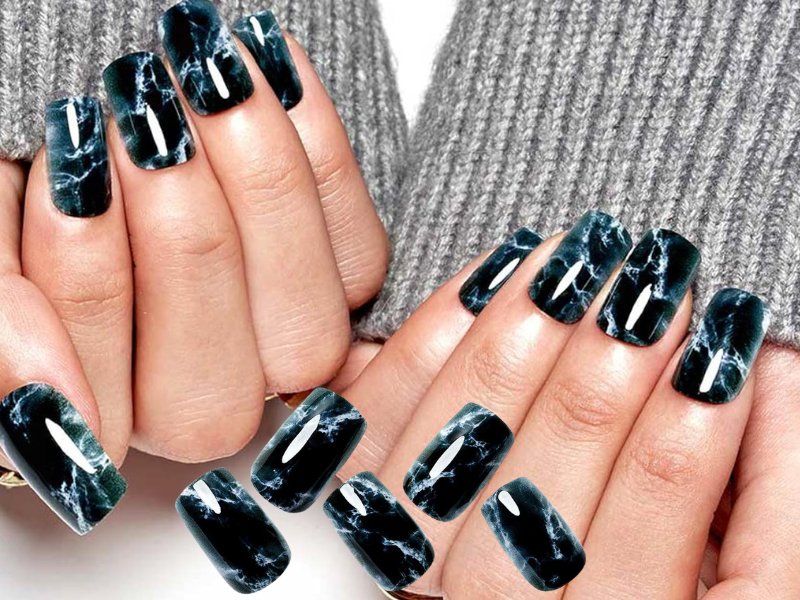
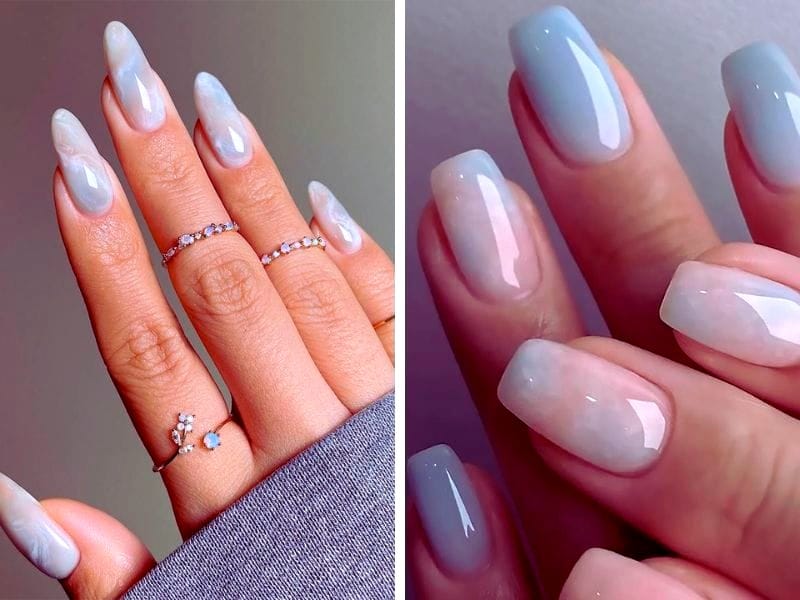
Choosing Your Marble Colors
When it comes to marble nails, selecting the right colors is key. You'll want to choose a base color that complements the marbling effect you're aiming for. Typically, a light color works best as a base, with darker shades used to create the marble pattern. Think about the overall look you want and select your acrylic powders accordingly.
Mixing Your Acrylic Powder
To start, you must mix your acrylic powder with a monomer to create the acrylic mixture. The consistency should be smooth and easy to work with, not too runny or too thick. This will be your base color, so make sure it's well-mixed and lumps-free.
Applying the Base Layer
Once your acrylic mixture is ready, apply it to your nails as the base layer. This layer should be thin and even. Allow it to dry completely before moving on to the next step. A smooth base is essential for a successful marble design.
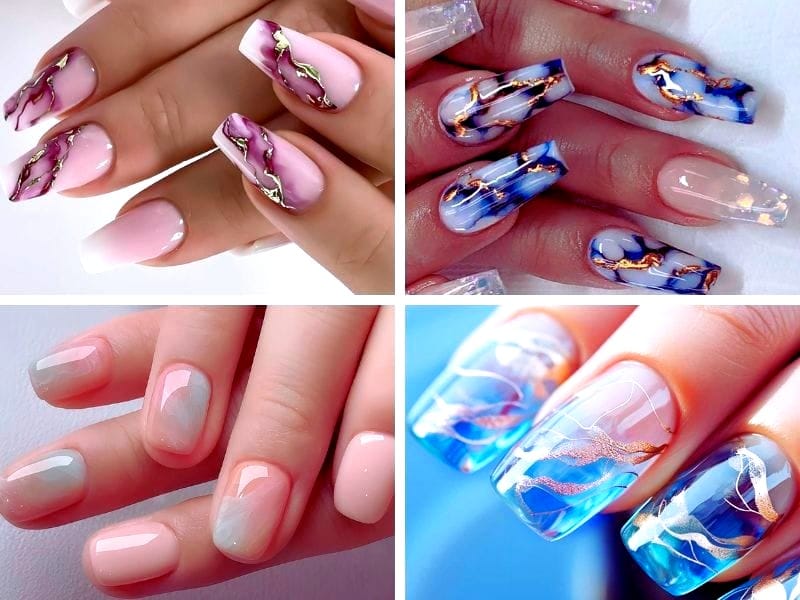
Creating the Marble Effect with Acrylic
Now comes the fun part – creating the marble effect. Dip your nail brush into a different acrylic powder color mixed with monomer and lightly drop a few drops onto the wet base coat. Use a toothpick or a clean nail brush to swirl the colors together, creating a marble pattern. Work quickly, as the acrylic can dry fast.
Perfecting the Marble Technique
The key to perfecting the marble technique is not to overwork the pattern. A few gentle swirls are often enough to create a beautiful marble design. Remember, marble patterns are naturally imperfect, so don't worry if it doesn't look exactly as you envisioned.
Sealing Your Marble Nails
Once you're satisfied with your marble design, let it dry completely. Then, apply a top coat to seal in the design and add shine. This step is crucial as it protects your nail art from chipping and wear.
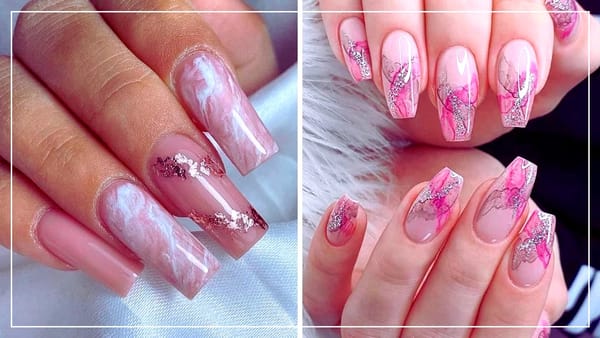
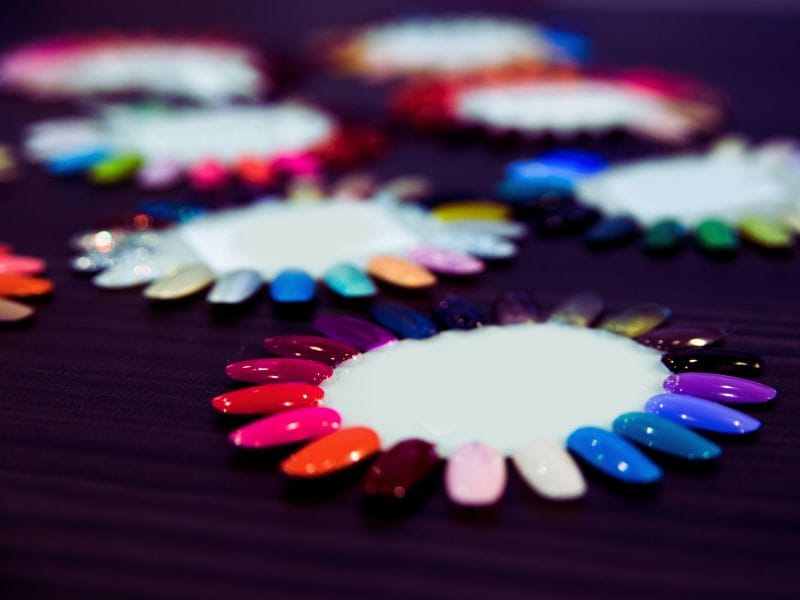
Customizing Your Marble Nail Art Palette
When it comes to creating your very own marble nails, the palette you choose can make or break your design. It's not just about picking colors that complement each other; it's about understanding how they'll interact when swirled together on the nail's surface. Begin by selecting a base color to set the tone for your marble effect. A pro tip is using gel polish as the base for its longevity and vividness. Then, choose a few contrasting colors that will create the veins of your marble. Remember, a drop of dark polish can have a dramatic effect, so use it sparingly to avoid overpowering the design.
Once you've got your colors lined up, it's time to test their compatibility. On a piece of paper or a mixing palette, add a few drops of each color and use a toothpick or nail polish brush to gently swirl them together. This will give you a preview of how they'll look on your nails. If the colors blend into a muddy mess, consider switching one out. If they create a beautiful, vein-like pattern, you can transfer that technique to your nails. Patience is key here; allow each layer to dry completely before adding the next to prevent smudging and to add shine to the final look.
Enhancing the Durability of Marble Nails
The beauty of marble nail art is undeniable, but without the right techniques, your masterpiece could chip or peel prematurely. To enhance the durability of your marble nails, start by ensuring your nails are clean and free of oils. Apply a thin base coat and let it dry completely; this step is crucial for the polish to adhere properly. When creating the marble design, use a light touch to apply the polish. Dragging the brush too hard can remove layers underneath or create uneven textures prone to chipping.
After completing your marble design, it's not just about letting it dry; it's about setting it to last. A top coat is your best friend here. Apply a generous layer of a high-quality top coat to seal in your art and add an extra layer of shine. For an even longer-lasting finish, consider dipping your fingertips in cold water to help harden the polish faster. Repeat this step every few days to maintain the gloss and protection. Remember, the smoother the surface, the less likely it is to snag and chip, so take the time to fill any gaps and ensure each layer is smooth before proceeding to the next.
Maintaining Your Marble Nails
To keep your marble nails looking their best, avoid using them as tools and wear gloves when doing household chores. If you notice any lifting or chipping, visit your nail tech for a touch-up.
Troubleshooting Common Marble Nail Issues
If your marble design isn't turning out as expected, it may be due to the consistency of your acrylic mixture or the speed at which you're working. Practice makes perfect, so don't be discouraged. Adjust your technique and try again.
Marble Nails for Beginners
If you're new to marble nails, start with simpler designs and fewer colors. As you gain confidence, you can experiment with more complex patterns and color combinations.
Tools and Materials You'll Need
To create marble nails with acrylic, you'll need a selection of acrylic powders, a monomer, a nail brush, a toothpick or dotting tool, and a top coat. Ensure all your tools are clean and in good condition before starting.
Step-by-Step Guide to Marble Nails
Follow this guide to create your very own marble nails:
- Prepare your nails and apply a base coat.
- Mix your acrylic powder with the monomer and apply the base layer.
- Drop a different acrylic color onto the wet base and swirl to create a marble effect.
- Allow to dry and seal with a top coat.
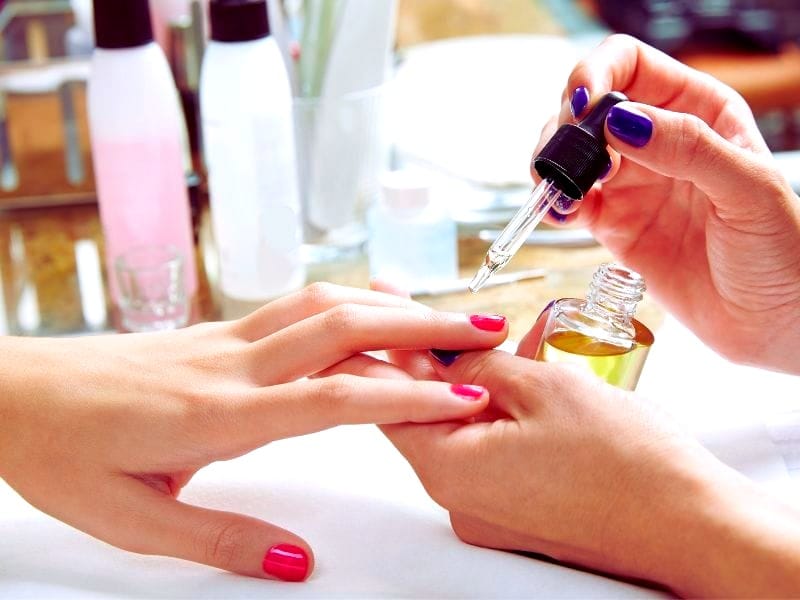
Aftercare Tips for Marble Nails
To prolong the life of your marble nails, keep them moisturized with cuticle oil and avoid harsh chemicals. Regular maintenance appointments with your nail tech can also help keep your nails looking fresh.
Where to Find Inspiration for Marble Nails
Look for inspiration for your marble nails on social media platforms like Instagram and Pinterest. You'll find countless images and videos to spark your creativity.
Summary
Creating marble acrylic nails with acrylic is a fun and creative way to elevate your nail art game. Following the steps outlined in this guide and using the right techniques and tools, you can achieve a stunning marble effect on your nails. Remember to prepare your nails properly, choose your colors wisely, and practice the marbling technique to perfect your design. With patience and a little practice, you can create beautiful marble nails that will turn heads.
FAQ Section
How long do marble nails with acrylic last?
With proper application and maintenance, marble nails with acrylic can last up to three weeks. Regular touch-ups and aftercare can help extend their longevity.
Can I create marble nails with regular nail polish instead of acrylic?
Yes, you can create a marble effect with regular nail polish using water marbling. However, this guide focuses on using acrylic to achieve the design.
Is it necessary to use a top coat over marble nails?
Yes, applying a top coat is essential as it seals the marble design, adds shine, and protects your nails from chipping and wear.