


Key Takeaways:
- Learn the step-by-step process of applying builder gel at home for natural nail enhancement.
- Discover essential tips for maintaining the health of your nails while using builder gels.
- Understand how to safely remove builder gel without damaging your natural nails.
Introduction to Builder in a Bottle
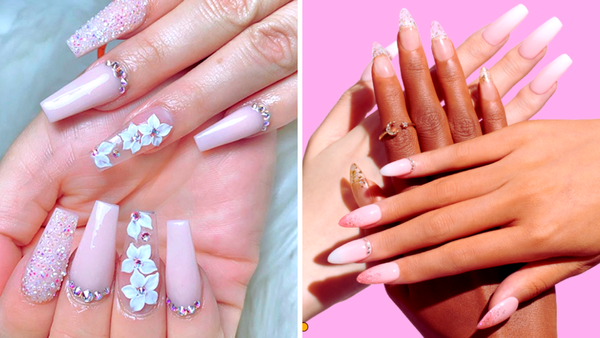
Have you ever admired the flawless, long-lasting strength of gel nails at the salon and wished you could replicate that at home? With the innovation of builder in a bottle, achieving salon-quality nails in the comfort of your home has become a reality. This all-in-one solution not only adds extra strength to your nails but also allows for creating nail extensions without the need for acrylics. But how do you use Builder in a bottle at home? Let's dive in and find out.
Preparing Your Nails for Application
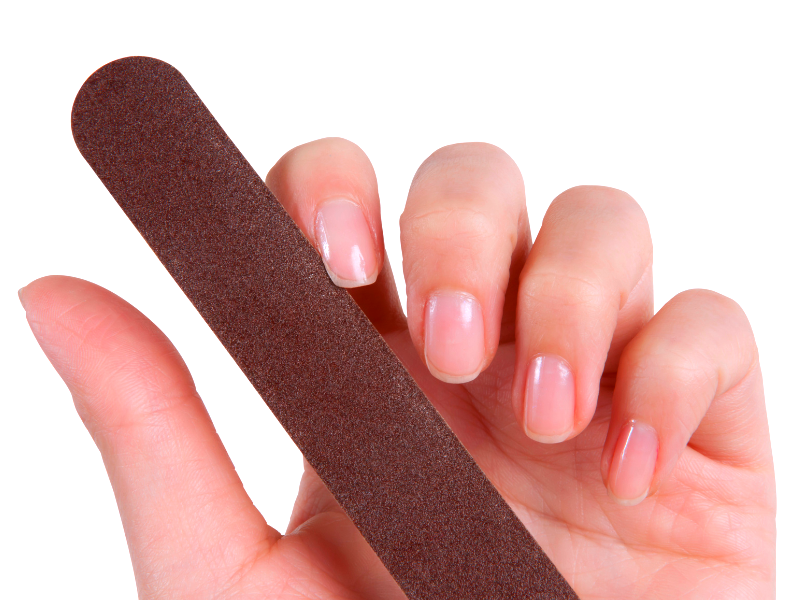
Before you start applying builder gel, it's crucial to prepare your nails properly. Begin by cleaning your nails with a nail polish remover to ensure there's no old gel or polish left. Carefully push back your cuticles with a cuticle pusher, and then use a nail file to shape your nails to the desired length and natural shape. Remember, a clean and well-prepped nail plate is the foundation for long-lasting results.
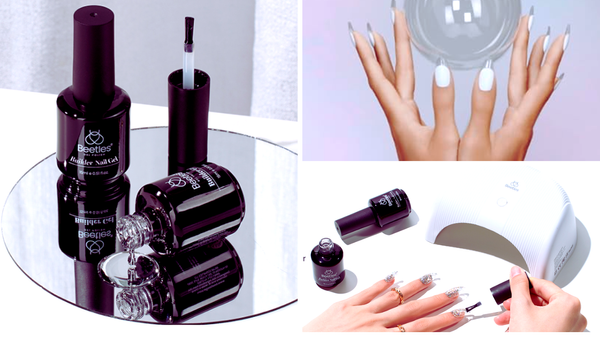
The Right Tools for the Job
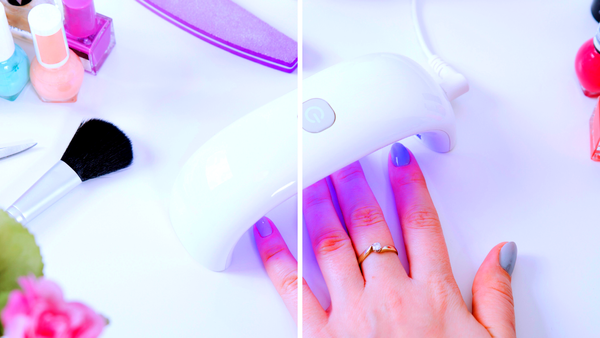
To apply builder gel at home, you'll need a few essential tools. These include a UV or LED lamp for curing the gel, a base coat to protect your natural nails, nail forms if you're planning to build extensions, a nail file, and, of course, your chosen builder in a bottle. Orly GELFX Builder in a Bottle is a popular choice for many DIY manicurists due to its ease of use and quality results.
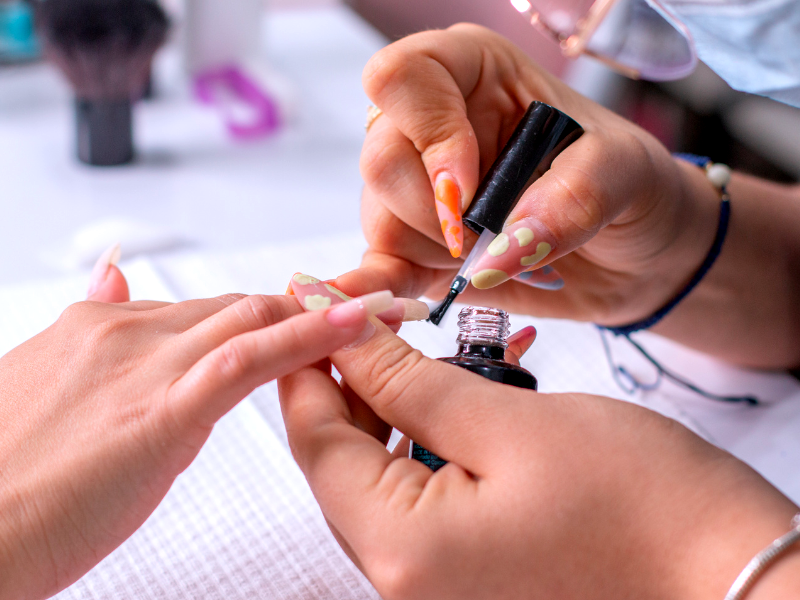
Applying the Base Coat
Start with a thin layer of base coat, ensuring you cover the entire nail surface. Cure it under the UV or LED lamp according to the manufacturer's instructions. This base layer is crucial as it helps the builder gel adhere better to your nails, providing a tacky layer for the next step.
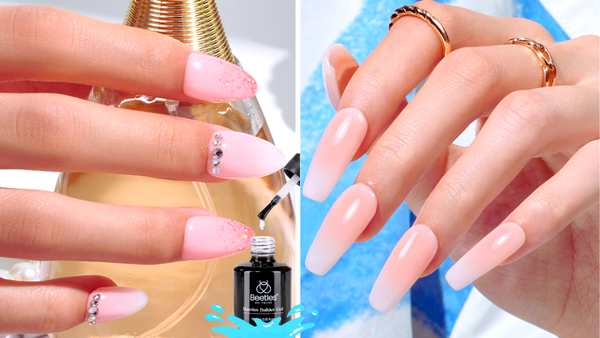
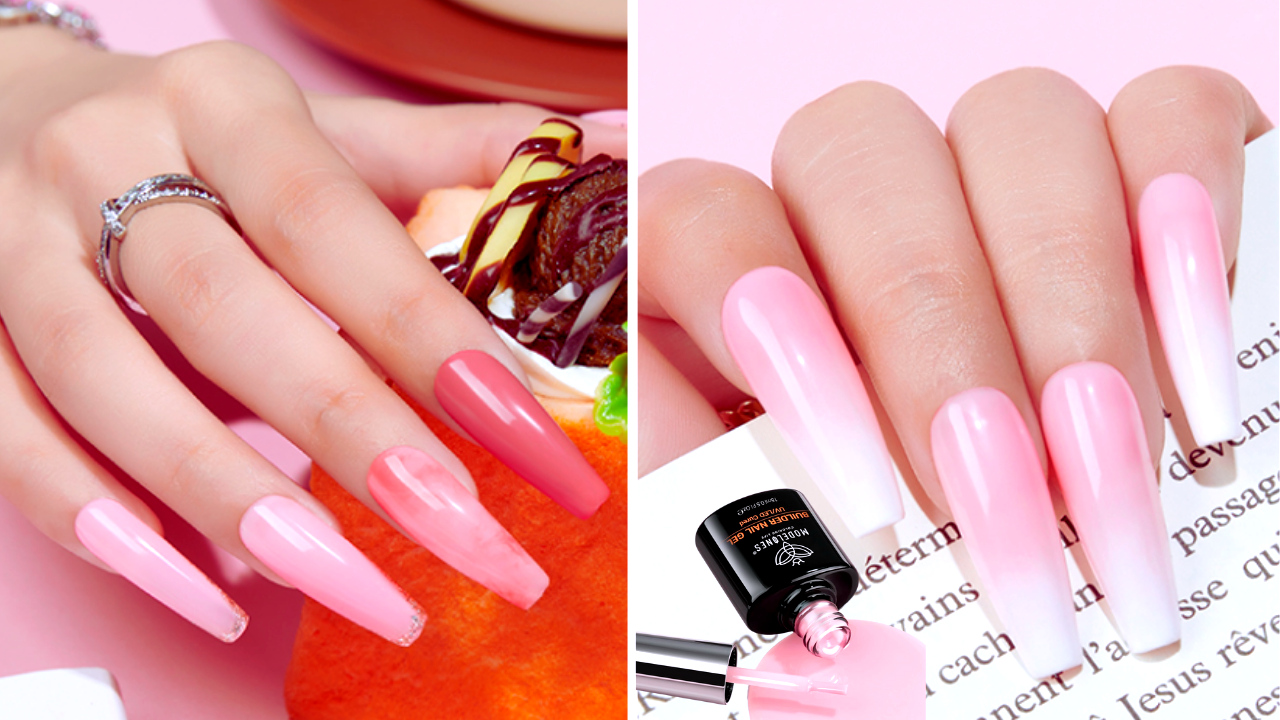
Building Your Nails with Builder Gel
Now, it's time to apply the builder gel. Begin with a thin layer, applying it as a regular gel polish. Be careful not to get any on your skin or cuticles. If you're creating extensions, place the nail form under your natural nail's edge and apply the builder gel, extending to the desired length. Flash cure this layer to hold the shape, then add a thicker layer for extra strength and cure it again.
Shaping and Refining Your Nails
After curing, you might notice some uneven spots or bumps. Use a nail file or a drill, if you're comfortable, to buff and shape the nails to a smooth finish. Be gentle to avoid filing down too much of the builder gel. Dust off any residue with a soft brush to reveal the shape and thickness you've created.
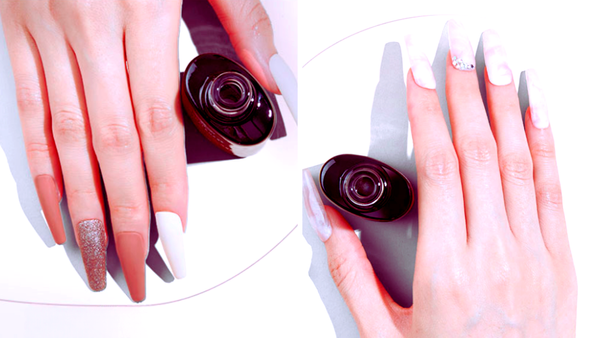
Adding Color and Art
If you wish to add some color or nail art, now is the time. Apply your chosen gel polish over the builder gel, curing each coat as needed. The builder gel provides a strong, even surface for any nail art, ensuring your manicure not only looks great but also lasts longer.
The Final Touch: Top Coat
Seal your work with a top coat to add shine and protect your gel nails. Cure it under the lamp, and then use a lint-free wipe soaked in alcohol to remove the tacky layer, revealing a high-gloss finish that rivals any salon manicure.
Maintaining Your Builder Gel Nails
To keep your builder gel nails looking their best, apply cuticle oil regularly to nourish your nails and cuticles. Be mindful of using your nails as tools, which can lead to chips or lifting. With proper care, your builder gel manicure can last for weeks with a shine that doesn't fade.
Safely Removing Builder Gel at Home
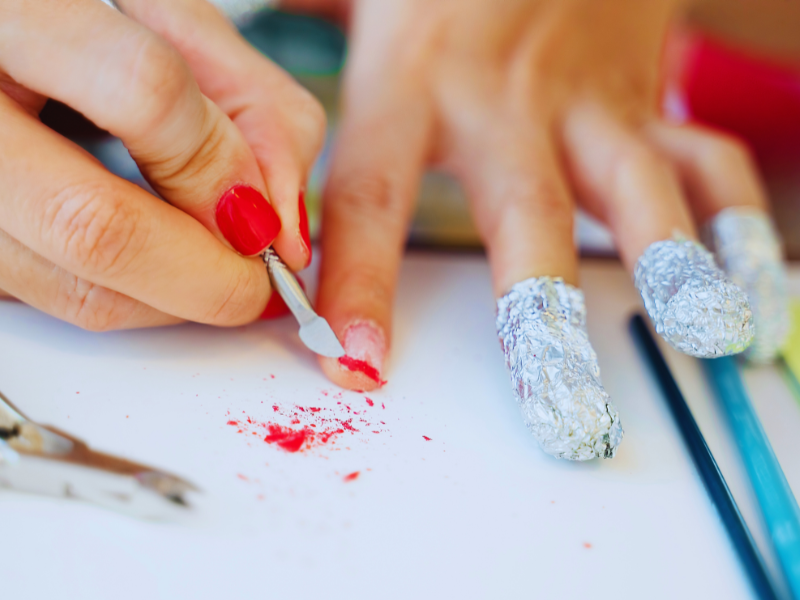
When it's time to remove the builder gel, patience is key. Start by gently filing the top coat to break the seal. Soak cotton pads in acetone, place them on your nails, and wrap them with foil. After 10-15 minutes, the builder gel should soften, allowing you to scrape it off gently with a cuticle pusher. Avoid forceful scraping to prevent damage to the nail plate.
Troubleshooting Common Issues
Sometimes, you might encounter issues like lifting or bubbling. This often results from improper nail prep or application. Ensure your nails are free from oils before starting, and apply thin, even layers of builder gel. If lifting occurs, gently file the lifted area and reapply a thin layer of builder gel to fix it.
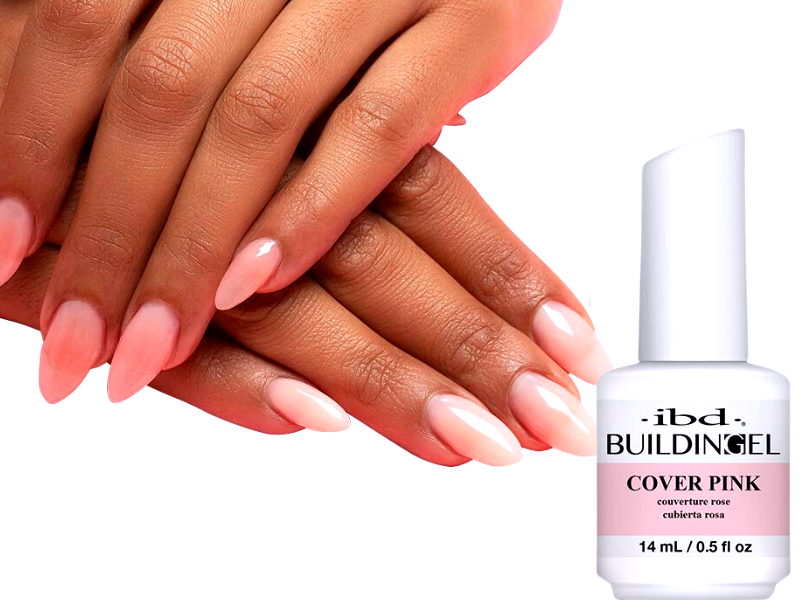
Advantages of Using Builder in a Bottle
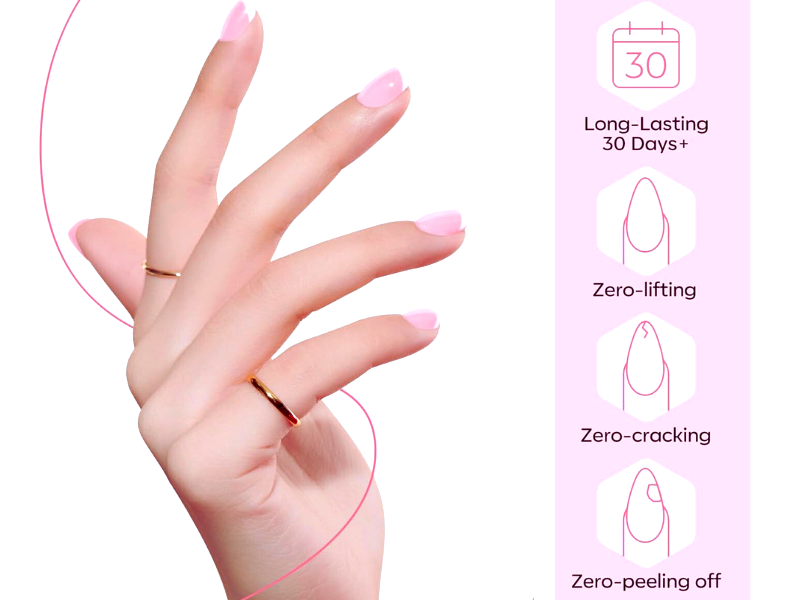
Builder in a bottle offers the strength of hard gel with the ease of application of gel polish. It's perfect for those with brittle or weak nails who desire longer nails without the commitment to acrylics. Plus, the convenience of doing it at home means you can touch up or change your look whenever you please.
Summary
Using Builder in a Bottle at Home is a game-changer for nail enthusiasts. Following the proper steps for preparation, application, and removal, you can achieve strong, beautiful nails with the flexibility to create extensions or enhance your natural nails. Remember to maintain your nails with cuticle oil and handle them with care for long-lasting results.
FAQ Section
How long does builder gel last on natural nails?
With proper application and maintenance, builder gel can last on natural nails for 3-4 weeks.
Can builder gel be used to repair a broken natural nail?
Yes, builder gel can be used to repair a broken nail. Apply a thin layer over the break, cure it, and then proceed with your manicure as usual.
Is a UV or LED lamp necessary for curing builder gel?
Yes, you need a UV or LED lamp to cure builder gel properly. LED lamps typically cure faster than UV lamps, so choose one based on your preference and the builder gel's instructions.