


Nail care has evolved significantly over the years, with various products and techniques introduced to enhance the beauty and strength of our nails. Among these innovations, builder gel has become a staple for those seeking durable and aesthetically pleasing nail extensions. But does builder gel need UV light to set properly? This comprehensive guide will delve into the intricacies of builder gel and its application process.
Key Takeaways:
- Builder gel requires UV or LED light to cure properly, ensuring durability and strength.
- Proper application techniques are crucial for achieving the best results with builder gel.
- Understanding the differences between builder gel and other nail products can help you make informed decisions for your nail care routine.
What is Builder Gel?
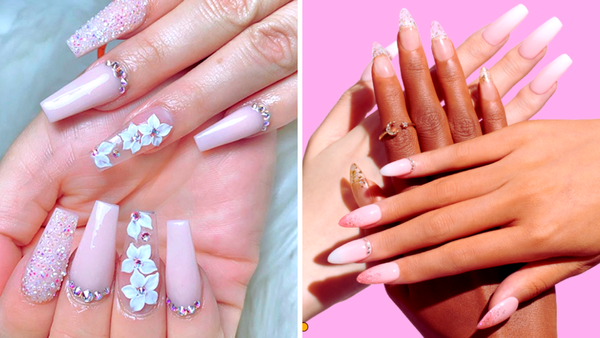
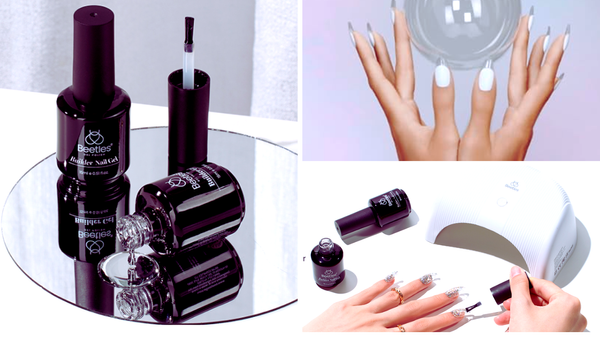
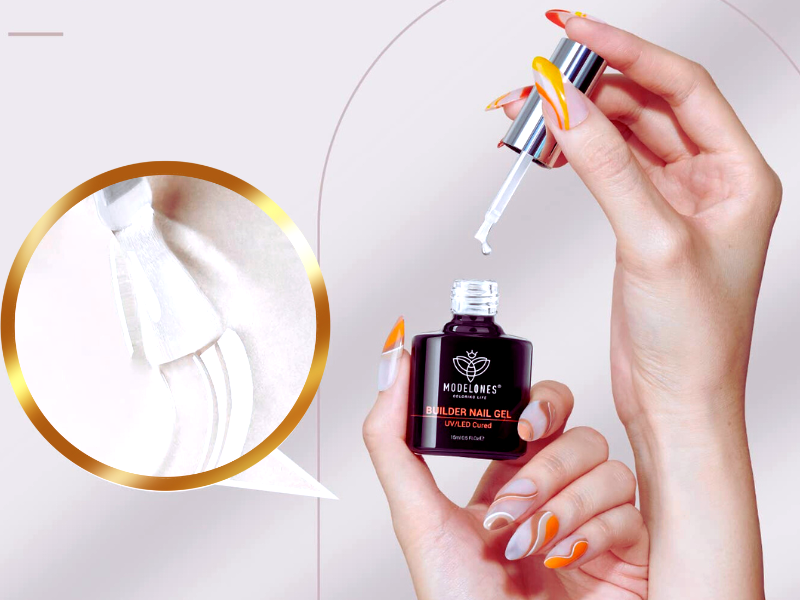
Builder gel is a type of gel nail product designed to create a strong overlay on natural nails or sculpt nail extensions. Unlike regular gel polish, builder gel has a thicker consistency, which allows it to be shaped and built up to add length and strength to the nail. It's a popular choice for those who prefer builder gel over acrylics due to its flexibility and natural-looking finish.
The Role of UV Light in Curing Builder Gel
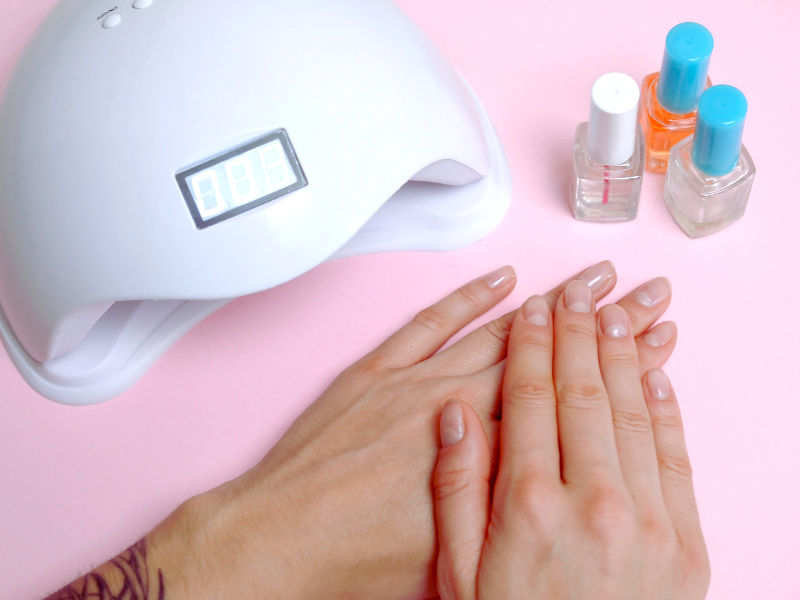
To answer the question, "Does builder gel need UV light?"—yes, it does. Builder gel requires exposure to UV or LED light to initiate a chemical process known as curing. This process transforms the gel from a liquid or semi-solid state into a hard, durable coating that adheres to the natural nail. Without this step, the builder gel would remain tacky and would not provide the desired strength or longevity.
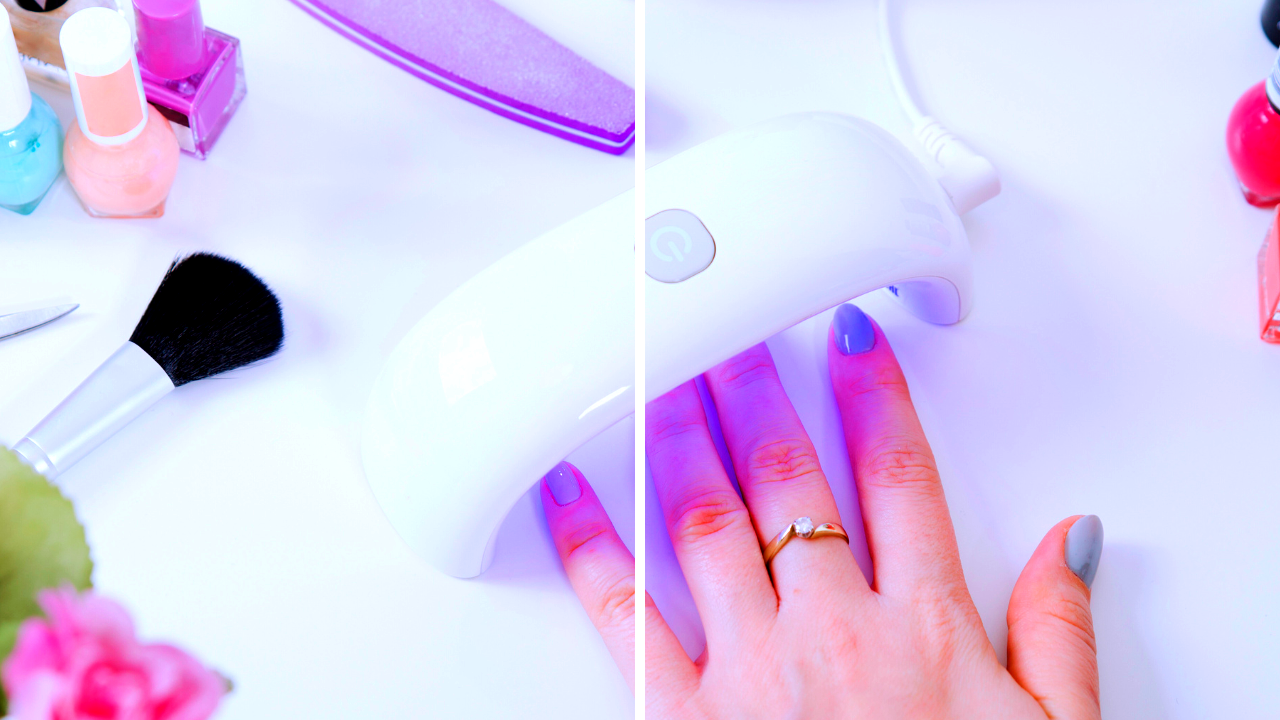
Comparing UV and LED Lamps
When it comes to curing builder gel, you have the option of using either a UV lamp or an LED lamp. UV lamps have been the traditional choice for curing gel products, but LED lamps are gaining popularity due to their faster curing times and energy efficiency. Both types of lamps emit wavelengths of light that initiate the curing process, but LED lamps do so at a more targeted wavelength, which can cure gels in a few seconds compared to the minutes required by UV lamps.
The Importance of Proper Application
Applying builder gel correctly is essential for achieving a smooth finish and preventing issues such as lifting or peeling. Nail technicians typically start by preparing the natural nail, ensuring it's clean and oil-free. A base coat is applied, followed by the builder gel, which is carefully sculpted to the desired shape and thickness using a small nail brush. After each layer, the nails are cured under a UV or LED lamp according to the manufacturer's instructions.
Builder Gel vs. Regular Gel Polish
While both builder gel and regular gel polish require UV or LED light to cure, they serve different purposes. Regular gel polish is primarily used for color and lasts up to three weeks, while builder gel is used to strengthen nails and create extensions, offering durability that can last even longer. Builder gels are also more versatile, allowing for more intricate nail designs and shapes.
The Versatility of Builder Gel
Nail enthusiasts appreciate builder gel for its ability to not only extend nail length but also to repair weak or damaged nails. By applying a thin coat of builder gel, you can reinforce the natural nail plate, providing extra support for softer nails. Additionally, builder gel can be used to create a smooth overlay on natural nails, giving them a glossy and well-maintained appearance.
Nail Extensions with Builder Gel
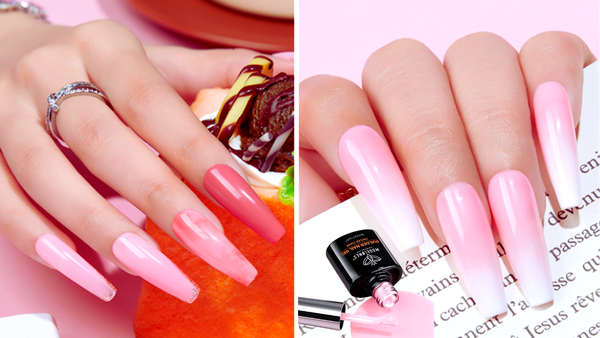
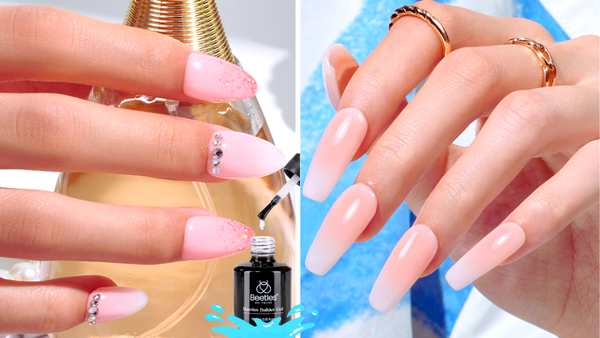
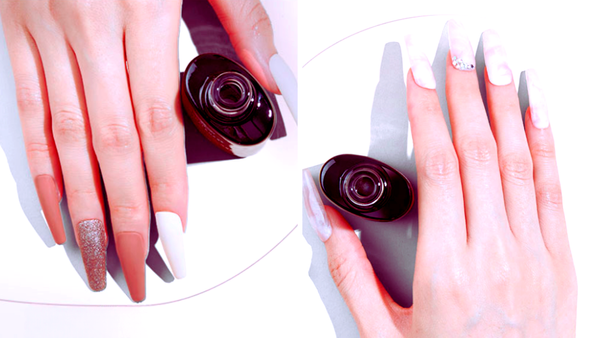
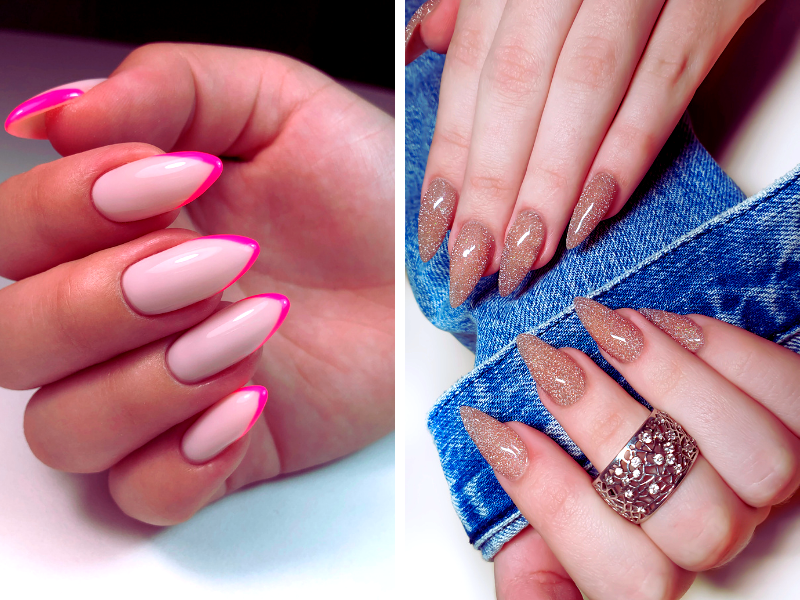
For those looking to add length to their nails, builder gel is an excellent choice. Nail techs use nail forms to sculpt the gel beyond the free edge of the natural nail, creating extensions in the desired shape and length. After sculpting, the builder gel is cured, and additional layers may be added for strength. The result is a set of long, durable nails that can be finished with gel polish or left natural for a clean look.
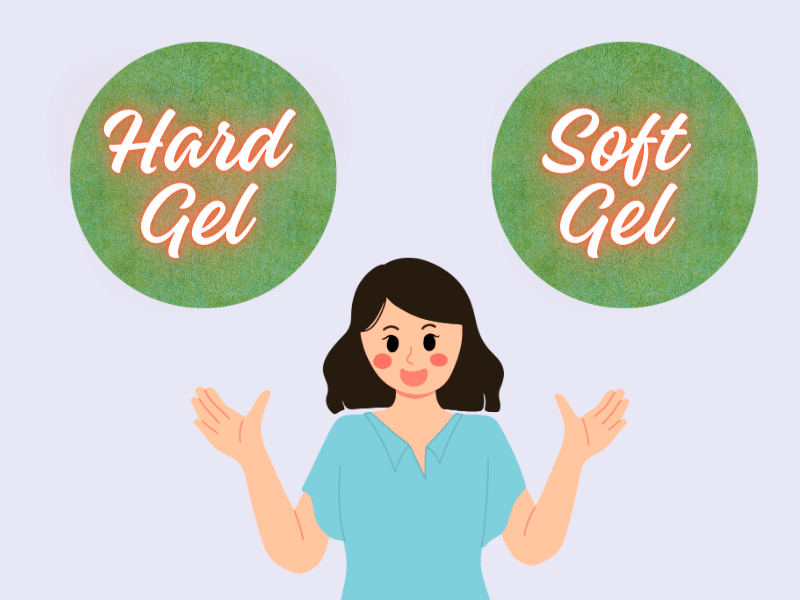
Exploring the Differences Between Soft Gel and Hard Gel
When discussing builder gels, it's essential to understand the distinction between soft gel and hard gel. Soft gels, often used for gel polish, are more flexible and can be soaked off with acetone, making them a favorite for those who frequently change their nail designs. On the other hand, hard gels, which include builder gels, are more durable and provide a stronger structure for nail extensions. They are ideal for individuals looking to add length or strength to their natural nails. While both types require curing under a UV or LED lamp, hard gels are a commitment—they must be filed off rather than soaked, which is a significant consideration for anyone deciding between the two.
Builder gels, as a subset of hard gels, are particularly favored by nail technicians for their ability to create extensions and shape the nail to the desired form. They offer a balance between strength and flexibility that is not found in traditional acrylic nails. This makes them a go-to option for clients who prefer builder gel for its natural feel and look. Whether you're looking to strengthen weak nails or extend your nail length, builder gels provide a versatile solution that can be tailored to individual preferences. Just remember, the application of a thin layer of builder gel requires precision and should be entrusted to a professional nail tech for the best results.
DIY Builder Gel Application: A Step-by-Step Guide
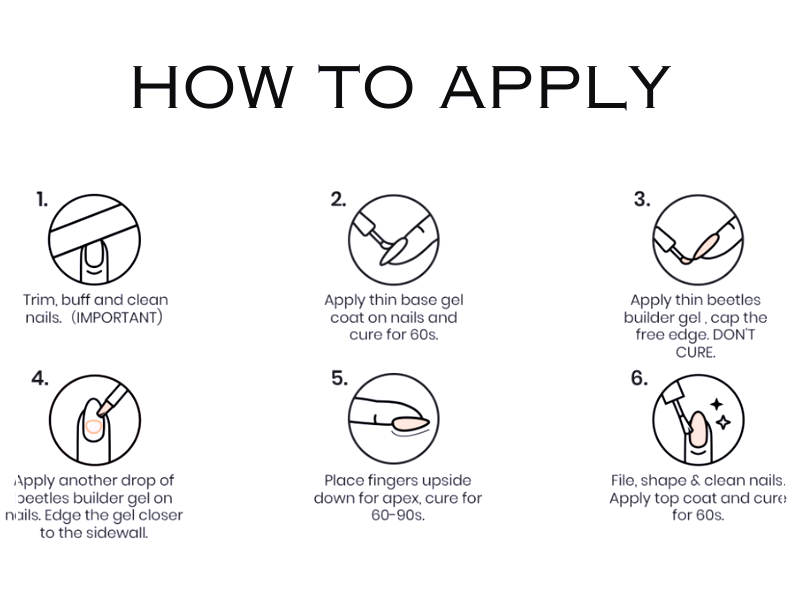
Have you ever wondered if you can apply builder gel at home? The answer is yes, and it's a fantastic way to save a trip to the nail salon. First, ensure your nails are clean and free of any old polish. Push back your cuticles gently with cuticle oil and a small nail brush to prepare the nail beds. Apply a thin base coat and cure it under a UV or LED lamp as per the manufacturer's instructions. This step is crucial for the builder gel to adhere properly and last up to three weeks.
Next, apply the builder gel in a thin layer, starting from the nail plate and working towards the free edge. If you aim for nail extensions, use nail forms to create the desired shape and length. Cure the first layer, and if necessary, add a second coat for thickness and strength. Remember, curing each layer is essential, whether you're using builder gel for strengthening natural nails or creating extensions. Finish with a top coat for a smooth finish, and cure it again. Voila! You've just mastered the art of applying builder gel.
The Science Behind Builder Gel Adhesion
Ever pondered how builder gel manages to cling so tenaciously to your nails? The secret lies in the chemical composition of the gel and the curing process. Builder gels contain photoinitiators that react when exposed to UV or LED light, creating a hard, durable bond to the natural nail. This reaction is not just fascinating chemistry; it's the foundation of a long-lasting gel manicure. When you apply builder gel, ensure that each layer is thin and even to avoid any uncured product, which can lead to lifting or premature chipping.
The adhesion also depends on the preparation of the natural nail. Before applying builder gel, it's essential to remove any oils or residue from the nail surface. This can be done with a nail-clean solution or by lightly buffing the nail plate. A dehydrator can also ensure the nail is completely dry and ready for the gel application. Proper preparation and application are the keys to maximizing the adhesion of builder gel, ensuring that your nails remain strong and beautiful for two to three weeks or even longer.

The Art of Applying Builder Gel for Nail Enthusiasts
Applying builder gel is an art that requires a steady hand and an eye for detail. The process begins with preparing the natural nail plate—ensuring it's clean, dry, and free of any oils. A base coat is then applied to protect the nail and ensure better adhesion of the gel. Using a small nail brush, the nail technician will apply a thin coat of builder gel, starting from the cuticle and carefully working toward the free edge. It's crucial to avoid the skin and cuticle to prevent lifting and ensure a smooth finish. After the initial layer, the nail is cured under a UV or LED lamp for a few seconds, as per the manufacturer's instructions.
For those seeking to create extensions or add significant strength, additional layers of builder gel may be applied. Each layer must be cured before the next is added, building up to the desired shape and thickness. Nail forms can be used to extend the nail beyond the natural tip, allowing for various nail lengths and shapes. Once the final layer is cured, the nail technician will remove the nail form and shape the nail, followed by a top coat to seal in the work and add a glossy finish. With proper application, builder gel can last up to three weeks, making it a popular choice for gel nail enthusiasts who want a long-lasting, durable manicure.
Strengthening Natural Nails with Builder Gel
Builder gel isn't just for those seeking length; it's also ideal for reinforcing natural nails. By applying a thin layer of builder gel over the natural nail, you can provide a protective barrier that helps prevent breakage and allows weak nails to grow. This method is particularly beneficial for individuals with naturally soft or brittle nails.
The Curing Process Explained
Curing builder gel is a critical step that transforms it from a pliable state to a hard, set finish. The process involves exposing the applied gel to UV or LED light, which activates photoinitiators within the gel. These photoinitiators cause the gel to polymerize, creating a solid structure that adheres to the nail. The curing time varies depending on the gel's formula and the type of lamp used, but it generally ranges from 30 seconds to two minutes per layer.
Tips for Using Builder Gel
To ensure the best results when using builder gel, it's important to follow a few key tips. Always prepare the nail beds thoroughly by pushing back cuticles and removing any debris. Apply the builder gel in thin, even layers to avoid bubbles and uneven curing. Cure each layer as directed and be sure to cover the entire nail, including the edges, to prevent lifting. Lastly, finish with a top coat to seal in the builder gel and provide a glossy finish.
Removing Builder Gel Safely
When it's time to remove builder gel, it's crucial to do so carefully to avoid damaging the natural nails. Unlike regular gel polishes that can be soaked off, builder gel often requires filing to break down the structure before soaking in acetone. Nail technicians use a coarse nail file to gently file away the top layers of the gel, then wrap the nails in acetone-soaked cotton and foil to soften the remaining gel for easier removal.
Aftercare for Builder Gel Nails
Maintaining builder gel nails involves regular aftercare to keep them looking their best. Applying cuticle oil daily can help nourish the nail beds and cuticles, promoting healthy nail growth. It's also important to wear gloves when performing tasks that could damage the gel, such as cleaning with harsh chemicals. Regular visits to a nail technician for touch-ups can help extend the life of your builder gel nails.

The Longevity of Builder Gel
One of the most appealing aspects of builder gel is its longevity. When applied and maintained correctly, builder gel can last for up to three weeks or more without chipping or lifting. This makes it a cost-effective option for those who want long-lasting nail enhancements without the frequent upkeep required by regular polish.
Customizing Your Builder Gel Experience
Builder gel offers a customizable nail care experience, allowing you to choose the length, shape, and finish of your nails. Whether you prefer a natural look or dramatic extensions, builder gel can be tailored to your preferences. With a wide range of colors and finishes available, you can create a unique look that reflects your style.
Summary
Builder gel is a versatile and durable option for those looking to enhance their nails, whether through extensions or by strengthening natural nails. It does require UV or LED light to cure properly, which is a crucial step in achieving the desired durability and finish. By understanding the application process, the differences between builder gel and other nail products, and the proper aftercare, you can enjoy beautiful, long-lasting nails that suit your lifestyle and preferences.
FAQ Section
How long does builder gel last?
Builder gel can last up to three weeks or more with proper application and maintenance. Regular touch-ups and aftercare can extend its longevity.
Can builder gel be used on weak or damaged nails?
Yes, builder gel can be used to strengthen weak or damaged nails. It provides a protective overlay that helps prevent breakage and allows the natural nails to grow.
Is it necessary to use a UV or LED lamp with builder gel?
Yes, curing builder gel with a UV or LED lamp is necessary to harden the gel and ensure it adheres properly to the natural nail. Without curing, the builder gel will not set and will not provide the desired strength or finish.