


Coloring clear nails is an exciting way to express your creativity and style without the commitment of permanent nail color. Whether you want to add a subtle sheen or a vibrant burst of color, several techniques can transform your clear nails into a canvas of dazzling designs.
Key Takeaways:
- Learn various methods to color clear nails using nail polish, eyeshadow, and other household materials.
- Discover tips on choosing the right materials and techniques for a flawless finish.
- Understand how to maintain and safely remove colored polish from clear nails.
Choosing Your Materials
Before you begin coloring your clear nails, selecting the right materials is crucial for achieving the best results. Opt for high-quality clear polish as your base to ensure a smooth application. You can find clear nail polish at any beauty supply store. For coloring, you might consider several nail polish bottles of different hues or even eyeshadow colors for a custom shade.
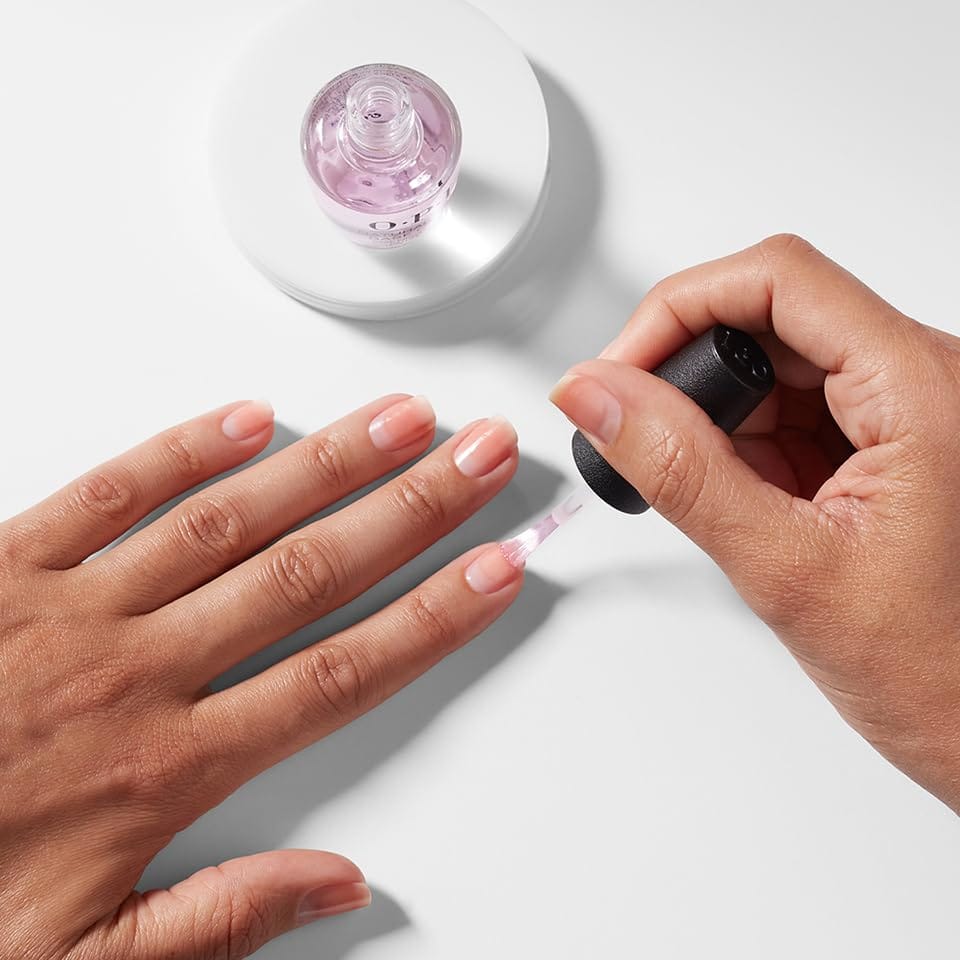
Preparing Your Nails
Proper nail preparation can significantly enhance the adherence and longevity of your nail color. Start by cleaning your nails with nail polish remover to eliminate any oils or residues. Apply a thin layer of clear base coat to protect your nails and improve the polish's ability to stick.
Mixing Your Custom Shade
If you're feeling adventurous, why not create your custom nail polish color? You can do this by mixing clear polish with eyeshadow powders. Crush a few eyeshadow colors into a fine powder and mix them into a small plastic cup of clear polish. Stir with a paintbrush or a makeup brush until you achieve a consistent powder color.
Applying the Color
Once your custom color is ready, use a nail polish brush to apply it to your nails. Start from the base of the nail and brush towards the tip in thin, even strokes. Allow the first coat to dry completely before applying a second coat for a more opaque color.
Adding Special Effects
For those who love a bit of sparkle, adding glitter or small flakes to your nail polish can create a stunning effect. Mix these directly into your clear polish or sprinkle them over wet polish before it dries. Silver sparkly polish or even darker color flakes can add depth and interest to your nails.
Using Nail Art Techniques

Nail art techniques such as marbling, stamping, or stencils can also be applied over colored clear nails. These methods allow for intricate designs that are sure to catch the eye. You can use tools like a paintbrush or a dotting tool to create detailed patterns or designs.
Exploring Nail Polish Color Mixing Techniques
When diving into the world of nail art, mixing your custom shade of nail polish can be both thrilling and economical. Start by selecting several nail polish bottles, preferably clear or white nail polish, as your base. This allows the true color of your pigments to shine through. For a DIY blend, use a small plastic cup or a paper plate to mix your chosen colorant powders or eyeshadow colors. This method not only saves money but also lets you create a nail polish color that's uniquely yours. Remember, the key to a successful mix is ensuring a consistent powder color without any lumps remaining.
To enhance the richness of your custom polish, consider adding special ingredients like steel mixing balls, which help thoroughly mix the polish when you shake the bottle. If you aim for a sparkly touch, some silver sparkly polish or loose glitter can be mixed into your base. When experimenting with darker or more opaque colors, start with a lighter shade and gradually add small amounts of a darker color. This step-by-step addition allows more control over the final shade, ensuring you achieve the perfect shade without wasting polish.
Exploring the Use of Eyeshadow for Nail Color Customization
When considering how to color clear nails, using eyeshadow is a creative and cost-effective method. Start by selecting a few eyeshadow colors from your makeup collection. Preferably, choose shades that are highly pigmented for a more vibrant outcome. Crush the eyeshadow into a fine powder using the back of a spoon or a rolling pin, ensuring no lumps remain. This powder can then be mixed into a clear nail polish bottle, ideally one with a tiny opening to avoid spills. Shake well to ensure the eyeshadow fully integrates with the clear polish, creating a unique and personalized nail color.
The beauty of using eyeshadow is that it allows for creating custom shades that can be adjusted according to your mood or outfit. For a subtle tint, add a small amount of powdered eyeshadow to the clear polish. For a more opaque color, increase the amount of eyeshadow. Remember to roll the bottle regularly between your hands to keep the eyeshadow from settling at the bottom and to maintain a consistent color throughout the polish. This method not only recycles old makeup but also expands your nail polish collection without purchasing new colors.
Exploring the Role of Base Coats in Coloring Clear Nails

When diving into how you color clear nails, the importance of a good base coat cannot be overstated. A base coat not only protects the nail from being stained by pigments but also helps in creating a smooth canvas for the application of color. Whether you're using a dark purple polish or a light orange polish, starting with a clear base coat ensures that the colors pop without altering their hue. It's advisable to choose a high-quality base coat from a beauty supply store to avoid quick chipping and to enhance the longevity of your nail art.
Moreover, the base coat plays a crucial role in nail polish adhesion. Applying a thin layer of base coat before adding your chosen colorant, such as loose powder or eyeshadow colors, helps achieve a more even and consistent powder color distribution. This technique is particularly useful when mixing polishes to create your custom shade. Ensure the base coat is completely dry before adding layers of colored polish or special effects like glitter for that perfect glossy finish.
Exploring the Use of Gel Polish on Clear Nails

Gel polish offers a durable and vibrant option for those wondering how to color clear nails. Unlike regular nail polish, gel polish requires curing under a UV or LED lamp, ensuring a longer-lasting finish. Start by applying a thin base coat and cure it as directed. Next, choose your gel polish color. For a unique twist, mix a few gel polish colors on a paint palette before application to create your custom shade. This method not only enhances the durability of your nail color but also gives your clear nails a glossy, professional look.
The beauty of using gel polish on clear nails lies in its ability to maintain a high-gloss finish without frequent touch-ups. After applying your chosen gel color, cure it under the lamp and seal it with a clear top coat for extra shine and protection. This technique is perfect for those who prefer a low-maintenance solution to keep their nails looking salon-fresh. Experiment with different colors and finishes, like adding a layer of silver sparkly polish for a sparkly touch or a darker color for a more dramatic effect.
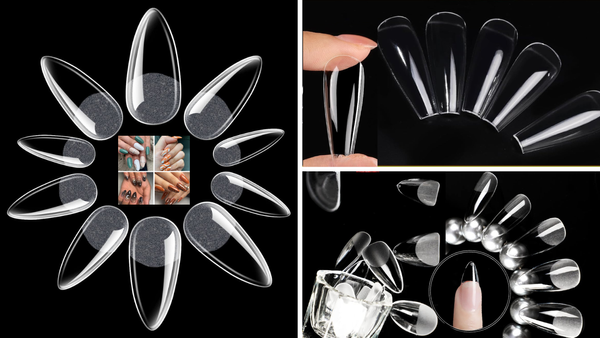
Exploring the Use of Acrylic Nails with Clear Polish
When considering how to color clear nails, acrylic nails offer a robust canvas for experimentation. Acrylics, when paired with clear polish, can be transformed into a work of art using various nail polish colors. Select a clear acrylic base and apply a thin layer of clear nail polish. This method not only enhances the durability of your nail art but also ensures that the colors of your choice—be it dark purple polish or vibrant orange polish—stand out vividly against the clear background. The versatility of acrylics allows for deeper and richer clear nails, providing a perfect showcase for your nail art creativity.
Moreover, coloring acrylic nails with clear polish is straightforward and can be done at home with just a few tools, like a nail polish brush and a paint palette. For those looking to add a bit of flair, mixing silver sparkly polish or adding glitter into your clear polish can create a stunning, sparkly touch that catches the light beautifully. Always seal your design with a top coat to maintain the glossy finish and protect your artwork. This method not only personalizes your style but also keeps your nails looking professional and polished.
Utilizing Eyeshadow Colors to Enhance Clear Nail Polish
Eyeshadow isn't just for your eyelids anymore! A creative and cost-effective way to expand your nail polish collection is by using eyeshadow colors to tint your clear nail polish. Begin by selecting a few eyeshadow colors from your makeup kit—perhaps a light color for a subtle look or a darker color for more drama. Crush the eyeshadow finely (a small paper funnel can help transfer the powder without mess) and mix it into your bottle of clear nail polish. This DIY approach allows you to create a unique, unique shade tailored to your mood or outfit.
The beauty of using eyeshadow is that it creates multiple shades from the same brand or eyeshadow kit, ensuring consistent powder color and quality across your nails. Whether you're looking to achieve a soft, pastel tone or a deeper, opaque color, the integration of eyeshadow into clear polish opens up endless possibilities. Remember to shake the nail polish bottle regularly to keep the eyeshadow from settling at the bottom and to ensure a uniform color distribution throughout your application. This technique not only recycles old makeup but also gives your nails a colorful version of clear polish that’s unique and eye-catching.
Creative Ways to Use Nail Art on Colored Clear Nails
Nail art opens up endless possibilities for personalizing your colored clear nails. Start with a base of clear polish or your chosen colored polish and let it dry completely. Using a fine nail polish brush, you can draw intricate designs or patterns directly on your nails. For those new to nail art, stencils or stickers available at any beauty supply store can be a great help. Choose designs that complement the base color of your polish to make them stand out. This approach not only enhances the beauty of your nails but also allows for a high degree of customization.
For a more adventurous look, consider incorporating materials like tiny beads, foil, or even lace into your nail art. Apply a thin layer of clear polish over your base color, place your chosen materials on the nail while the polish is still tacky, and then seal everything with a top coat. This method can transform your clear nails into a stunning piece of art that will catch the eye. Whether you opt for subtle accents or bold patterns, nail art on colored clear nails offers a creative outlet to express your style while keeping your nails vibrant and unique.
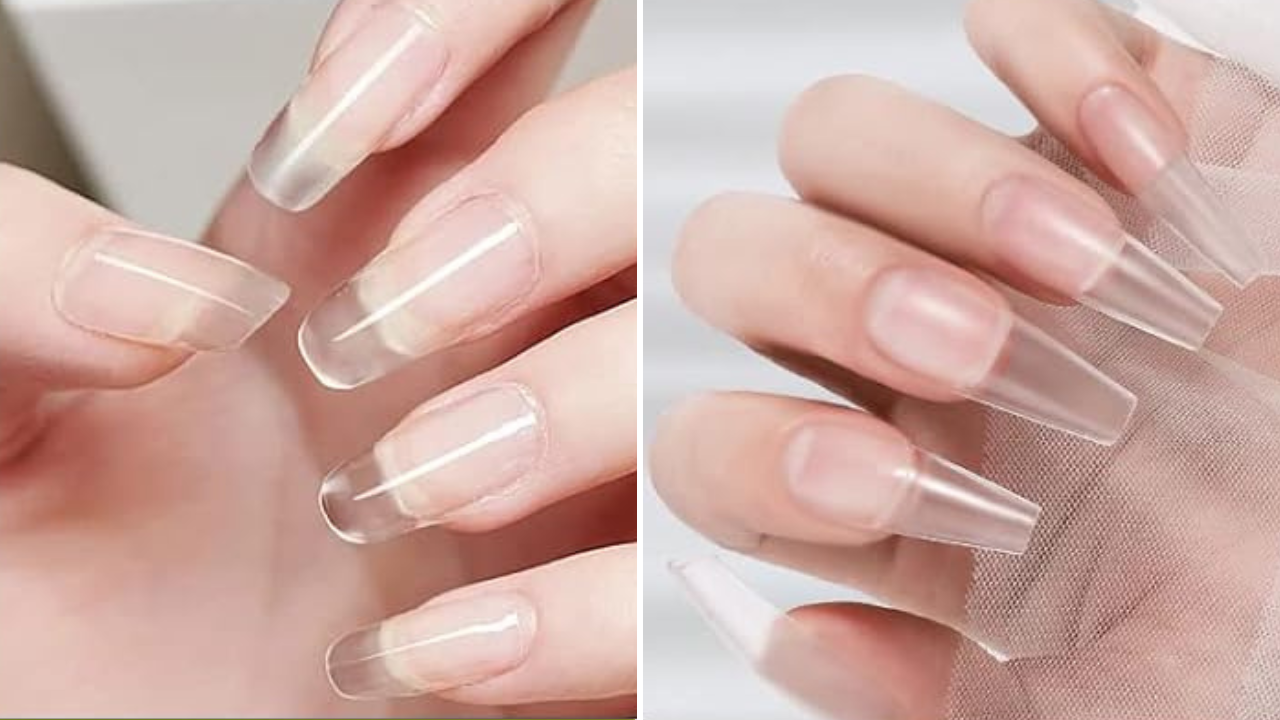
Utilizing Multiple Thin Layers for Richer Clear Nails
Achieving richer, clearer nails often involves strategically applying multiple thin layers of polish. Start with a clear polish as your base, then gradually build the color intensity with your chosen shade, be it a sparkly touch of silver or a solid block of white nail polish. This method allows for greater control over the opacity and depth of the color, enabling you to create everything from a subtle tint to a vibrant, colorful version of clear nails. Each layer should be allowed to dry completely before applying the next to prevent smudging and to maintain a neat finish.
In addition to layering colors, consider using a paint palette or a small plastic cup to mix small amounts of nail polish with different colorants like eyeshadow or powdered pigments. This approach not only customizes the shade but also enhances the richness of the color. For instance, adding a little shadow of dark eyeshadow to a clear polish bottle can transform it into a unique, darker color. Remember to mix thoroughly using a nail polish brush or a tiny opening tool like a small paper funnel to ensure no lumps are remaining, achieving a smooth and even application on your nails.
Incorporating Loose Powder Pigments for Richer Clear Nails
Loose powder pigments offer another excellent option for those looking to customize their clear nail polish. These pigments are available in various colors and can be found at most beauty supply stores or ordered online. To begin, select your desired pigment colors and pour a small amount into a clear nail polish bottle using a small paper funnel to avoid messes. It’s important to choose pigments that are fine and free from lumps to achieve a smooth, even application on the nails.
Mixing your nail polish color with loose pigments allows for much customization. You can create anything from a light, shimmering tint to a deep, richly colored polish. After adding the pigment, insert a few steel mixing balls into the nail polish bottle to help agitate and mix the pigment thoroughly each time you shake the bottle. This ensures the pigment stays evenly distributed, preventing it from clumping or settling. Mixing different pigments to create unique, custom shades that reflect your style and add a professional touch to your nail art designs.
Innovative Tools for Applying Colored Clear Nails
Applying your newly mixed nail polish can be as creative as the mixing process. For a smooth application, a high-quality nail polish brush is essential. Choose a brush with a tiny opening to ensure precise application, especially if working with detailed nail designs or adding fine lines. Alternatively, a makeup brush with fine bristles can be used for more intricate designs, allowing for better control and a professional-looking finish.
For those who enjoy textured effects, tools like a paintbrush or a sponge can be used to dab on color, creating a more layered look. This technique works well with gel polish or acrylic nails, where the thickness of the polish can create interesting textures on the nails. Additionally, using a paint palette can help manage small quantities of polish or mixing multiple shades at once, making the process cleaner and more organized. Whether you're aiming for a glossy finish or a matte look, the right tools can make a significant difference in the outcome of your colored clear nails.
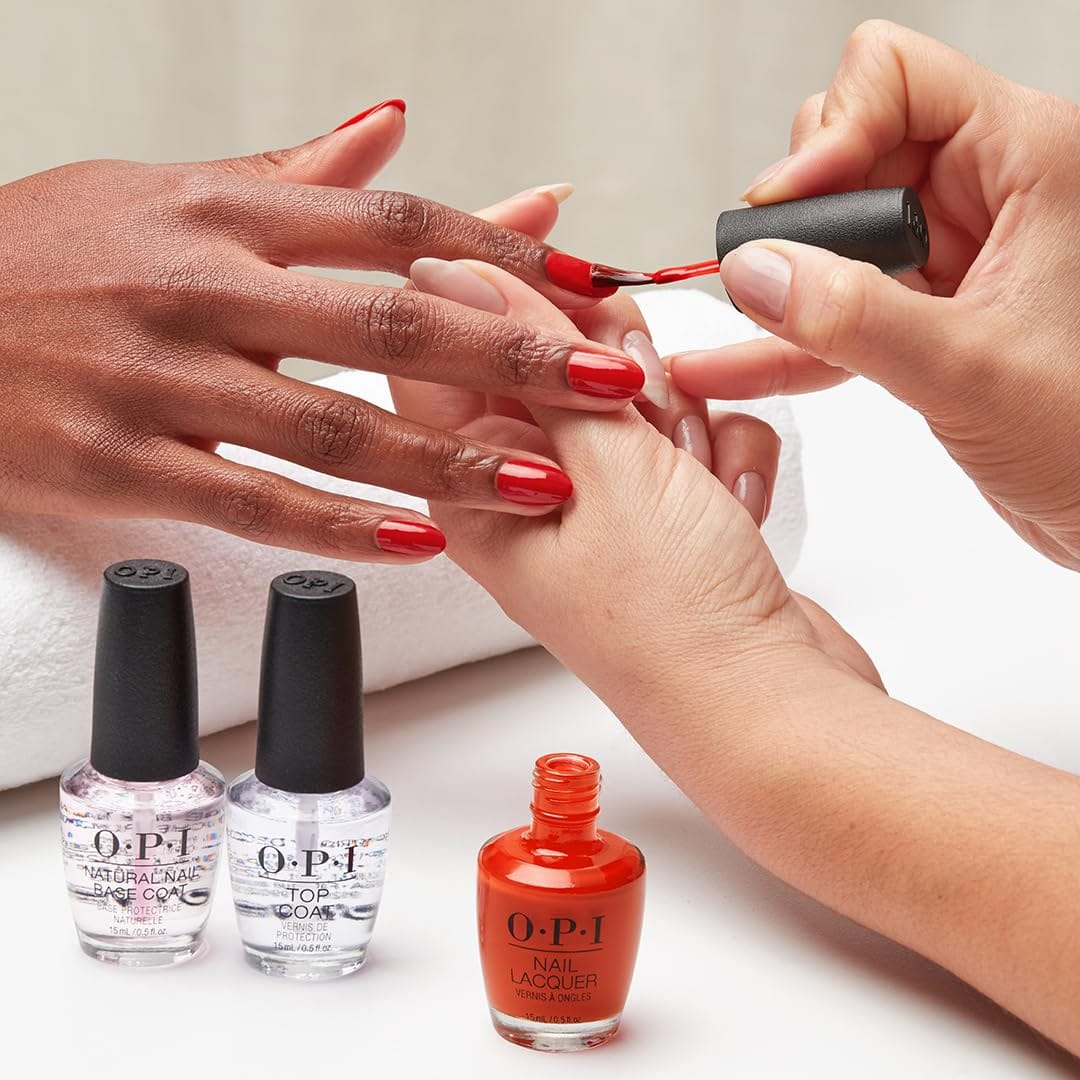
Sealing the Color

To ensure your newly colored nails last longer and resist chipping, apply a clear top coat over the dried polish. This not only seals in color but also provides a glossy finish that enhances the overall look of your nails.
Safe Removal of Nail Color
When you’re ready to change your nail color, it’s important to remove the polish safely to avoid damaging your nails. Use a gentle nail polish remover and avoid excessive rubbing. Soak a cotton ball in the remover, place it on the nail, and hold for a few seconds before gently wiping the color off.
Maintaining Colored Clear Nails
Maintaining your colored clear nails involves regular touch-ups and reapplication of the top coat every few days. This helps preserve the color’s vibrancy and shine. Also, keep your nails hydrated by using cuticle oil and hand cream regularly.
Summary
Coloring clear nails is a fun and creative way to enhance your appearance. By choosing the right materials, preparing your nails properly, and applying your desired shade, you can achieve beautiful and unique nail designs. Remember to seal the color with a top coat and maintain your nails for lasting results.
FAQ Section
What materials do I need to color clear nails?
To color clear nails, you will need clear nail polish as a base, colored polishes or eyeshadow powders for creating custom shades, a mixing tool, and a top coat to seal the color.
How can I create a custom nail polish color at home?
You can create a custom nail polish color by mixing finely crushed eyeshadow with clear nail polish. Mix the powder and polish thoroughly to ensure an even color distribution.
How do I maintain my colored clear nails?
Apply a top coat every few days to maintain the color and shine of your clear nails. Also, keep your nails and cuticles hydrated with cuticle oil and hand cream.