


Key Takeaways:
- Preparation is Key: Properly preparing your natural nails ensures a smoother application and longer-lasting wear.
- Tools and Techniques Matter: Using the right tools and techniques can differentiate amateur and salon-quality results.
- Aftercare is Essential: Proper aftercare helps maintain the health of your natural nails and extends the life of your acrylic nails.
Applying clear plastic nails, commonly known as acrylic nails, can transform the appearance of your hands dramatically. Whether you're preparing for a special occasion or want to add some length and strength to your natural nails, mastering the application of acrylic nails can save you trips to the nail studio and customize your look from the comfort of your home.
Understanding Acrylic Nails

Acrylic nails combine a liquid monomer and a powder polymer that create a hard protective layer over your natural nails. Acrylics can be applied in clear form or painted with nail polish to match any desired style. The clear version is particularly popular for its versatile and glass-like appearance.
Gather Your Materials
Before you start, ensure you have all the necessary tools. You will need:
- Acrylic nail kit, which includes acrylic powder, acrylic liquid (monomer), and an acrylic brush
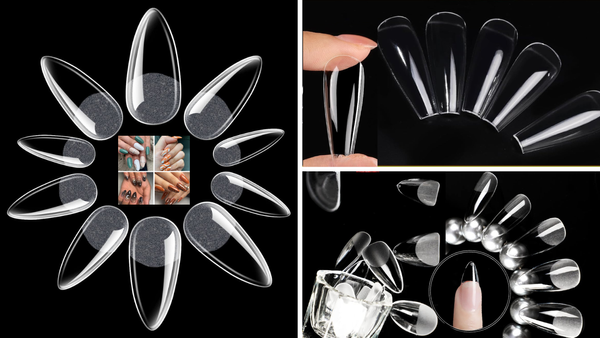
- Nail tips and nail glue
- Nail file and nail scissors
- Cuticle pusher and cuticle oil
- Polish remover and paper towels
- Optionally, clear nail polish or top coat for extra shine
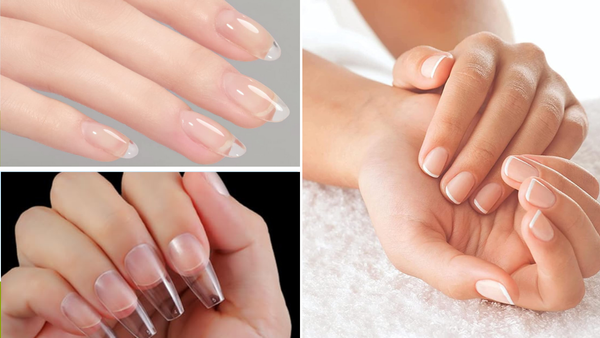
Preparing Your Natural Nails

The first step in applying acrylic nails is to prepare your own nails. This involves cleaning your nails thoroughly with polish remover to eliminate any old polish or oils. Next, use a soft file to shape your nails to the desired length and gently push back your cuticles with a cuticle pusher. It's crucial to avoid cutting the cuticles, as this can lead to infections.
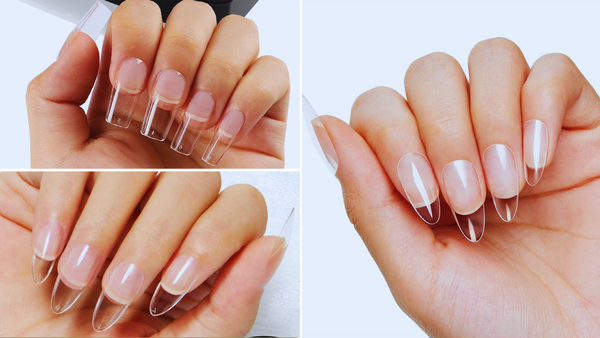
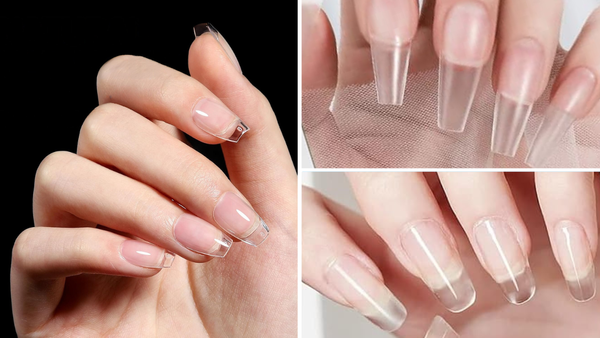
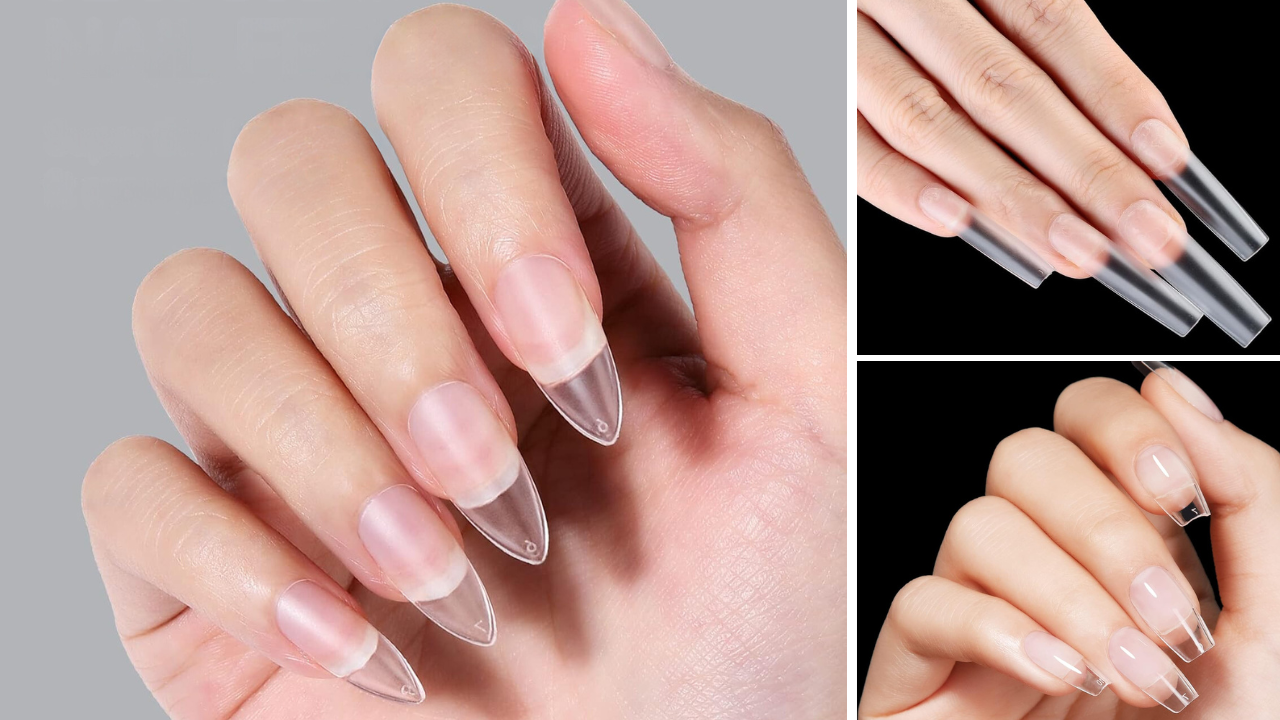
Attaching the Nail Tips
Choose a nail tip that fits each nail snugly. Apply a small amount of nail glue to the bottom edge of the tip, then press it firmly onto your natural nail, holding it in place until it sets. Be careful to align it correctly to avoid any unevenness. Once all the tips are securely attached, use nail scissors to trim them to your preferred length.
Enhancing Durability: Top Coat and Cuticle Oil Application

When you've mastered applying clear plastic nails, ensuring they last while keeping your natural nails healthy is crucial. After applying the acrylic mixture and achieving the desired shape and buff, it’s time to add a top coat. This not only gives your nails a glossy finish but also acts as a protective barrier against chips and scratches. Apply a thin layer of top coat evenly across the entire nail, ensuring it seals the edges of the acrylic tip. Allow it to dry completely, which usually takes 2-3 minutes under a UV or LED lamp.
Following the top coat, nourishing the cuticle area is essential to maintain nail health and enhance growth. Use a cuticle oil that is enriched with vitamins and minerals. Apply a small amount around the bottom edge of each nail and gently massage it into the skin. This not only hydrates and softens the cuticles but also helps to prevent hangnails and promotes healthier, stronger natural nails. Regular application of cuticle oil can significantly improve the appearance and condition of both your natural and acrylic nails.
Essential Tools for Acrylic Nail Application
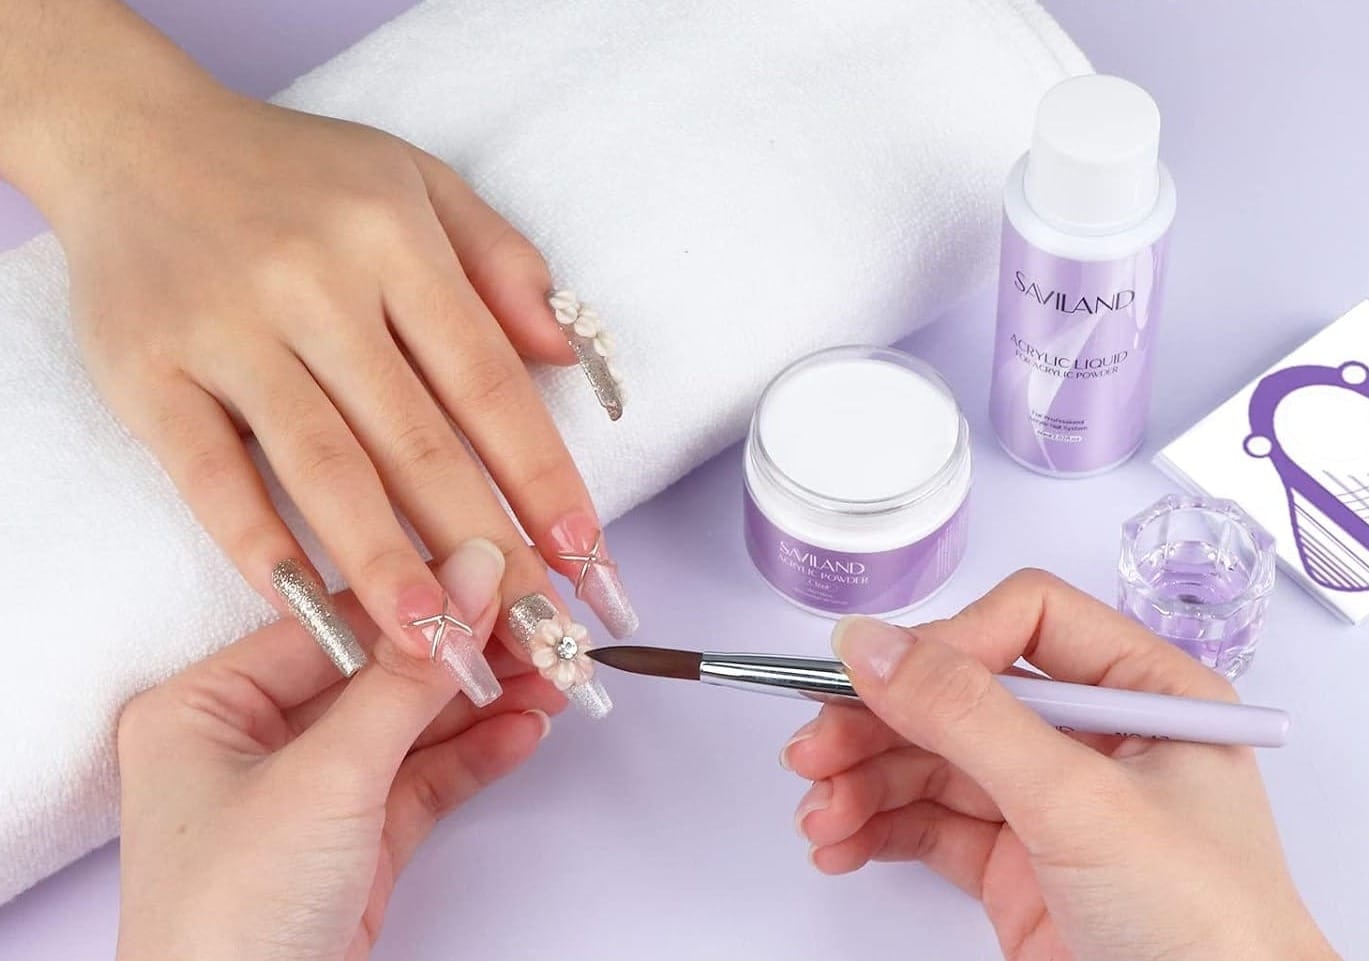
When considering how to apply clear plastic nails, it's crucial to start with the right tools. An acrylic nail kit typically includes acrylic powder, acrylic liquid (often called monomer), a high-quality brush, and a nail file. These are the basics, but for a comprehensive setup, also consider having a cuticle pusher, nail scissors, and a buffer. Each tool plays a pivotal role; for instance, the acrylic brush should be chosen carefully as its size and shape affect how it is applied to the natural nail bed, ensuring a smooth finish and reducing air bubbles.
Moreover, the quality of the acrylic liquid and powder is paramount. High-quality materials ensure that the acrylic nails adhere better and last longer without lifting. When mixing your acrylic nails, the ratio of liquid to powder must be precise to achieve the right consistency. This mixture is then applied using the acrylic brush, starting from the bottom edge of the nail bed and gently working upwards to the tip. Ensuring the right tools and materials are in place can significantly enhance the durability and appearance of acrylic nails.
Pre-Application Preparation: Ensuring Nail Health
Before applying acrylic nails, preparing the natural nails is essential to ensure a smooth application and to prevent damage. Start by thoroughly cleaning the nails and removing old polish with a non-acetone remover. This helps prevent infections and ensures that the acrylic adheres properly. Next, gently push back the cuticles with a cuticle pusher, careful not to cut or tear the skin around the nails. This step is crucial as it helps create a clean canvas for the acrylic application.
Additionally, it's important to shape the natural nails using a soft file to avoid any sharp edges that could cause the acrylic to lift. Filing should be done gently to prevent thinning of the natural nail, which can lead to breakages. After shaping, use a paper towel dipped in warm water to wipe down the nails and remove any dust or excess oil. This preparation ensures the nail bed is clean and dry, which is critical for the acrylic mixture to adhere properly. Taking these preparatory steps seriously can make a significant difference in the longevity and overall health of both natural and acrylic nails.
Creative Expressions: Nail Painted Designs
Applying clear plastic nails doesn’t mean you have to skip on personal style and creativity. Once your acrylic nails are securely in place and the top coat has dried, the real fun begins. You can opt for nail-painted designs that range from simple polka dots to intricate art that reflects your personality or mood. Use a thin brush or a dotting tool to apply gel polish to your chosen colors and designs. Whether it’s a floral pattern, abstract shapes, or a glittery finish, ensure each layer of polish is dry before applying the next to avoid smudging.
Moreover, for those special occasions or to add a bit of flair, consider adding embellishments such as tiny stones, beads, or decals. Apply a small dab of nail glue to secure these elements, then seal everything with another layer of top coat. This not only ensures the longevity of your design but also adds an extra layer of protection to your nails. Experimenting with different designs and accessories can turn your acrylic nails into a canvas of self-expression and artistry.
Mixing the Acrylic
Pour the acrylic liquid into the dish, and have your acrylic powder ready. Dip your acrylic brush into the liquid, wipe off the excess liquid, then dip it into the powder. A small, moist ball of acrylic mixture should form on the brush. This ratio is crucial for creating a durable acrylic nail.
Applying the Acrylic Mixture
Starting at the smile line of your natural nail, gently place the ball of acrylic mixture onto the nail bed. Use the brush to flatten the acrylic and smooth it over the entire nail and tip. Ensure the mixture is thin at the cuticle area and thicker towards the center and tip for strength. Avoid letting the acrylic touch your skin or cuticles.
Shaping and Buffing
Once the acrylic is set and hard to the touch (usually about 10 minutes), shape the nails with a nail file. Be gentle but firm to create your desired nail shape. After shaping, buff the surface of the nails to ensure they are smooth and even.
Finishing Touches
If you wish, apply clear nail polish or a top coat to give your new acrylic nails a glossy, finished appearance. Allow them to dry completely. Finally, apply cuticle oil around the base of each nail to rehydrate your skin and complete your manicure.
Aftercare Tips
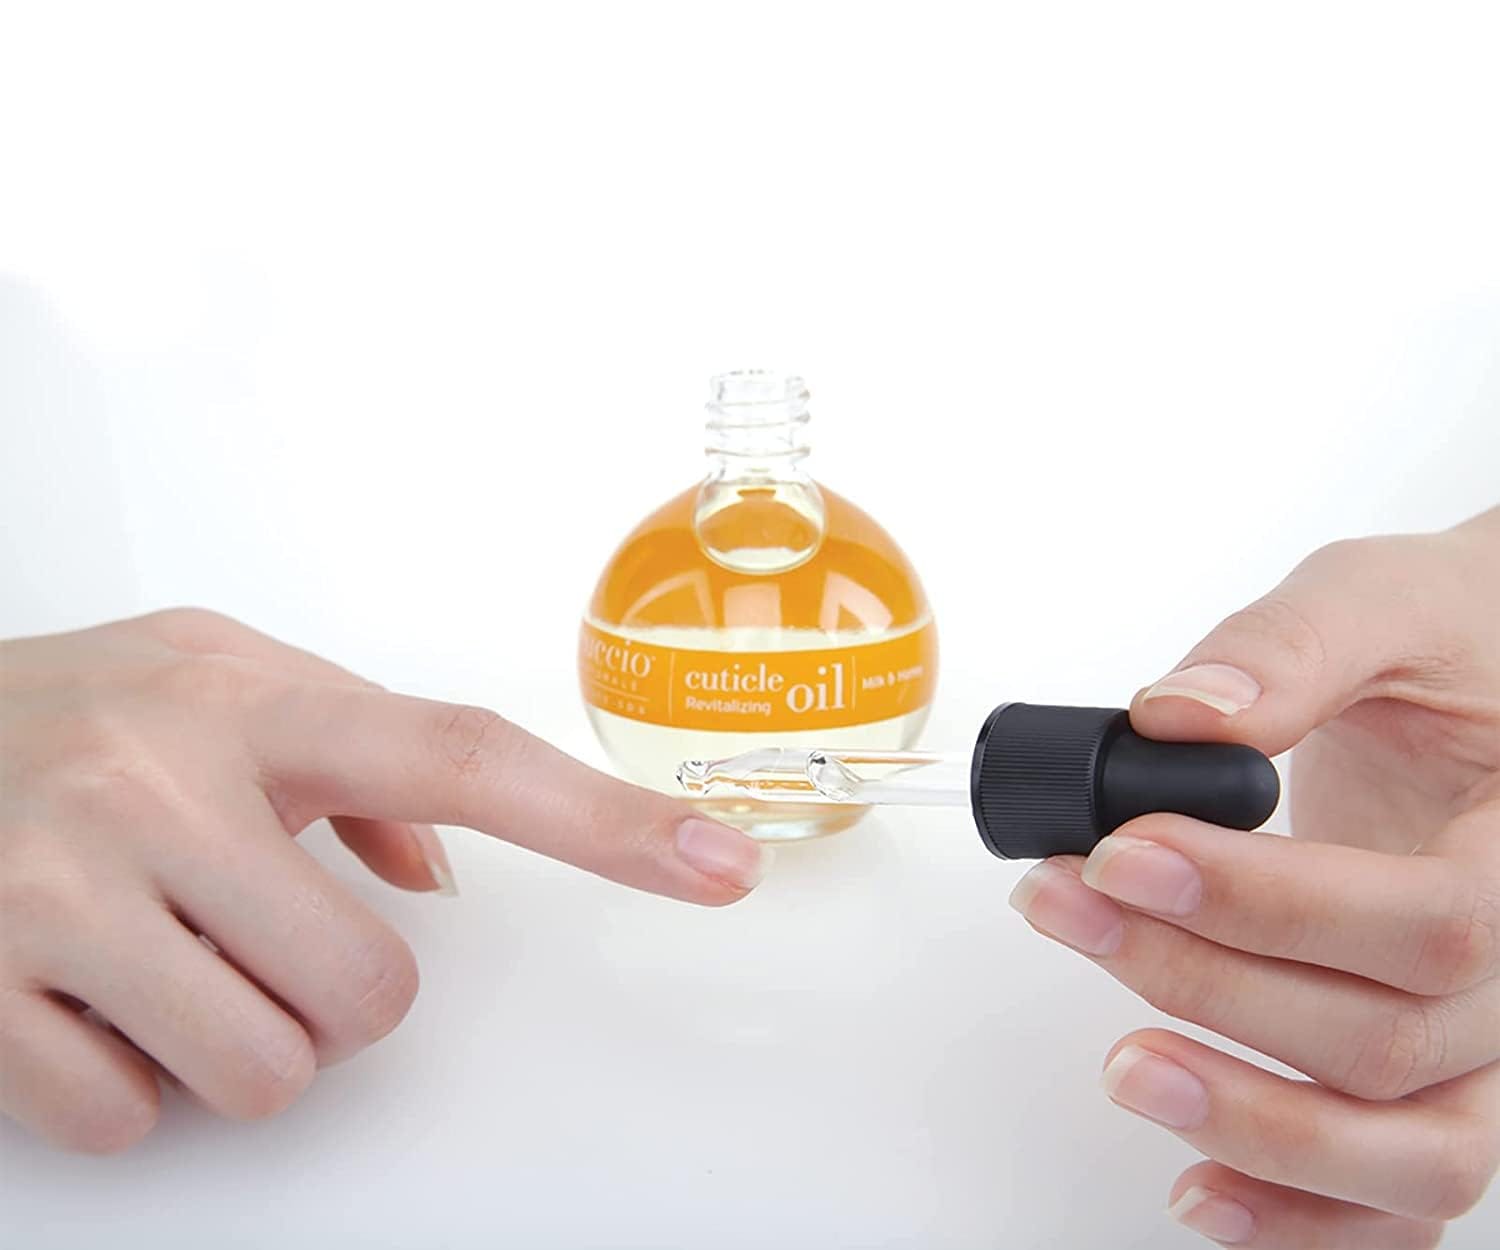
To maintain your acrylic nails, avoid prolonged exposure to water and harsh chemicals. Use gloves when cleaning, and regularly apply cuticle oil to moisturize the area. If a nail lifts or breaks, visit a professional nail technician to have it properly repaired to avoid damage to your natural nail bed.
Summary
Applying clear plastic nails at home can be a rewarding DIY project that not only saves money but also allows you to customize your nail art. Following the instructions above, from preparation to aftercare, you can achieve durable and attractive acrylic nails that look professionally done.
FAQ
How often should I redo my acrylic nails?
Typically, acrylic nails must be filled every 2-3 weeks, depending on nail growth and wear and tear.
Can applying acrylic nails damage my natural nails?
If applied and removed correctly, acrylic nails should not cause significant damage. However, improper application or removal can weaken your natural nails.
Is it necessary to use both acrylic powder and liquid?
Yes, combining the acrylic powder and liquid creates the hard, durable layer that characterizes acrylic nails. Using only one or the other will not produce the same results.