


Gel nail strips have revolutionized the world of manicures, offering a quick, easy, and long-lasting alternative to traditional nail polish. If you want a salon-quality manicure at home, gel nail strips are the way to go. In this comprehensive guide, we'll walk you through applying gel nail strips, ensuring your nails look fabulous for any occasion.
Key Takeaways:
- Learn the step-by-step process of applying gel nail strips for a flawless manicure.
- Discover tips and tricks to ensure your gel nail strips last up to two weeks.
- Understand how to properly remove gel nail strips without damaging your natural nails.
Preparing Your Nails
Before you dive into the world of gel nail strips, it's crucial to prepare your natural nails for the best possible outcome. Start by using nail clippers to trim your nails to the desired length. Next, gently push back your cuticles with a cuticle stick or oil to ensure the nail bed is clean and clear. Remember, the key to a perfect gel strip application is starting with a smooth, clean surface.
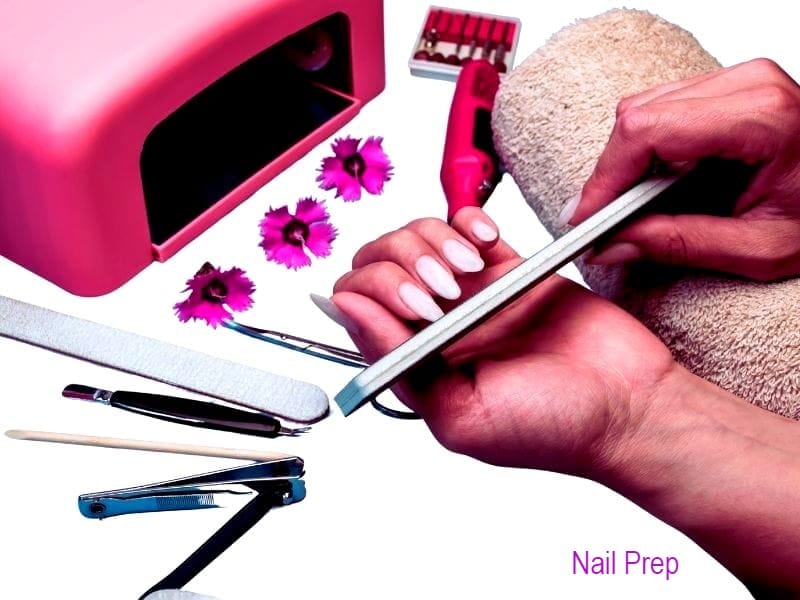
Once your nails are trimmed and your cuticles are cared for, use a nail file to shape your nails. Whether you prefer a round, square, or almond shape, filing your nails helps the gel nail strips adhere better. After shaping, cleanse your nails with an alcohol wipe or rubbing alcohol to remove any oils or residue. This step is crucial for ensuring the adhesive on the nail strips sticks firmly to your natural nail.
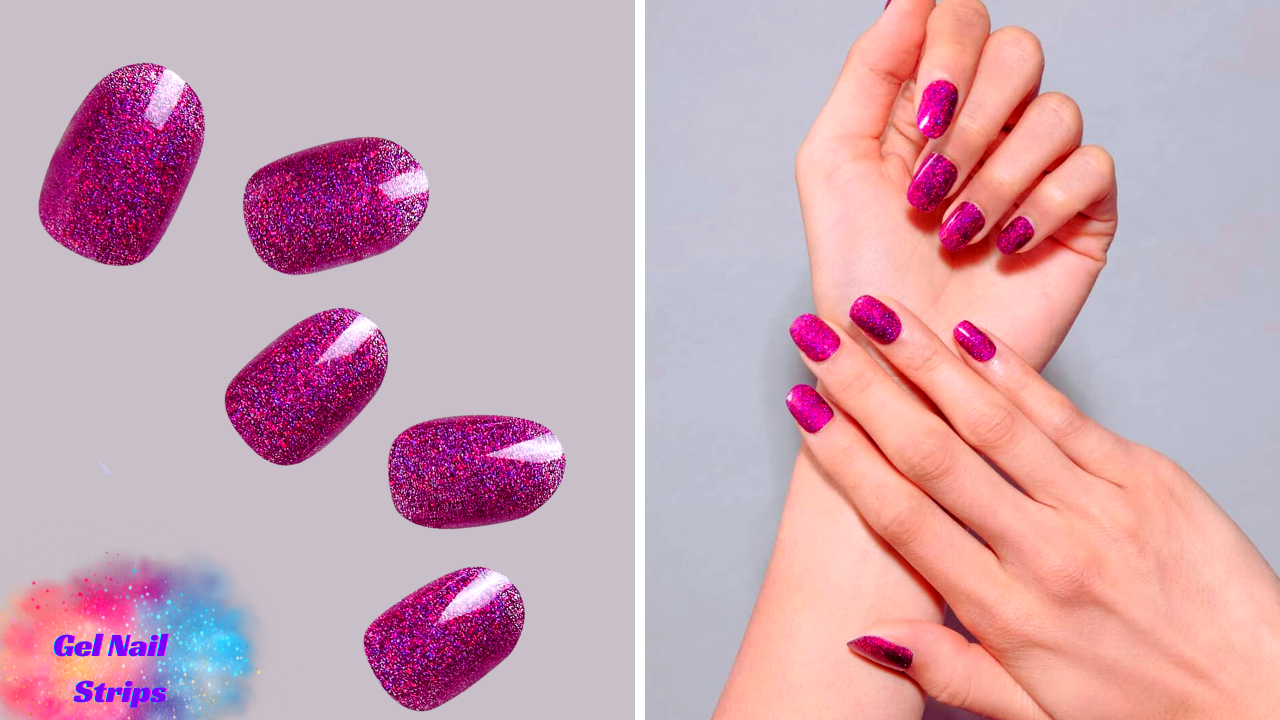
Choosing the Right Size
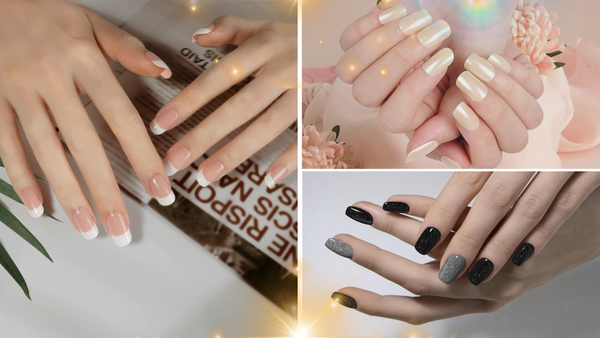
Gel nail strips come in various sizes to fit different nail beds. It's important to select the size that best fits your nails for a natural and seamless look. If you're in between sizes, always opt for the smaller size and gently stretch the strip to fit your nail. This ensures there are no excess edges that could lift or snag.
When you've found the perfect fit, peel the nail strip off its backing and position it close to, but not touching the cuticle. Firmly press the strip onto your nail, starting from the base and smoothing it towards the edges. If you encounter any air bubbles, gently press them out towards the sides.
The Application Process
Applying gel nail strips is a straightforward process that requires patience and precision. Once you've selected the right size strip, remove the clear protective layer and align the strip with your cuticle line. Press the strip onto your nail bed, starting from the bottom and working your way up, ensuring there are no wrinkles or air bubbles.
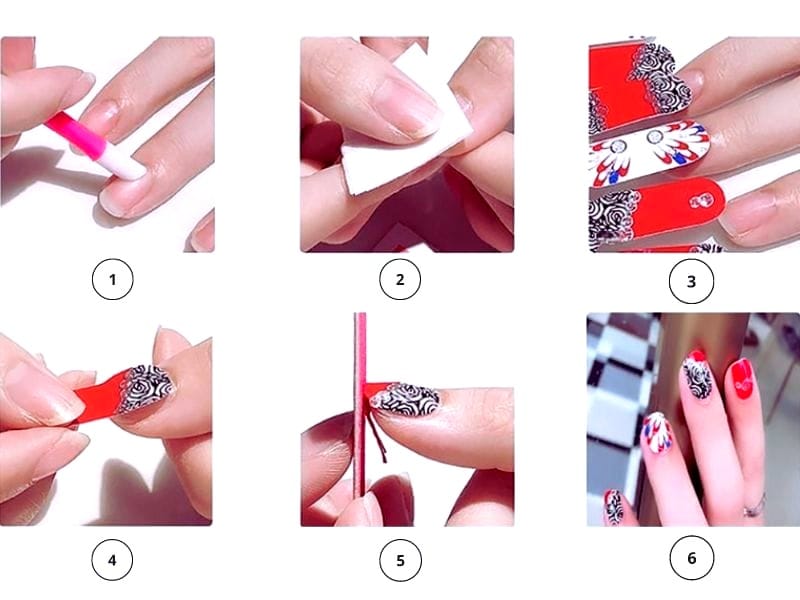
Use the flat end of the nail file or a rubber-tipped cuticle pusher to firmly press the strip onto your nail, paying special attention to the edges. This helps the gel nail strip to bond securely to your natural nail, reducing the likelihood of lifting or peeling.
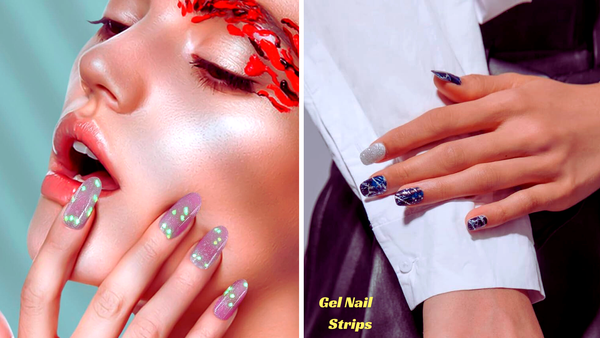
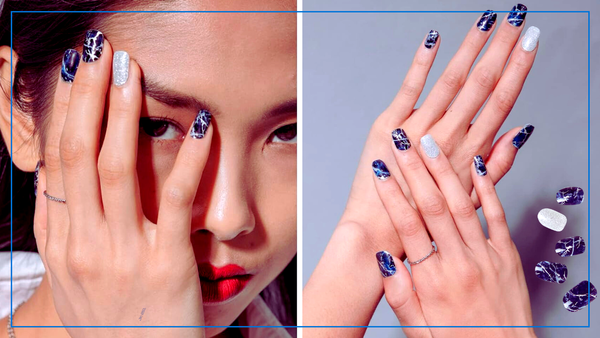
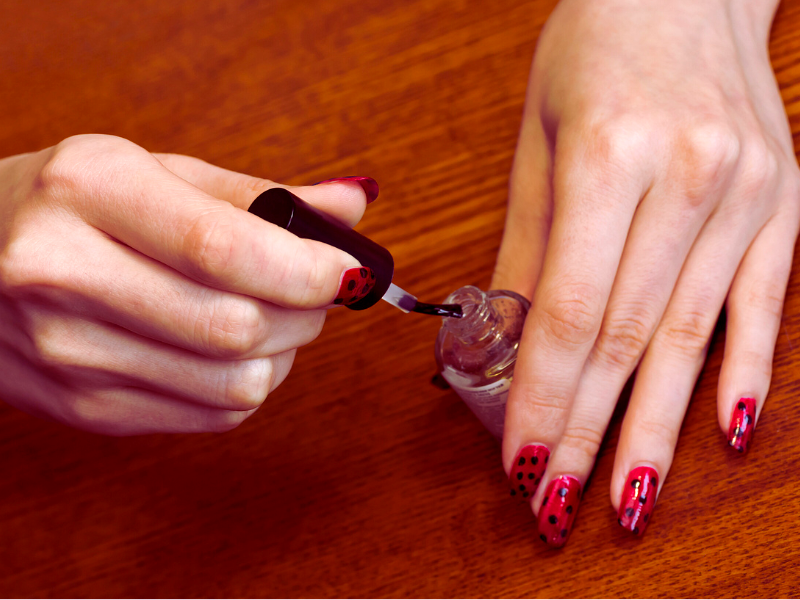
Customizing Your Gel Nail Strip Designs
Have you ever wondered how to make your gel nail strips uniquely yours? It's simpler than you might think! Start by selecting a base design that resonates with your style. From there, consider layering different nail stickers or adding a touch of nail art using a fine brush and gel nail polish. This customization can transform a standard gel strip into a miniature canvas showcasing creativity. Let each layer dry completely before adding the next to avoid smudging your masterpiece.
Customization doesn't stop at art; it extends to the shape of the strips themselves. If the pre-cut strips don't perfectly fit your nail bed, don't hesitate to trim them down. Use a small pair of nail clippers or a nail file to gently adjust the edges of the strip for a perfect fit. This ensures that your gel nail strips not only reflect your unique style but also adhere smoothly to your natural nails without any pesky air bubbles or awkward overlaps. With a bit of patience and precision, your customized nail strips will look as though they were professionally tailored just for you.
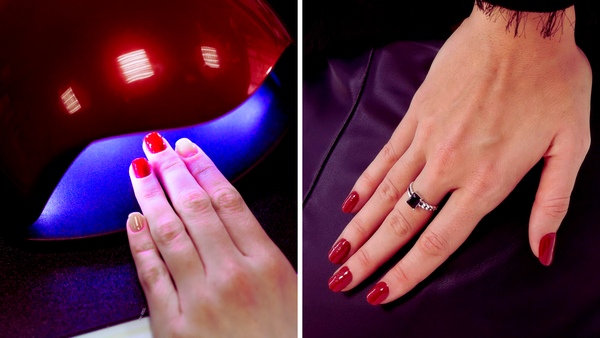
Sealing the Deal with a Top Coat
For added durability and shine, apply a gel top coat over your nail strips. This not only enhances the nail color but also extends the wear of your manicure. Allow the top coat to dry completely before using your hands, ensuring the longevity of your gel nail strips.
If you can access an LED lamp, you can cure the top coat for a more resilient finish. Simply apply the gel top coat as directed and place your nails under the LED light for the recommended time. This step is optional but highly recommended for those seeking a manicure that mimics the quality of a professional salon.
Time to Say Goodbye: Removal Tips
When it's time to remove your gel nail strips, do so gently to avoid damaging your natural nails. Soak a cotton ball in nail polish remover and place it over the nail strip. Wrap your finger in foil to keep the cotton ball in place and let it sit for a few minutes. The nail strip should then peel off easily. If there's any residue left, use a nail file or buffer to gently remove it.
After removing the gel nail strips, nourish your natural nails with cuticle oil to restore moisture and maintain nail health. This step is essential for keeping your nails strong and ready for your next manicure.
Summary
Applying gel nail strips is a simple yet effective way to achieve a stunning manicure at home. By following the steps outlined in this guide, you can ensure your nails look professionally done and last for up to two weeks. Remember to prepare your nails properly, choose the right size strips, apply them carefully, and seal them with a top coat for maximum durability. With these tips, you'll enjoy beautiful, salon-quality nails without the salon price tag.
FAQ Section
How long do gel nail strips typically last?
Gel nail strips can last up to two weeks with proper application and care. Using a top coat and avoiding harsh chemicals can extend their wear.
Can I use gel nail strips on short nails?
Yes, gel nail strips can be used on nails of any length. Just make sure to choose the right size and trim any excess for a perfect fit.
Is it necessary to use an LED lamp when applying gel nail strips?
While not necessary, an LED lamp to cure the top coat can provide a more durable and long-lasting finish to your gel nail strip manicure.