


Key Takeaways:
- Gel strips can be applied without UV light, but their durability and finish may differ from traditional gel polish.
- UV or LED lamps are essential for curing certain types of gel nail wraps to achieve a salon-quality manicure.
- Understanding the different types of gel strips and their application processes can help you decide the best approach for your nails.
Gel nails have revolutionized the beauty industry, offering long-lasting, shiny, chip-resistant manicures. Among the many options, gel strips have emerged as a convenient alternative to traditional gel polish. But the question remains: do you need UV light for gel strips? This article delves into the intricacies of gel nail strips and whether a UV lamp is necessary for that perfect manicure.
What Are Gel Nail Strips?
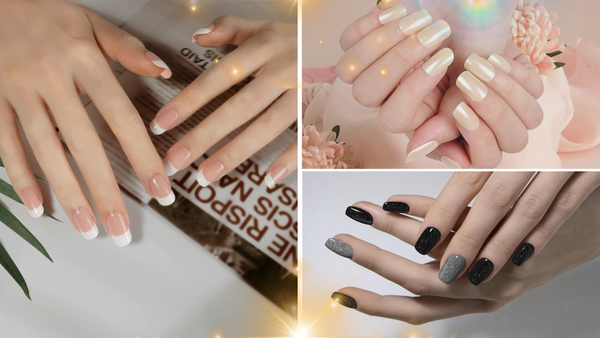
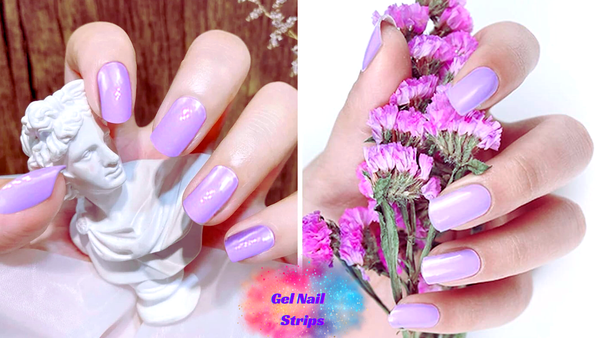
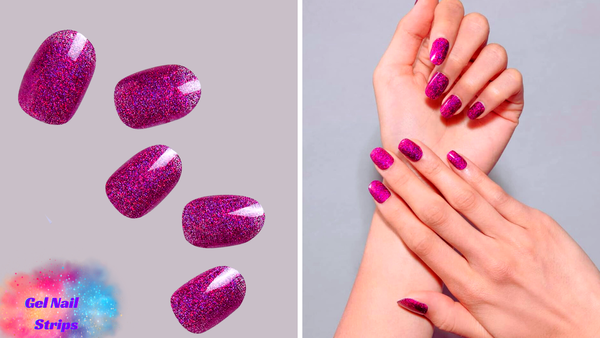
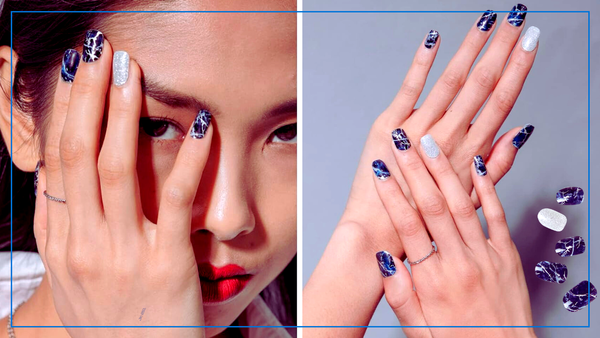
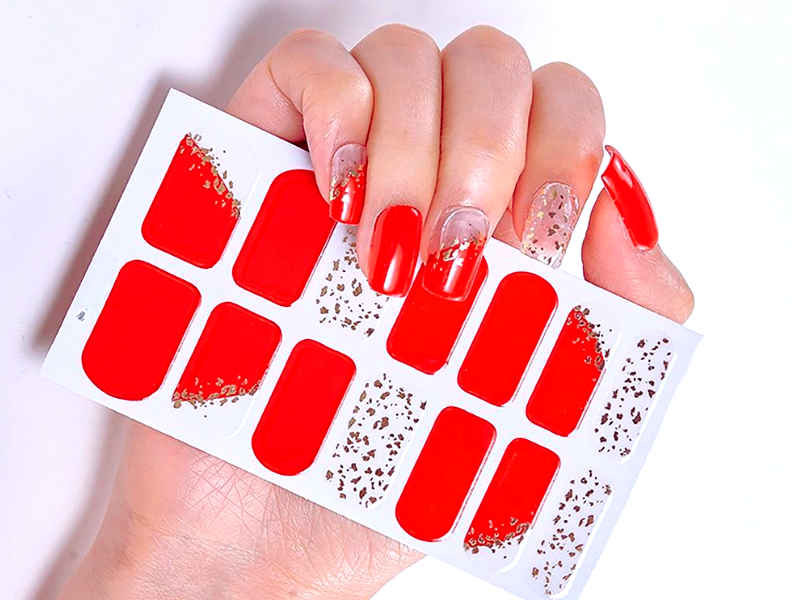
Gel nail strips are a modern twist on traditional nail polish strips. They are essentially thin layers of semi-cured gel nail polish specially designed to adhere to your natural nails. Unlike regular nail stickers, gel nail strips offer a thicker, more durable coat that mimics the appearance and feel of a gel manicure done at a salon. They come in various nail color options, from the subtle and natural to the bold and artistic, complete with nail art designs.
The Role of UV Light in Gel Manicures
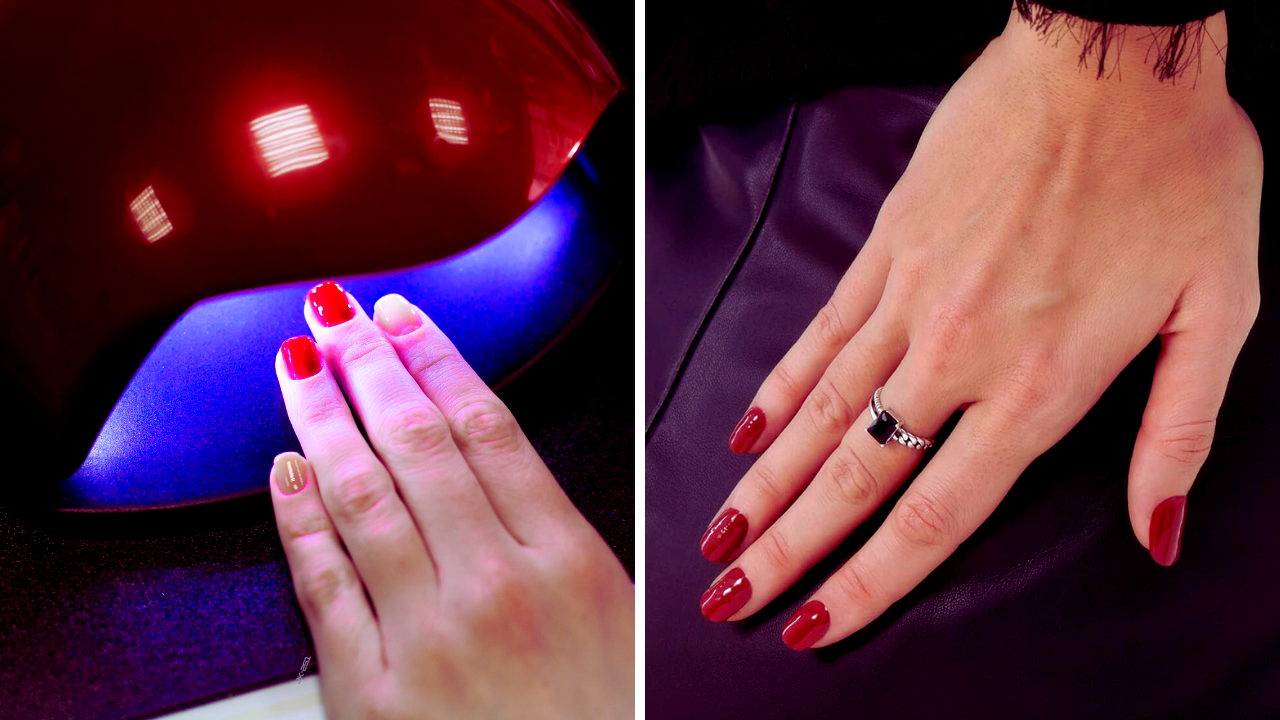
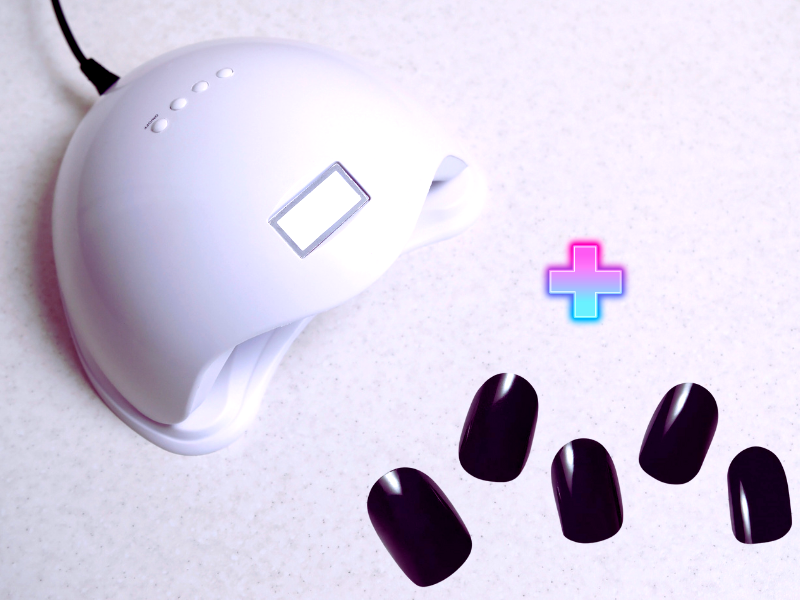
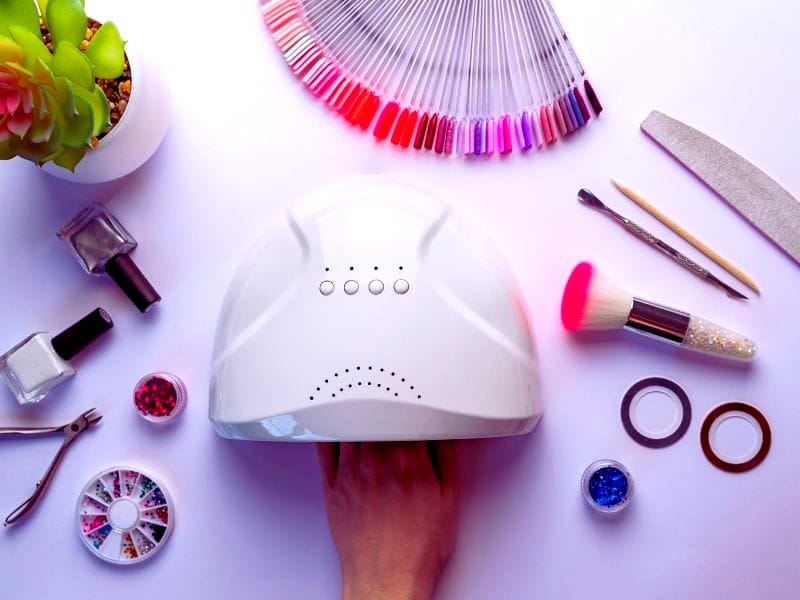
In a typical gel manicure, a base coat is applied, followed by the gel nail polish and then a gel top coat. Each layer needs to be cured under a UV or LED lamp to harden and set the polish. The curing process is what gives gel nails their long-lasting and shiny finish. UV rays or LED light trigger a chemical reaction that turns the liquid gel into a hardened, durable layer. Without this step, the gel would remain tacky and not adhere properly to the nail.
Gel Strips and UV Light: Is It Necessary?
Regarding gel nail strips, the need for a UV lamp can vary. Some gel strips are designed to work without additional curing, making them a quick and easy option for a home manicure. These are typically made from the semi-cured gel that will fully cure and harden over time once applied to your nails. However, for a faster and potentially more durable finish, using a UV or LED lamp to cure the gel strips can be beneficial.
The Benefits of Using UV Light with Gel Strips
Using a UV or LED lamp to cure gel, nail stickers can enhance their life span and ensure they are fully cured. This process can make the gel strips more resilient to peeling and chipping, providing a salon-quality manicure that lasts. The light helps to harden the gel thoroughly, ensuring each layer bonds to create a solid, shiny top layer that is resistant to daily wear and tear.
Types of Lamps: UV vs. LED
When it comes to curing nail wrap, there are two types of lamps available: UV lamps and LED lamps. UV lamps emit a broad spectrum of UV rays, which can take longer to cure the gel polish. On the other hand, LED lamps use specially designed LED light to cure gel polish faster. Both nail lamps are effective, but LED lamps tend to be quicker and more energy-efficient.
Maximizing Longevity: How to Extend the Life Span of Your Gel Strips
When it comes to gel nail strips, longevity is key. You've invested time and creativity into your nail art, so naturally, you want it to last. The life span of your gel manicure can be extended with a few simple steps. First, ensure that your natural nails are prepped correctly before application. This means using a nail file to shape your nails and a bit of rubbing alcohol to remove any oils that could prevent the gel strips from adhering properly. Starting with a clean, dry surface can make a difference in how long your gel nail wraps will last.
In addition to proper nail prep, applying the gel strips can also affect their durability. After positioning the strip, press down firmly and stretch it slightly to ensure a smooth fit without any wrinkles or bubbles. Once applied, sealing the deal with a gel top coat can add an extra layer of protection. This top coat should be fully cured under a UV or LED lamp, creating a hardened, shiny finish that resists chipping and peeling. Remember, extra time spent on the application can mean enjoying your stylish nails for much longer.
Creative Nail Art with Gel Strips: Unleashing Your Inner Artist
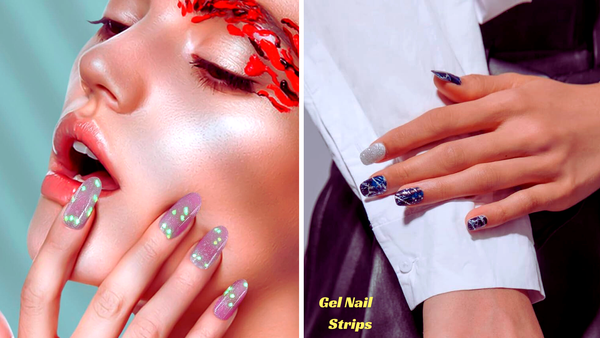
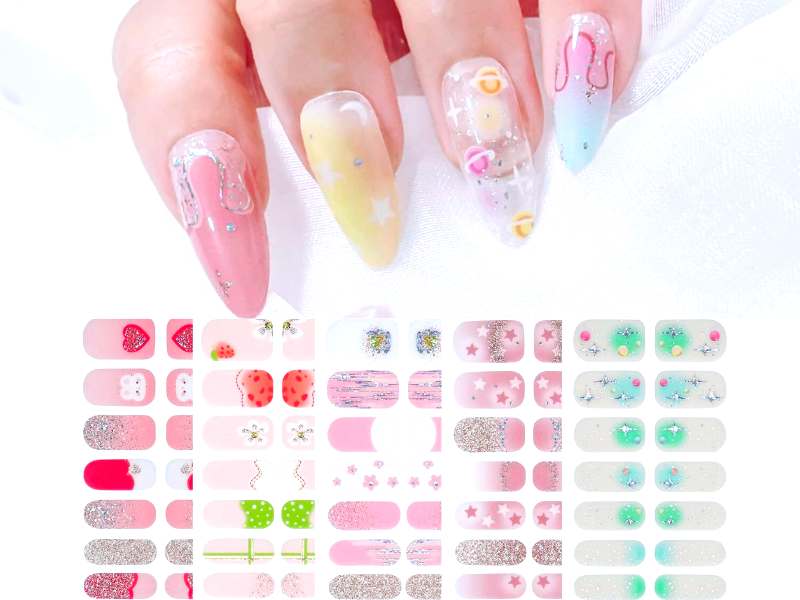
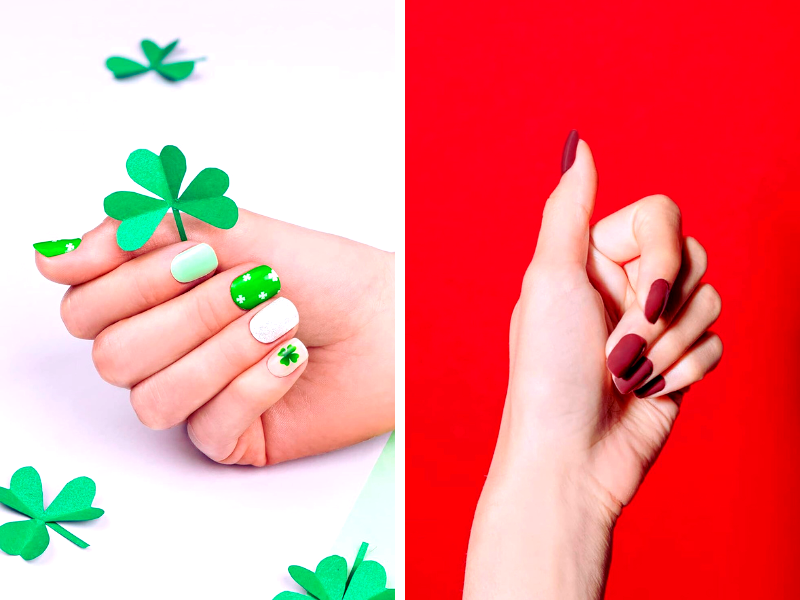
Gel nail strips aren't just about sporting a single, solid color. They open a world of creative possibilities for those who love nail art. Nail stickers and gel nail wraps come in various designs, allowing you to mix and match for a custom manicure. Imagine combining a marble effect with a glittery accent nail or applying delicate floral patterns that would be challenging to hand-paint. With gel nail strips, you can achieve intricate designs that look professionally done right from the comfort of your home.
For those who enjoy a bit of DIY, semi-cured gel nail wraps can be a canvas for your creativity. After applying a base layer of gel nail polish, you can add nail stickers or create your designs using nail polish strips. Once you're satisfied with your artwork, a UV lamp or LED lamp will help to cure the top coat, ensuring your nail art stays put. This method not only enhances the lifespan of your manicure but also allows for a personalized touch that reflects your unique style.
Nail Care Post-Manicure: Tips for Maintaining Gel Nails
After you've achieved the perfect home manicure with your gel nail strips, maintenance becomes the next priority. To keep your nails looking their best, cuticle oil should become your best friend. Regularly applying cuticle oil not only keeps your cuticles healthy but also adds moisture to your nails, which can prevent the gel from lifting. Additionally, wearing gloves while doing household chores that involve water or harsh chemicals can protect your gel strips from premature wear and tear.
Another tip for maintaining gel nail wraps is to avoid using your nails as tools. Opening cans or peeling stickers can cause the edges of your gel strips to lift or become damaged. If you do notice a bit of lifting, resist the urge to peel or pick at the gel. Instead, use a small amount of glue designed for nail wraps to re-adhere any loose edges. With these care tips, your gel manicure can remain as fresh and vibrant as the day you applied it, allowing you to enjoy your beautiful nails for as long as possible.
Application Process for Gel Strips with UV Light
Applying gel strips with the aid of a UV or LED lamp follows a specific process. First, you must prepare your nails by cleaning them with rubbing alcohol and pushing back the cuticles. Next, select the appropriate size gel strip for each nail and apply it, stretching and smoothing it out to avoid air bubbles. Once the strips are in place, you can use the lamp to cure the gel, following the manufacturer's recommended curing time.
Can You Apply Gel Strips Without UV Light?
Yes, it is possible to apply gel strips without using a UV or LED lamp. These nail wraps are designed to adhere to your nails without the need for additional curing. However, the final result may not be as durable or shiny as strips that have been cured with light. For those who prefer a quick and straightforward application, non-curing gel strips can be a convenient option.
Tips for a Successful Gel Strip Manicure
For a successful gel strip manicure, it's essential to follow a few tips. Ensure your nails are clean and free from oils before application. Apply the strips carefully, smoothing out any wrinkles or bubbles. If you're using a UV or LED lamp, cure the strips according to the instructions. After curing, you can apply a gel top coat for extra shine and protection, then cure again.
The Pros and Cons of UV Light for Gel Strips
Using UV light for gel strips comes with its pros and cons. On the plus side, it can extend the wear of your manicure and provide a shinier finish. However, there are concerns about exposure to UV rays and the potential for skin damage. To mitigate this, you can use sunscreen on your hands or opt for LED lamps, which emit less harmful light.
Alternatives to UV Light for Gel Strips
For those who prefer to avoid UV light, there are alternatives. Some brands offer gel nail wraps that do not require a lamp to cure. These can be a great option for a quick manicure on the go. Additionally, there are nail polish strips that mimic the look of a gel but do not require any curing, although they may not last as long.
Maintaining Your Gel Strip Manicure
To maintain your gel strip manicure, whether cured with UV light or not, it's important to take care of your nails. Use cuticle oil regularly to keep your nails and cuticles hydrated. Avoid using your nails as tools to prevent lifting or peeling of the strips. When it's time to remove the gel strips, do so gently to avoid damaging your natural nails.
Summary
Gel nail strips offer a convenient and versatile option for achieving a gel manicure at home. While some gel strips require a UV or LED lamp to cure and harden, others can be applied without additional light. Choosing to use UV light with gel strips depends on your preference for durability and finish. By understanding the different types of gel strips and their application processes, you can achieve a beautiful manicure that suits your lifestyle and needs.
FAQ Section
How long do gel strips last with and without UV light?
Gel strips that are cured with UV or LED light typically last up to two weeks, while those applied without additional light may have a shorter lifespan, often around one week, depending on the brand and your daily activities.
Are there any risks associated with using UV light for gel strips?
Prolonged exposure to UV light can pose risks, such as skin aging and an increased chance of skin cancer. To minimize risks, use sunscreen on your hands, opt for LED lamps, or choose gel strips that don't require light curing.
Can I remove gel strips without damaging my natural nails?
Yes, gel strips can be removed without damaging your natural nails. It's recommended to use a gentle removal process, such as soaking your nails in warm water to loosen the adhesive or using a nail file to lift the edges before peeling them off slowly.