


Ombre nails have taken the beauty world by storm, offering a chic and modern twist to traditional nail art. But before you dive into creating this gradient masterpiece, it's crucial to understand the foundation of the look: the base color. In this comprehensive guide, we'll explore the essentials of selecting the perfect base color for your ombre nails and provide you with all the tips and tricks to achieve a flawless finish.
Key Takeaways:
- Understanding the importance of choosing the right base color for ombre nails.
- Step-by-step guide on creating ombre nails with a focus on the base color.
- Tips for maintaining your ombre nails and ensuring a long-lasting manicure.
The Starting Point: Selecting Your Base Color
The base color is the canvas for your ombre nails, setting the stage for the color gradient that defines this nail art. When considering the base color for ombre nails, it's essential to choose a color that complements the darker shade you plan to blend onto your nails. Typically, the lightest color in your chosen color family serves as the ideal base. For instance, if you aim for a light-to-dark ombre effect, starting with a light pastel color can create a smooth transition.
The Role of the Base Coat
Before applying your base color, don't forget the base coat. This clear layer is crucial for protecting the nail plate and ensuring better polish adhesion. A good base coat will prevent chips and extend the life of your ombre nails. It also creates a smooth nail surface for the base color to adhere to, which is vital for achieving those seamless fade effects.
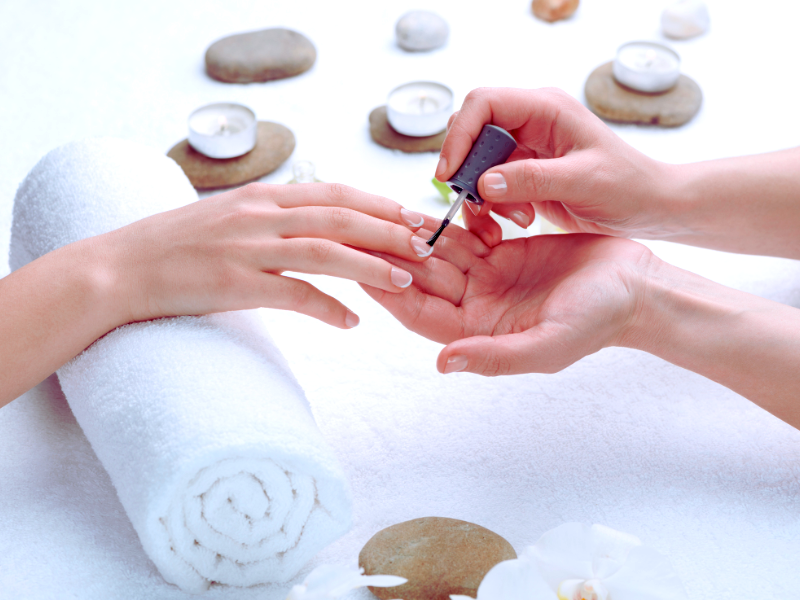
Prepping Your Nails
Proper nail preparation is key to a stunning ombre effect. Begin using a nail file to shape your nails to your desired form. Then, push back your cuticles and apply cuticle oil to keep the skin around your nails moisturized. Clean the nail bed with a cotton ball soaked in nail polish remover to remove any oils or residue that could interfere with polish adhesion.
Applying the Base Color
Once your nails are prepped, it's time to apply the base color. Start with a thin layer of your chosen light color, ensuring it's evenly applied across the entire nail surface. Allow this first coat to dry completely before adding a second coat for full coverage. Two coats are typically sufficient to create a solid foundation for the ombre effect.

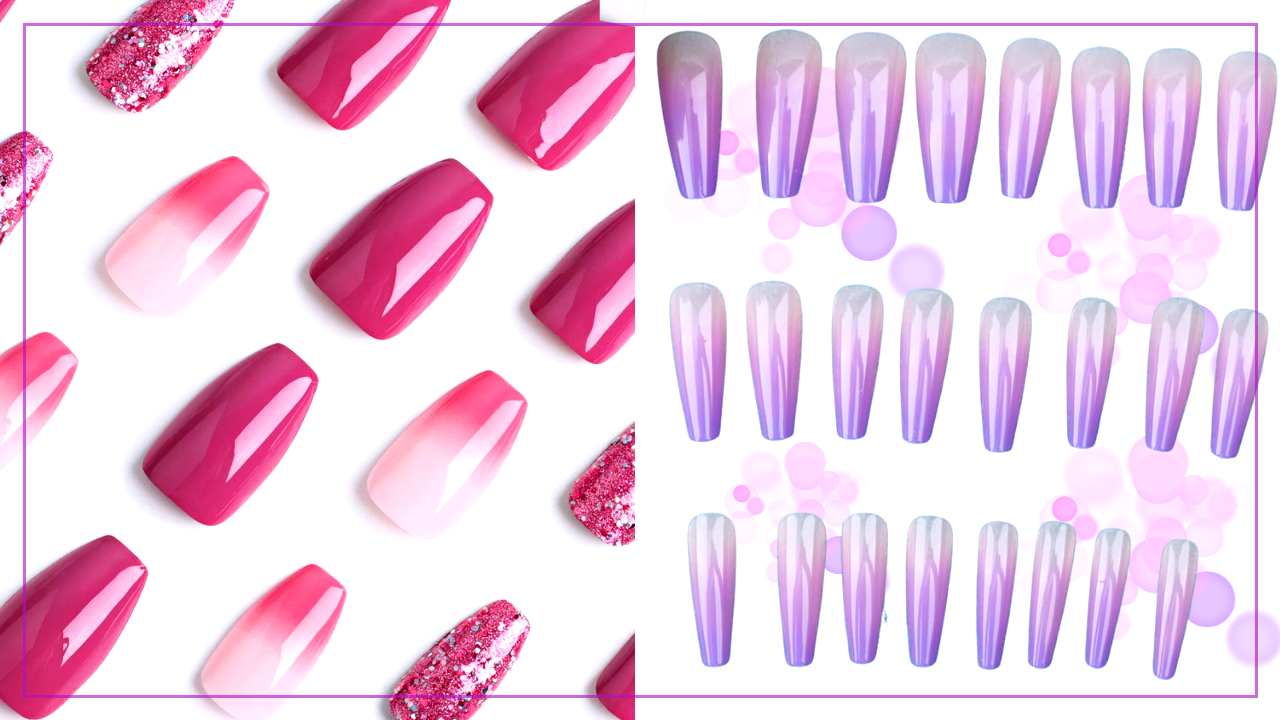
Creating the Ombre Effect
To create the ombre effect, you'll need a makeup sponge—a wedge works best. Apply the base color and the darker color side by side onto the sponge, slightly overlapping them to blend the colors. Then, gently blot the sponge onto your nail, repeating the process until you achieve the desired gradient. Remember, thin layers are your friend here; they allow for more control and a smoother transition.
Blending the Colors
Blending is the most critical step in achieving the perfect ombre nails. After applying the polish to the sponge, dab it onto your nail in straight lines, starting from the cuticle and moving towards the tip. The key is to blend the colors where they meet to create a seamless fade from the base color to the darker shade.

The Art of Layering for Ombre Nails
When you're aiming to create ombre nails, the art of layering is your best friend. It's all about starting with a solid base coat to protect your nail bed and then applying thin layers of polish to build up the gradient. You'll want to choose two or more colors that blend well together—think of them as close relatives in the same color family. For a classic light-to-dark ombre effect, begin with the lightest color as your base. Then, using a makeup sponge, gently blot on the darker shade, moving up the nail surface to create that seamless fade. It's a bit like using a soft brush to blend paint on a canvas, where each stroke adds depth and harmony to the overall masterpiece.
Now, let's talk technique. After the first coat of your light base color dries completely, take your sponge and apply a small amount of the darker color onto its flat edge. Dab the sponge lightly onto your nail, starting midway and moving towards the tip. You might need to repeat the steps a few times—applying two coats or more—to achieve the desired intensity and gradient. Remember, patience is key; allow each layer to dry completely before adding the next. This prevents the colors from mixing into a muddy mess and helps maintain those crisp, straight lines that define a stunning ombre effect.
Innovations in Ombre Nails: Beyond Polish
Ombre nails have evolved beyond just using regular polish. For those seeking a more durable and vivid look, gel polish is a fantastic alternative. Gel ombré nails offer a richer color gradient and a glossier finish that can withstand the rigors of daily life without chipping. The process is similar to regular polish, but instead of air drying, each layer cures under a UV or LED lamp. This ensures that every coat is solidified, providing a stronger base for the next color layer. Plus, the result is a high-shine topcoat that makes your ombre nails pop with professional-grade quality.
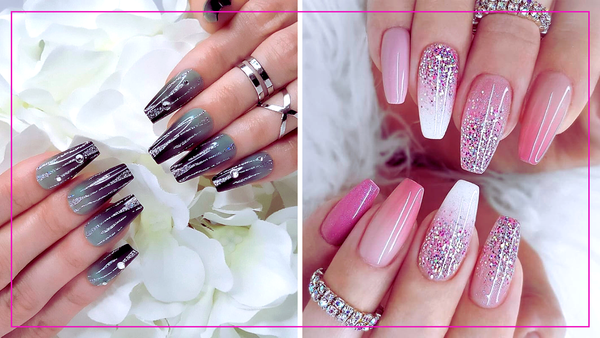
But wait, there's more! If you're adventurous and want to explore textures, why not try matte ombre nails? The matte finish adds a contemporary twist to the traditional glossy look, offering a unique tactile experience. You can achieve this by applying a matte topcoat over your ombre design. And for those who love a bit of sparkle, incorporating glitter into the base color or as a gradient layer can add a whole new dimension to your manicure. Whether a subtle shimmer or a full-on glitter bomb, the reflective particles catch the light beautifully and can enhance the ombre transition from light pastel colors to a darker shade.
Sealing with a Top Coat
Once you're satisfied with your ombre effect, it's time to seal your artwork with a top coat. This clear polish locks in color adds shine, and protects your nails from everyday wear and tear. Apply a generous amount of top coat over the dry ombre polish, being careful not to drag the brush too hard and disrupt the color gradient.
Nail Care Post-Manicure
To maintain the beauty of your ombre nails, regular upkeep is necessary. Apply cuticle oil daily to keep the skin around your nails healthy, and consider reapplying a top coat every few days to prevent chips and keep the polish looking fresh.

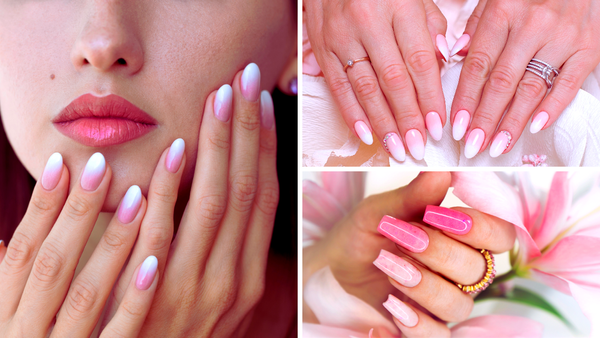
Choosing Colors that Complement Your Skin Tone
When selecting your base color, consider your skin tone. Light blue or pink may be a flattering base for cooler skin shades, while warmer skin tones might benefit from a peach or beige base. The goal is to choose a base color that not only works well for the ombre but also enhances your natural skin tone.
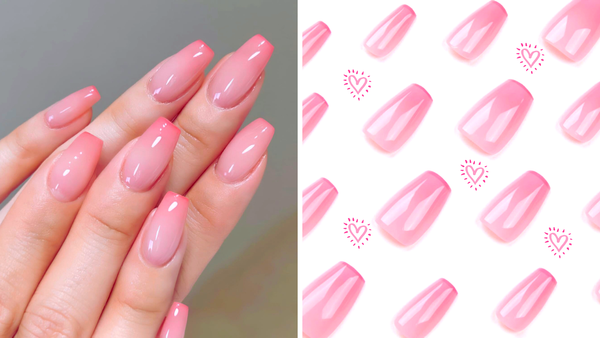
The Versatility of White as a Base Color
White ombre nails are a popular choice because white is a universal base that makes any color pop. Whether working with pastel colors or aiming for a bold light-to-dark transition, a white base can ensure a vibrant and eye-catching ombre effect.
Experimenting with Different Textures
Ombre nails aren't limited to regular polish. You can experiment with gel polish, dip powder, or glitter to add dimension to your manicure. Each texture requires a slightly different technique, but the base color principle remains the same.
The Finishing Touch: Cleanup
After creating your ombre nails, there might be some polish on the skin surrounding your nails. Use a small brush dipped in nail polish remover or liquid latex applied beforehand to clean up any excess polish. This step is crucial for a professional-looking finish.
When to Consult a Professional Nail Artist
While creating ombre nails can be surprisingly easy, it can also be time-consuming and require a steady hand. If you struggle to achieve your desired look, consider visiting a professional nail artist. They can advise you on choosing colors, shaping your nails, and applying the polish to create the perfect ombre effect.
Summary
Ombre nails are a stylish and sophisticated way to express your personality through your manicure. The base color is the foundation of this nail art, and choosing the right one is crucial for a successful ombre effect. Remember to prep your nails, apply a base coat, and work in thin layers to blend the colors seamlessly. With patience and practice, you can master the art of ombre nails and enjoy a stunning gradient manicure that turns heads.
FAQ Section
Can I use any color as a base for ombre nails?
While you can use any color, it's best to start with the lightest color in the same color family as your ombre. This ensures a smooth transition and a more natural gradient effect.
How do I prevent the sponge from absorbing too much polish?
To prevent the sponge from absorbing too much polish, apply a thin layer of base coat onto the sponge before adding your colors. This helps the polish sit on the surface and transfer onto your nail more effectively.
How long should I wait for the base color to dry before applying the ombre effect?
Let the base color dry completely, which can take 5 to 10 minutes, depending on the polish. Applying the ombre effect over wet polish can lead to smudging and an uneven gradient.