


Key Takeaways:
- Glitter gel for nails is a gel polish that includes glitter pieces for a sparkling effect.
- It can be applied in various ways to achieve designs, from full coverage to ombre.
- Proper application and removal techniques are essential for maintaining nail health and achieving the best results.
Glitter gel for nails is the go-to product for anyone looking to add a bit of sparkle and shine to their manicure. This type of gel polish combines the long-lasting benefits of gel with the eye-catching allure of glitter. Whether aiming for a subtle shimmer or a full-on glitter bomb, glitter gel polish can help you achieve your desired effect.
Unlike traditional nail polish, glitter gel requires curing under a UV or LED light. This process creates a durable, chip-resistant finish that can last for weeks. The versatility of glitter gels means they can be used over natural nails, acrylics, or hard gel extensions, making them a popular choice for both at-home enthusiasts and professional nail technicians.
The Basics of Glitter Gel Polish
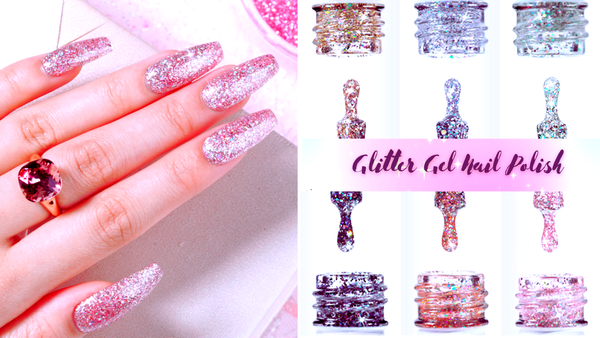
Glitter gel polish is a unique formulation incorporating fine glitter or chunky glitters into a gel base. The tacky layer gel polish leaves behind after curing is perfect for adding additional glitter pieces if desired. When creating a glitter gel manicure, you can choose from various colors and sizes of glitter to create a custom look that's as unique as you are.
To apply glitter gel polish, start with a clean, prepped nail. Apply a thin base coat and cure it under light. Then, pick up a small amount of glitter gel with a nail brush and apply it to the nail. For full coverage, apply several thin layers, curing each one before adding the next. For a more subtle look, mix the glitter gel with a clear gel polish and apply as desired.
Achieving Different Glitter Effects
One of the joys of working with glitter gel is the ability to create various effects. For a dense, full-coverage look, apply multiple layers of glitter gel polish until you achieve the sparkle level you love. If you're aiming for an ombre effect, use a dotting tool or a clean nail brush to apply the glitter pieces in a gradient fashion, concentrating the glitter towards the tip or base of the nail.
For those who prefer a more understated sparkle, mix a small amount of glitter gel with a clear gel polish to create a sheer wash of glitter. This technique is perfect for adding shine without overwhelming the nail's natural color. Remember, the key to a smooth finish is to apply thin layers and cure each one thoroughly.
The Versatility of Glitter Gel Colors
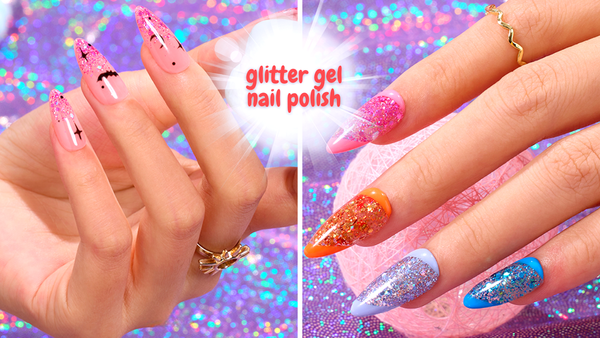
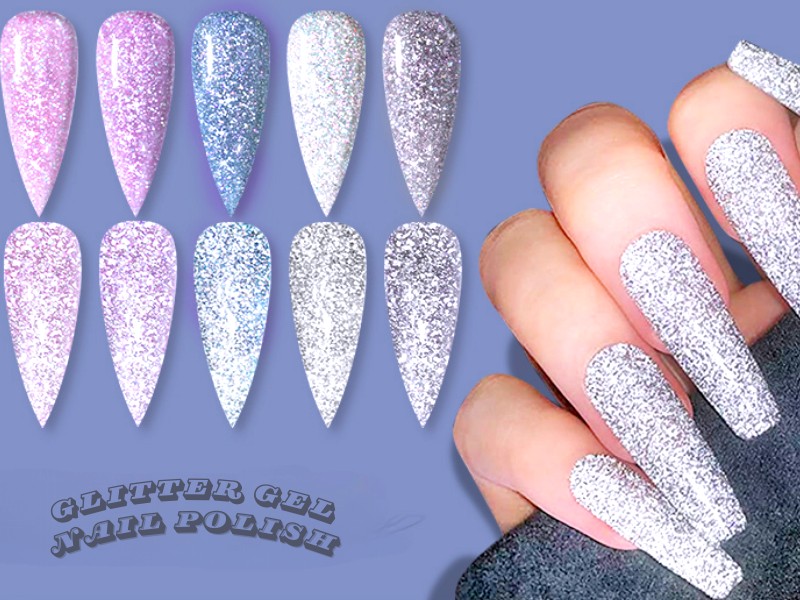
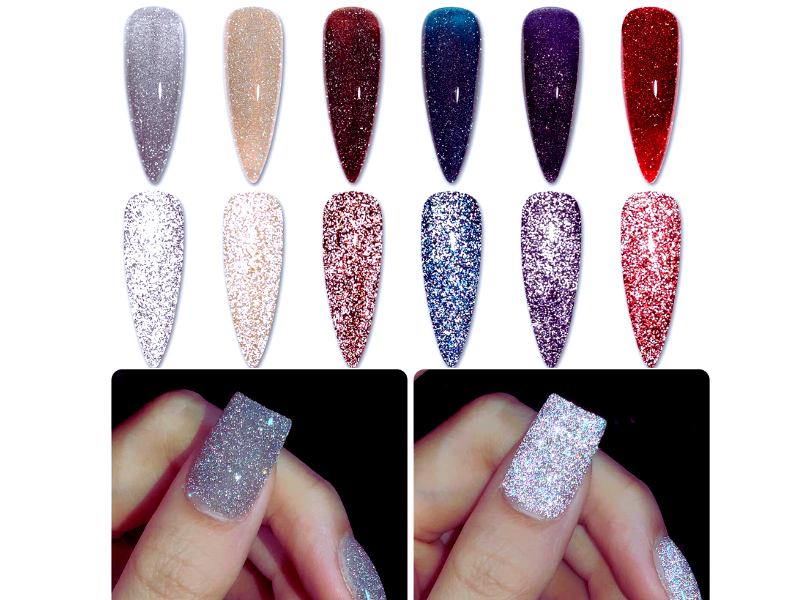
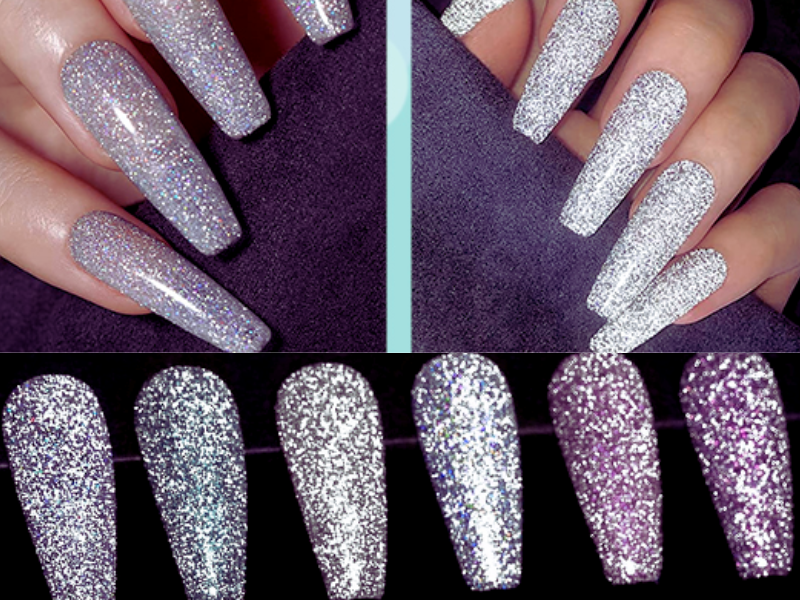
Glitter gel polish isn't just about the sparkle; it's a playground of color and shine that can transform your nails into a statement piece. Whether you're looking for a subtle shimmer or a full-on glitter bomb, the variety of colors available can cater to every mood and occasion. From the classic silver and gold to the more adventurous shades of blue, pink, or even mixed yellow and light tan, there's a hue to match your style. The key is to choose a color that complements your skin tone and outfit, ensuring your nails don't just sparkle but also enhance your overall look.
When creating a color palette for your nails, consider using glitter gels to accent your base color. A small amount of fine glitter in a contrasting color can create a pop of interest without overwhelming the design. For a more daring look, pair a dark color with chunky glitters or add a touch of ombre by applying a gradient of glitter gels. The possibilities are endless, and with the right color mix, your nails will shine with a unique, personalized touch that's all your own.
Incorporating Glitter Gel into Nail Art Techniques
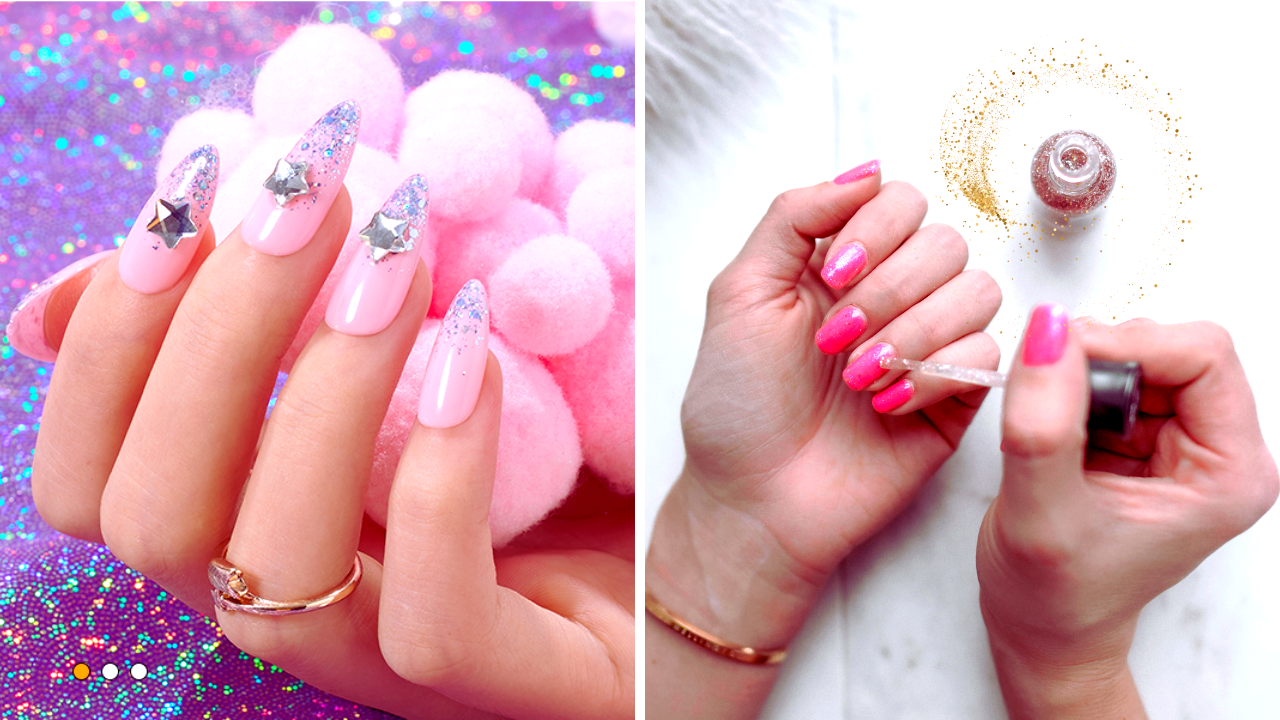
Glitter gel for nails isn't just a product; it's a tool for unleashing creativity. One popular technique is using a dotting tool to apply small, precise glitter pieces for a polka dot effect or to create intricate patterns. For those who love a bit of dimension, applying a bead of hard gel over the tacky layer and then sprinkling fine glitter can achieve a raised, textured finish. This method is perfect for adding rhinestones or other embellishments, as the hard gel acts as a secure adhesive.
Another creative avenue is layering. By applying thin layers of different glitter gels and curing each one, you can build up a design with depth and complexity. Imagine a nail with a smooth base of color, a middle layer of fine glitter for a subtle sheen, and a top coat of chunky glitter for that ultimate sparkle. This technique requires patience and a steady hand, but the result is a multi-dimensional look sure to turn heads. Remember, the key to a successful glitter gel design is to have fun with it and let your imagination lead the way.
Creative Designs with Glitter Gel
Glitter gels open up a world of creative possibilities. From pairing fine glitter with chunky glitters for a textured look to adding rhinestones or other embellishments on top of a glitter base, the options are endless. You can even use a fine-tip brush to paint specific designs with glitter gel, such as stars or hearts, for a fun and personalized touch.
Another popular design is the glitter fade, where glitter density decreases from the tip to the base of the nail, creating a cool, sophisticated effect. To achieve this, apply a heavier coat of glitter gel near the tip and gradually decrease the amount as you move toward the cuticle. Cure the layer and add a top coat for a smooth, glossy finish.
Tips for a Perfect Glitter Gel Application
To ensure your glitter gel nails look their best, start by applying a thin base coat and curing it. When applying the glitter gel, use a small amount on your brush to avoid clumping. If you're using chunky glitters, place them strategically with a dotting tool for an even distribution. After applying your glitter gel, always finish with a top coat to seal in the sparkle and prevent any rough edges.
If you're aiming for a specific color scheme, consider mixing different colors of glitter gels. A mix of cool blues and silvers can create a stunning winter-themed nail, while warm golds and yellows evoke a sunny, summery feel. Don't be afraid to experiment with color combinations to find the perfect match for your mood or outfit.

The Removal Process
When it's time to remove your glitter gel nail polish? Start by buffing the top coat to break the seal. Then, soak a cotton ball in acetone and place it over the nail, securing it with foil. After about 10-15 minutes, the glitter gel should lift off easily. If there are any stubborn spots, gently scrape them away with a cuticle pusher or nail file.
It's important to be gentle during the removal process to avoid damaging the natural nail. If the glitter gel isn't coming off easily, reapply the acetone-soaked cotton and wait a few more minutes. Never force or peel the gel off, as this can lead to nail damage.
Summary
Glitter gel for nails is a versatile and fun way to add sparkle to your manicure. With the ability to create various effects and designs, from full coverage to delicate sparkles, glitter gel polish is perfect for those looking to express their creativity and add a touch of glamour to their nails. Remember to apply thin layers, cure properly, and remove with care to maintain the health and beauty of your nails.
FAQ Section
Can glitter gel polish be used on natural nails?
Yes, glitter gel polish can be applied directly to natural nails, as well as over acrylics or hard gel extensions. Just ensure your nails are properly prepped before application.
How long does glitter gel polish last?
When applied correctly, glitter gel polish can last up to two weeks without chipping, making it a durable option for those seeking long-lasting sparkle.
Is it difficult to remove glitter gel polish?
While glitter gel polish can be more challenging to remove than regular gel polish due to the glitter pieces, following the proper soak-off technique with acetone will allow for easier removal. Be patient and gentle to avoid damaging your nails.