

Key Takeaways:
- Learn the simple steps to create a cute and fun dot nail art design at home.
- Discover how to use everyday tools like a bobby pin or toothpick to make perfect polka dots on your nails.
- Understand the importance of a base coat and top coat to protect your nail art and make it last longer.
Dot nail designs are a timeless classic in the world of nail art. They're not only cute and fun but also incredibly easy to create, even for beginners. Whether you're prepping for a special occasion or just want to add a playful touch to your manicure, dot nail art is the way to go. Let's dive into the simple steps to achieve this look.
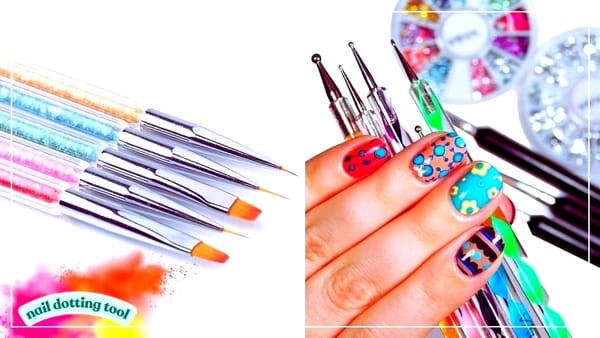
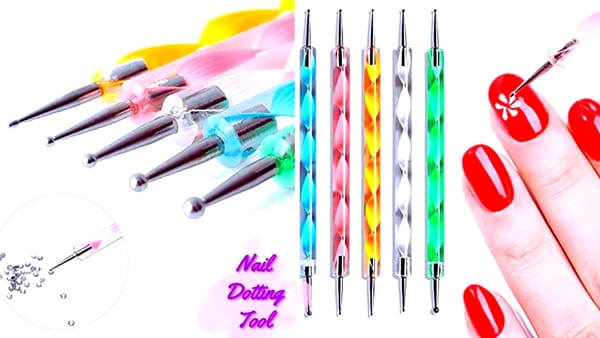
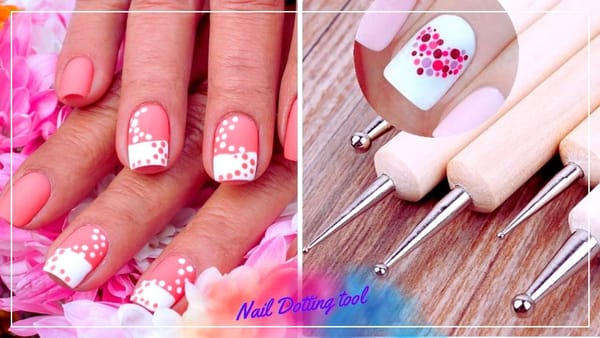
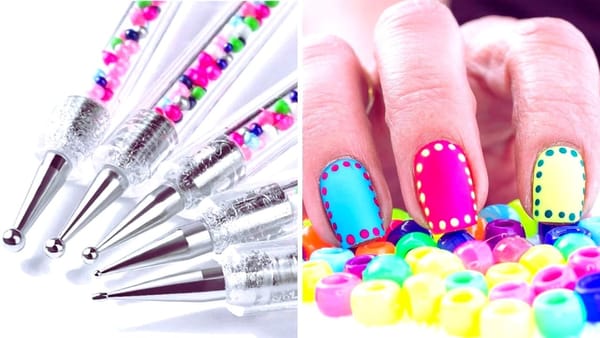
Gather Your Supplies
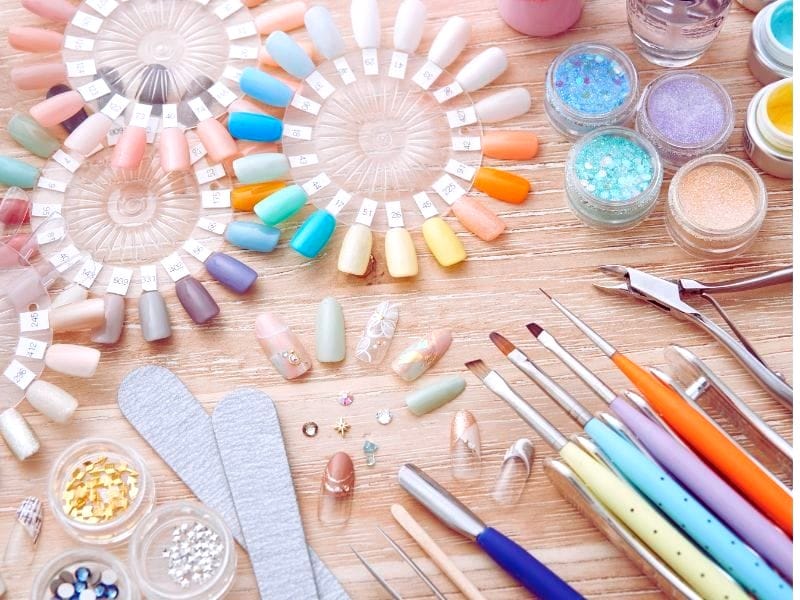
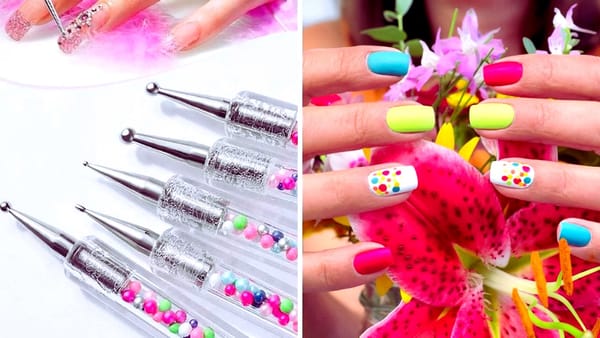
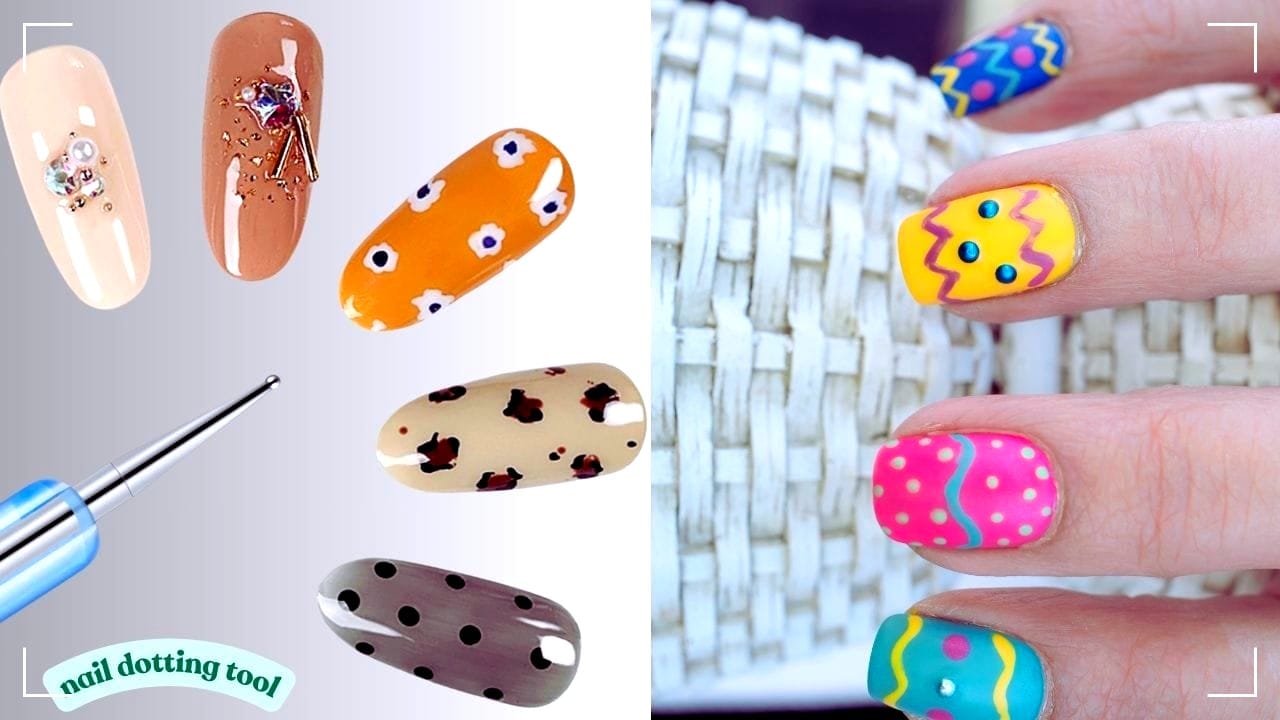
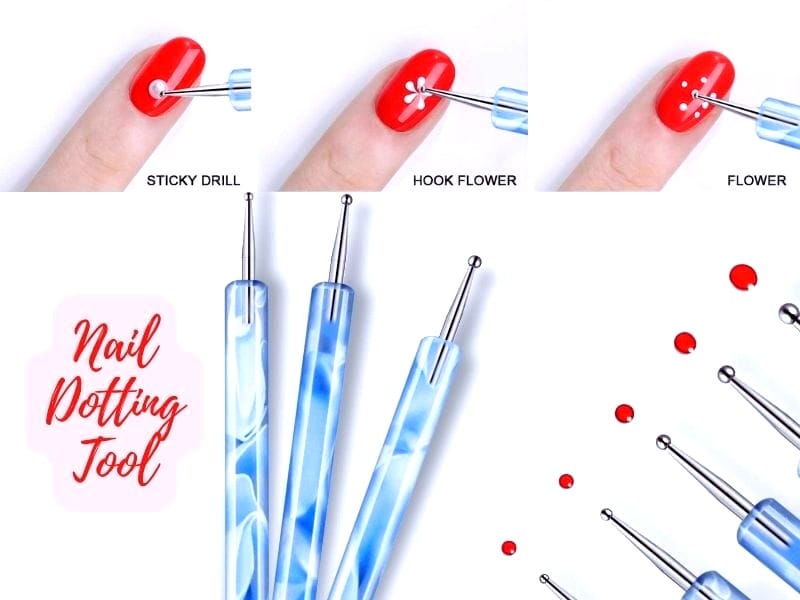
Before you start, make sure you have all the necessary supplies on hand. You'll need a selection of nail polish colors for the base and dots, a top coat to seal in your design, a nail polish remover for any mistakes, and a dotting tool. If you don't have a dotting tool, a bobby pin, toothpick, or the tip of a pen will work just as well.
Prepare Your Nails
Start with clean, dry nails. Apply a base coat to protect your nails and create a smooth surface for your polish to adhere to. This step is crucial for preventing staining and extending the life of your nail art. Once the base coat is dry, apply your chosen base color in thin, even layers, allowing each layer to dry before adding the next.
Creating the Dot Pattern
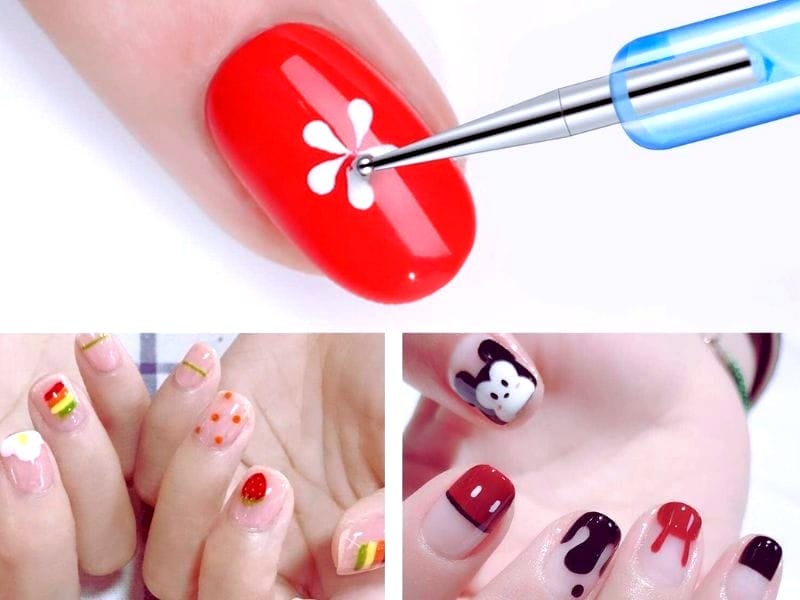
Dip your dotting tool or bobby pin into a second nail polish color. Gently press the tool onto your nail to create a small dot. For a polka dot nail art look, continue creating dots in a regular pattern across the nail. If you're feeling adventurous, mix sizes or colors for a unique design. Remember to clean your tool between colors using nail polish remover.
Adding Layers and Details
Once your first dots are dry, add additional layers or details if desired. Use a smaller dotting tool, like the tip of a toothpick or a pin, to create smaller dots or layer them on top of the first dots for a dimensional effect. Be sure to let each layer dry completely to avoid smudging.
Sealing the Design
After your dot nail art has dried, it's important to seal your design with a top coat. This will protect your manicure from chips and scratches and give it a glossy finish. Apply the top coat carefully, ensuring not to drag the brush too hard over the dots to prevent smearing.
Quick Fixes and Cleanup
If you make a mistake or notice any stray polish on your skin, dip a small brush or a cotton swab in nail polish remover and gently clean up the edges. This will give your dot nail design a professional, neat appearance.
Maintenance Tips
To keep your dot nail art looking fresh, apply an additional layer of topcoat every few days. This will help to maintain the shine and protect the design from wear. Also, try to avoid using your nails as tools to prevent chipping.
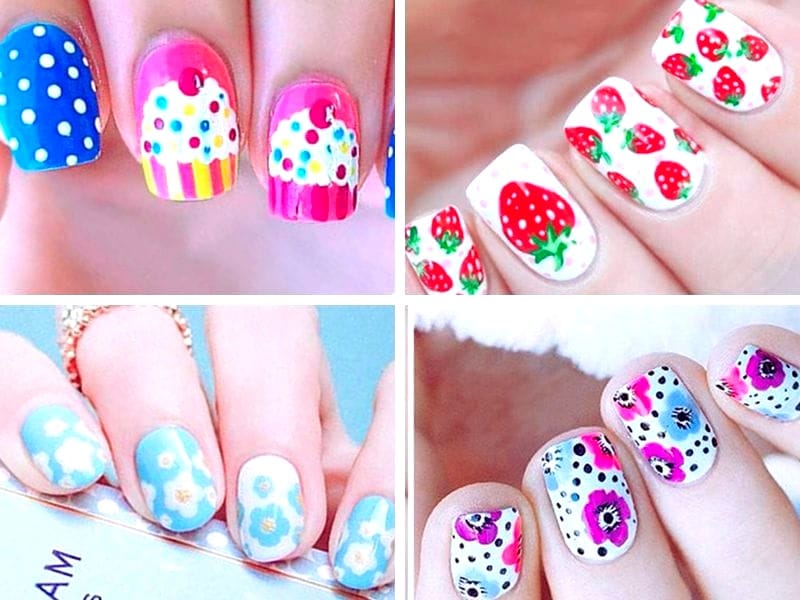
Experiment with Colors and Patterns
The beauty of dot nail art is its versatility. Experiment with different color combinations and patterns to match your outfit or mood. From classic black and white polka dots to vibrant rainbow designs, the possibilities are endless.
Summary
Creating a dot nail design is a simple yet effective way to add flair to your manicure. By following these steps and using tools you likely already have at home, you can achieve professional-looking nail art. Remember to prepare your nails properly, work patiently, and seal your design with a top coat for the best results.
FAQ Section
Can I use regular household items to create dot nail art?
Absolutely! A bobby pin, toothpick, or the tip of a pen can serve as a dotting tool to create perfect dots on your nails.
How long should I wait for the polish to dry between steps?
It's best to wait at least a few minutes between applying layers of polish and creating dots to prevent smudging. Allow the final design to dry completely before applying a top coat.
How can I make my dot nail design last longer?
To extend the life of your dot nail art, start with a base coat to protect your nails and finish with a top coat to seal the design. Reapply the top coat every few days to maintain the manicure's durability and shine.