


Acrylic nails have become a staple in the beauty industry, offering a durable and versatile option for those looking to extend and stylize their nails. With the rise of DIY beauty trends, many are turning to at-home acrylic nail kits as a convenient and cost-effective alternative to professional nail salons. But the question remains: is it safe to use these kits in the comfort of your own home?
Key Takeaways:
- Understanding the proper use and potential risks associated with at-home acrylic nail kits is crucial for safe application.
- Maintaining nail health and hygiene can prevent most issues related to at-home acrylic nail application.
- Knowing when to seek professional help can save you from long-term damage to your natural nails.
The Basics of Acrylic Nail Kits
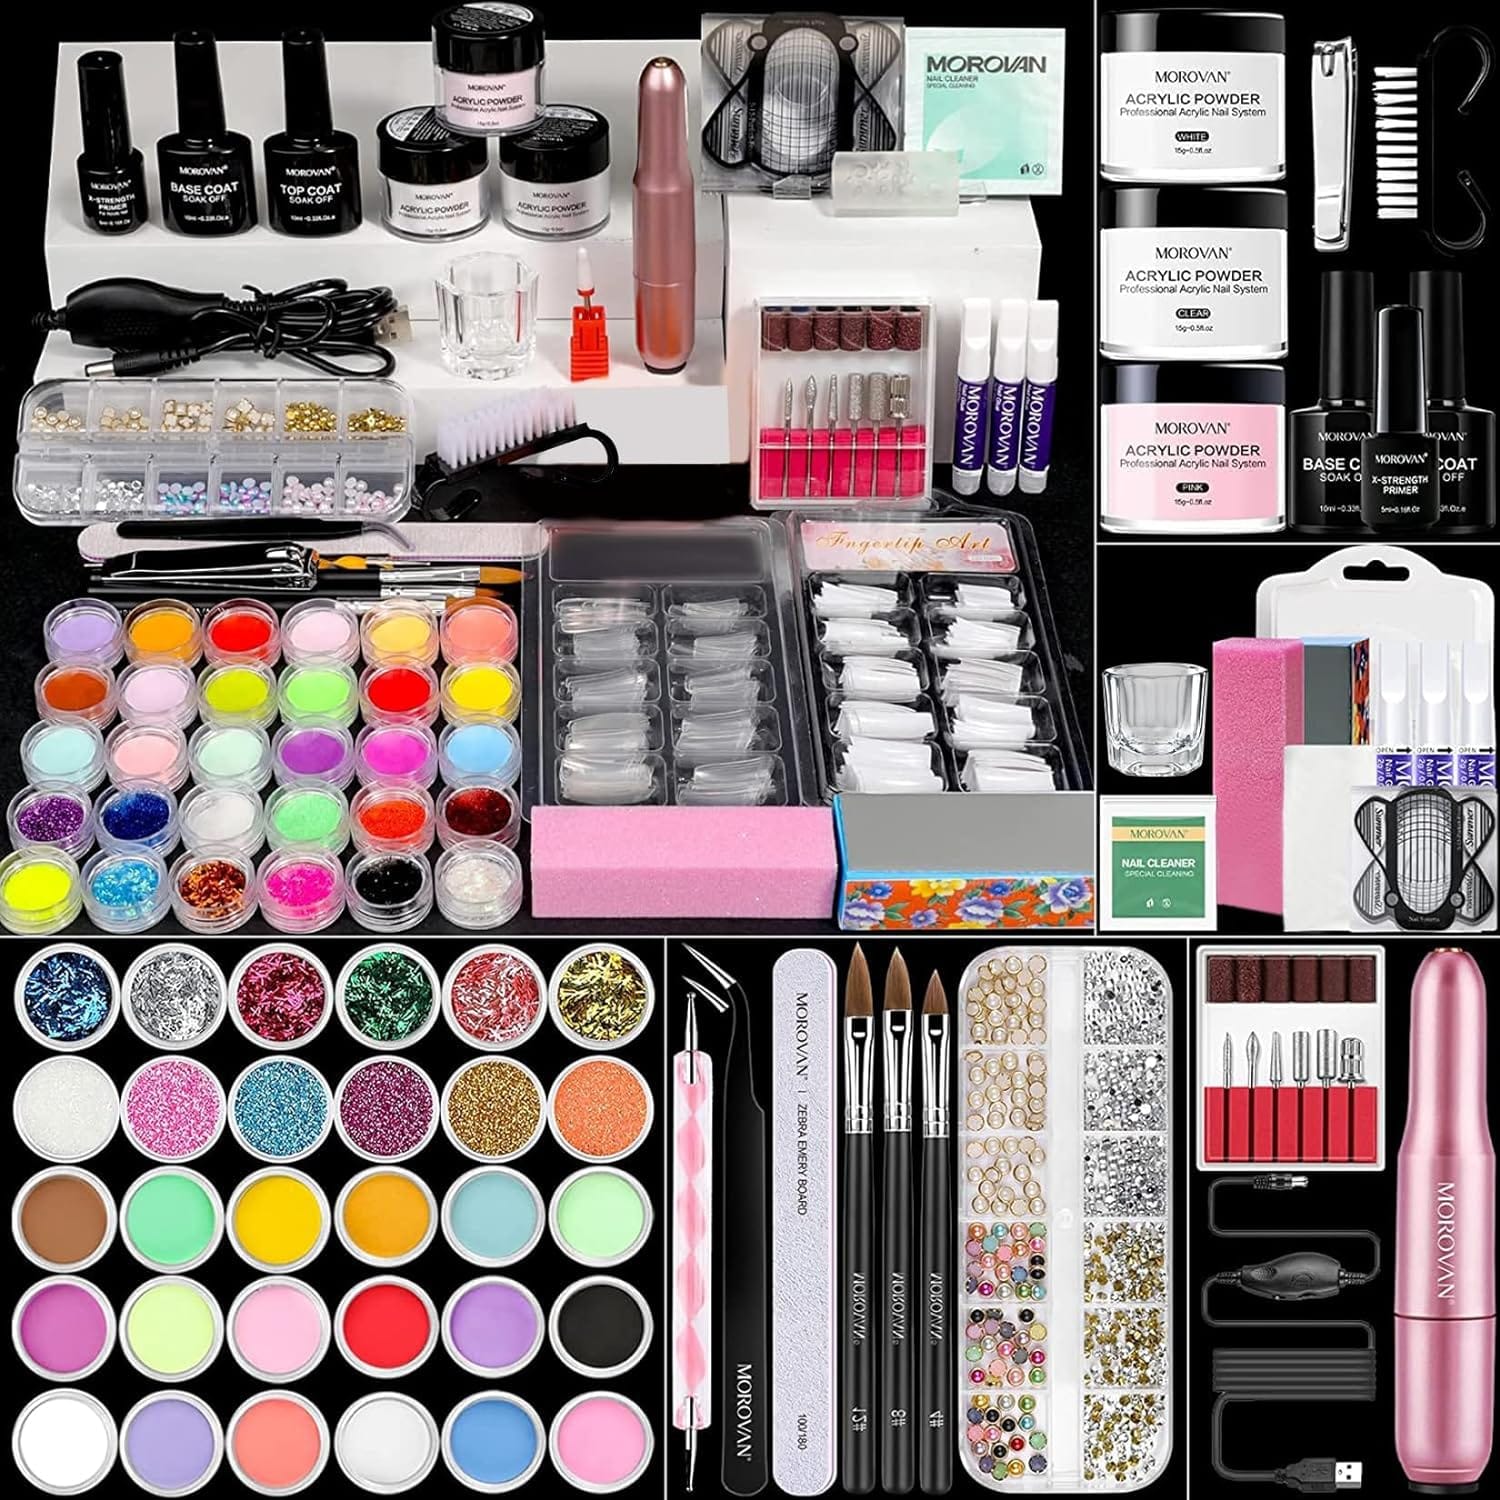
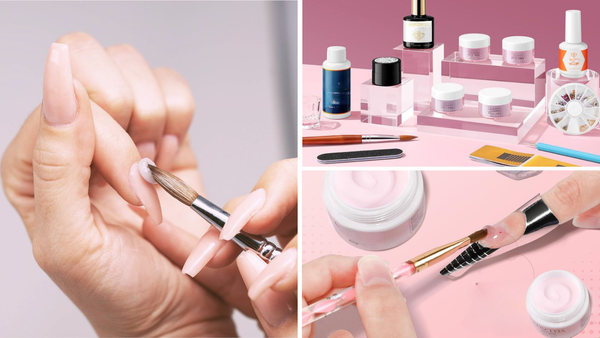
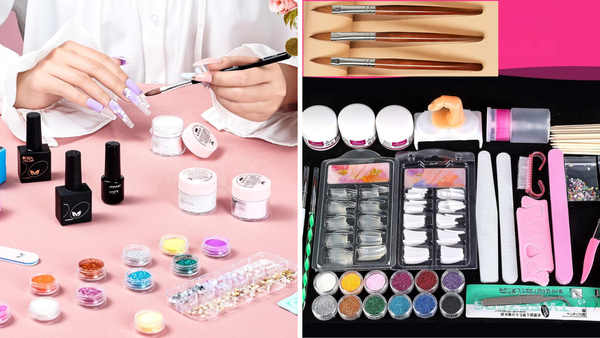
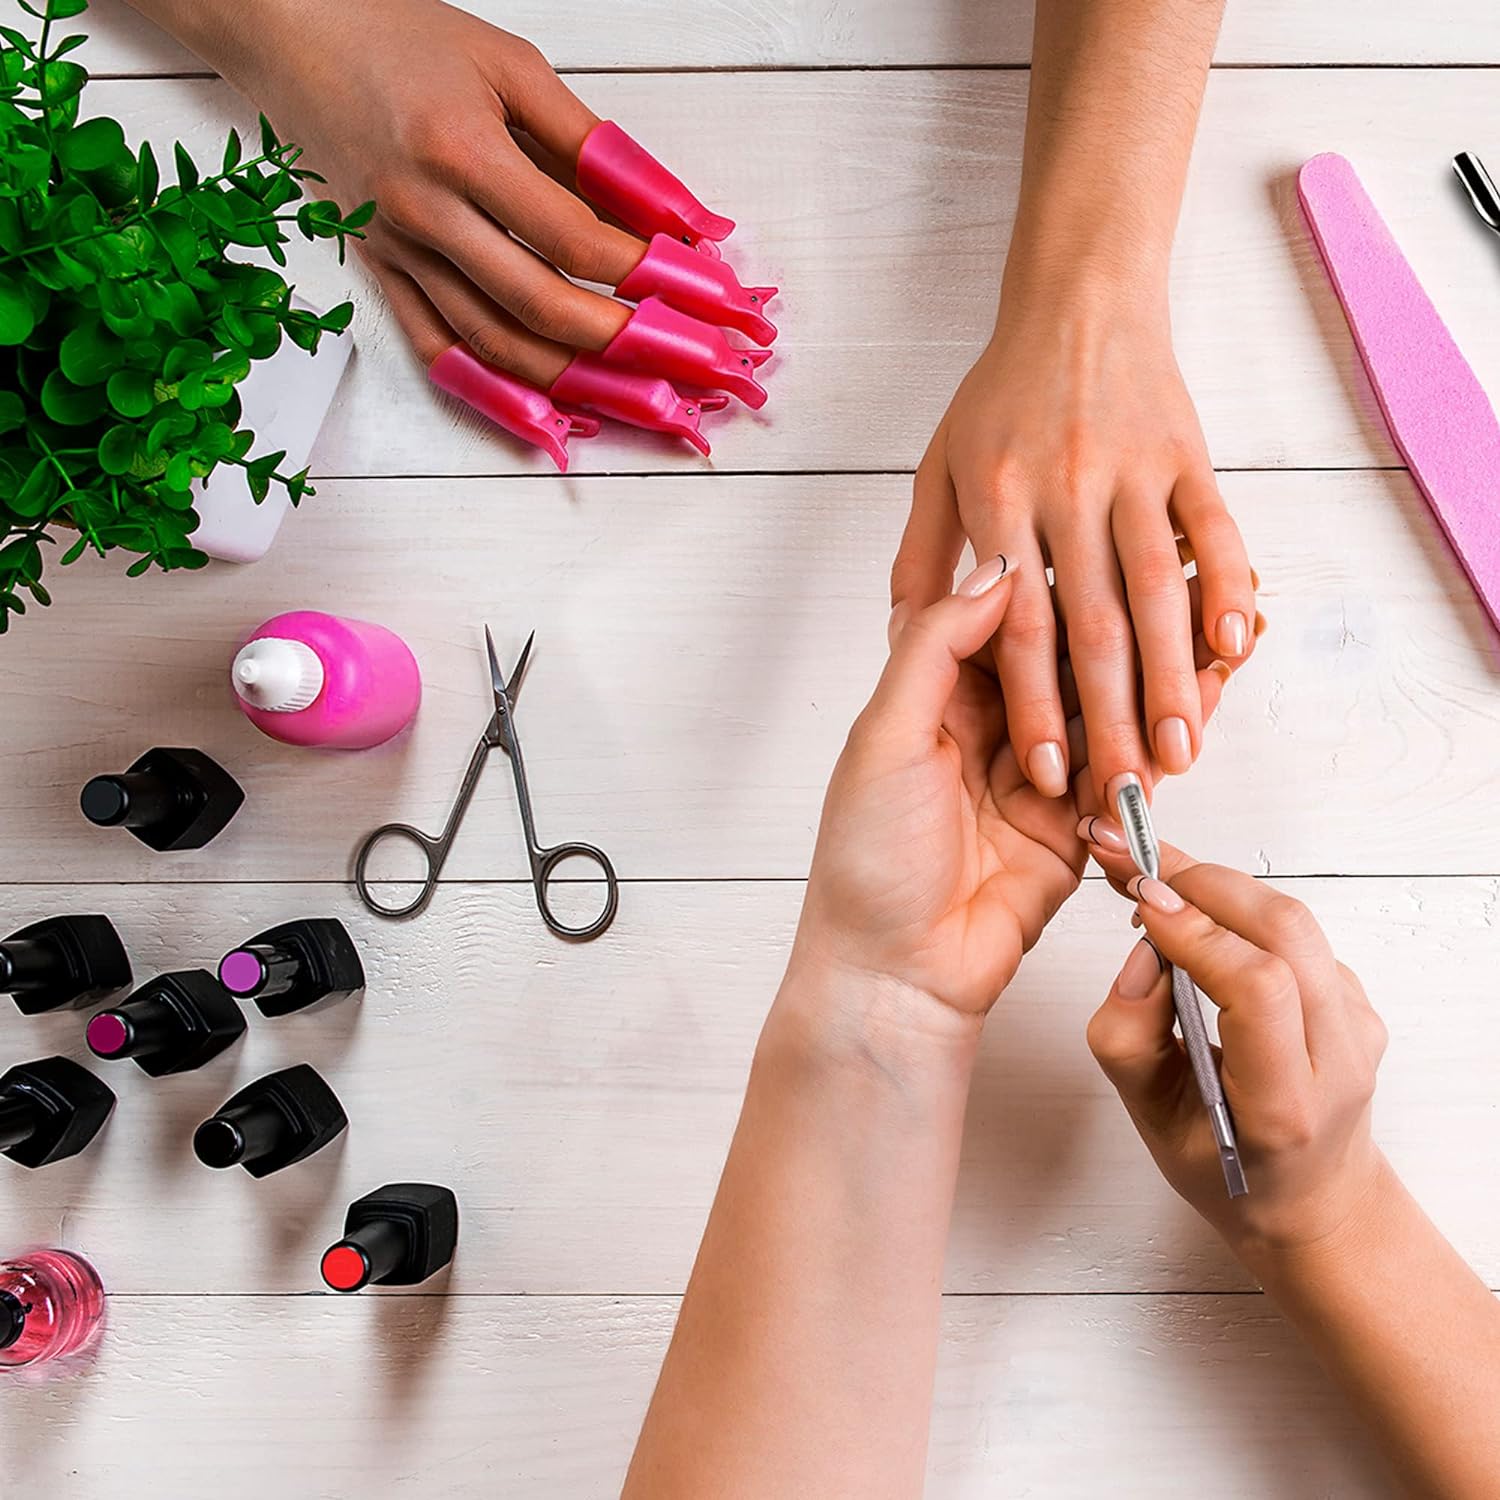
Acrylic nail kits typically come with tools and materials needed to apply acrylic nails, including acrylic powder, acrylic liquid (monomer), a nail brush, and sometimes a UV or LED light for curing. The process involves mixing the powder and liquid to create a bead of acrylic, which is then shaped onto the natural nail and allowed to harden. This creates a strong, artificial nail that can be painted with nail polish or designed with various nail art techniques.
The allure of creating salon-quality nails at home is strong, but it's important to understand the process thoroughly before diving in. Incorrect application can lead to many problems, from cosmetic issues to more serious nail health concerns.
Maintaining Nail Health with Acrylics
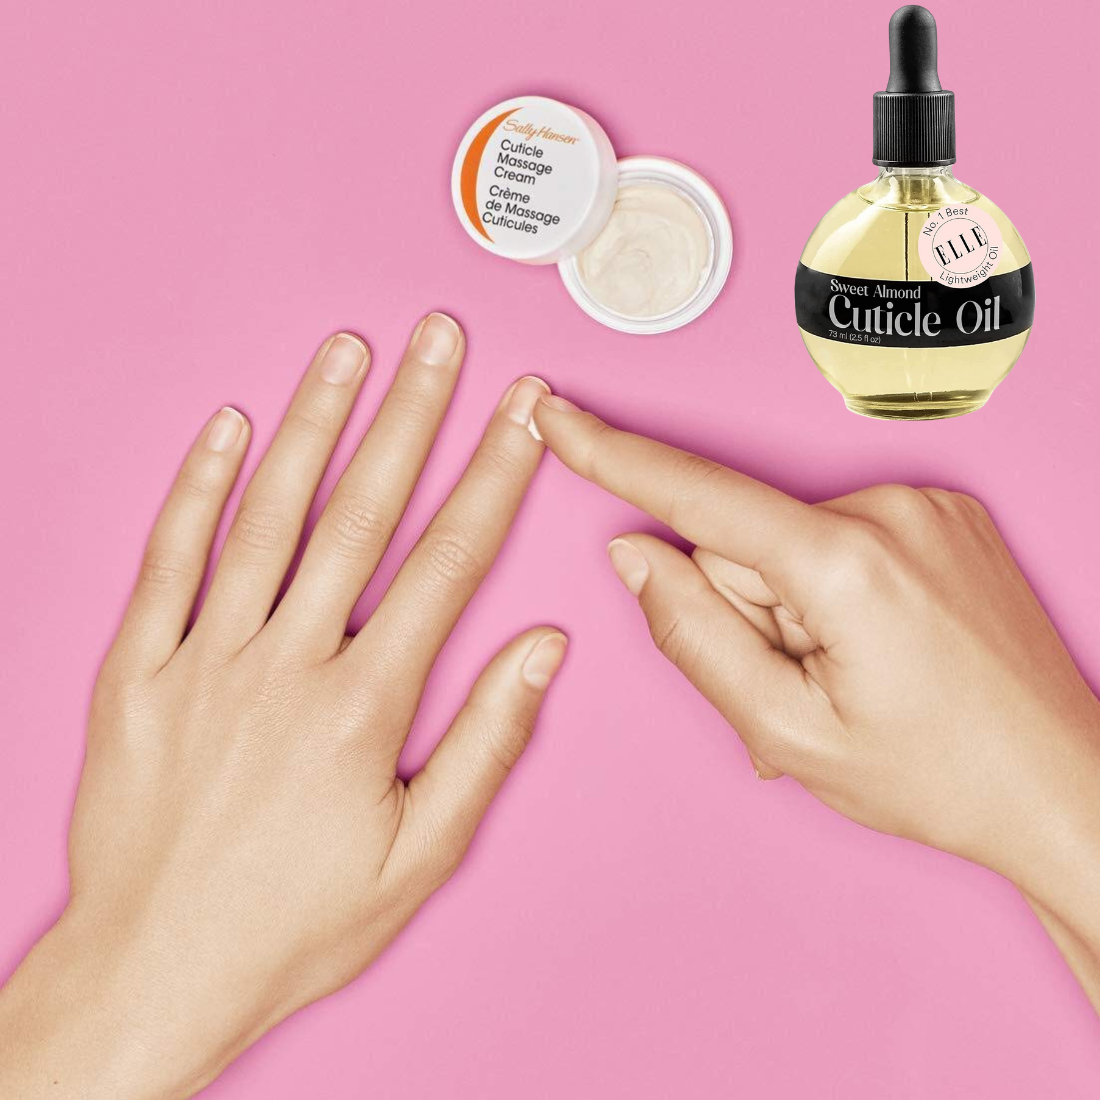
Wearing acrylic nails doesn't have to mean sacrificing the health of your natural nails. Keeping your nails hydrated with cuticle oil and hand cream can prevent them from becoming brittle and dry. Additionally, taking breaks between acrylic applications allows your natural nails to recover and breathe.
It's also crucial to monitor your nails for any signs of infection or damage. If you notice any unusual changes, such as discoloration or pain, it's best to remove the acrylics and consult a nail technician or dermatologist.
Exploring Safer Alternatives to Traditional Acrylics
Have you ever wondered if there's a gentler option for your nails than the traditional acrylics? Well, the beauty industry is buzzing with safer alternatives that promise to keep your natural nails healthy while still giving you that glamorous look. Dip powder nails have emerged as a popular choice for those seeking a middle ground between gel nails and acrylics. Unlike acrylics, dip powders don't require UV light to set, reducing potential skin symptoms associated with prolonged UV exposure. Plus, they're known for their durability and can be a great option for those sensitivities to nail glue or acrylic liquid.
Another exciting alternative is gel polishes, which are easier on the nails and can be removed more gently than acrylics. Gel nails offer a glossy, chip-resistant finish and are cured under LED light, a safer option than UV light. For those who love the convenience of an at-home manicure, press-on nails have returned with improved quality and variety. They can be applied with minimal damage to the natural nail bed and are perfect for those who aren't ready to commit to long nails or frequent visits to the nail salon.
DIY Acrylic Nails: A Step-by-Step Guide for Beginners
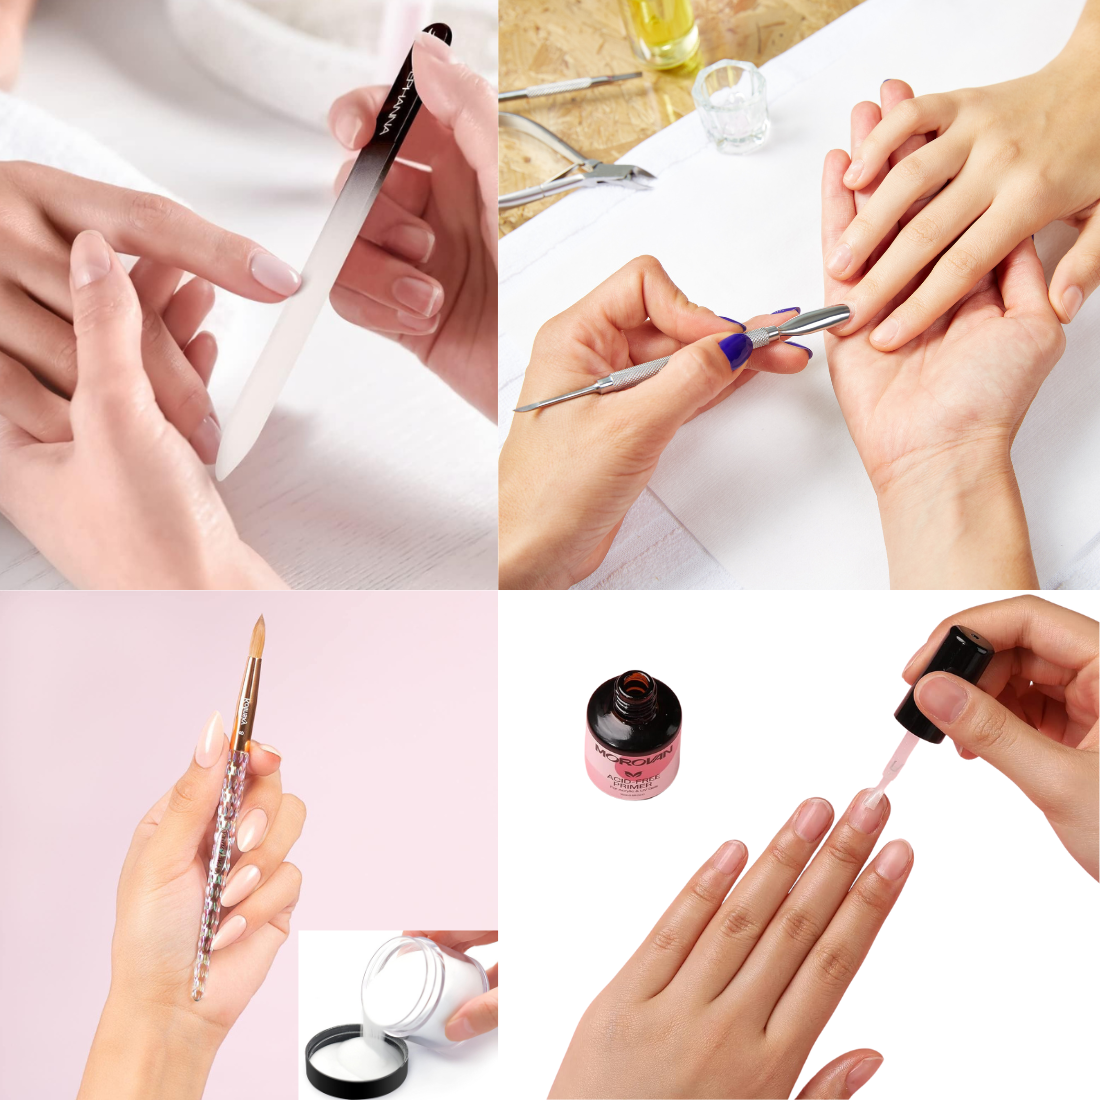
Have you ever wondered if you can achieve salon-quality acrylic nails in the comfort of your own home? With the right acrylic nail kit, it's entirely possible to create stunning nails at your manicure table. The first step is to ensure you have all the necessary items: acrylic powder, acrylic liquid, a nail file, a nail brush, and a paper towel for spills. Begin by prepping your natural nails, ensuring they're clean, dry, and free of nail polish. This preparation is crucial for the acrylic to adhere properly and prevent potential nail damage.
Once your natural nails are prepped, it's time to apply the acrylic. Dip your brush into the acrylic liquid and then into the acrylic powder to form a bead. Carefully place the bead onto your nail bed and gently pat it into place, smoothing it out towards the edges. Remember, practice makes perfect, and it's okay if your first few attempts aren't flawless. With patience and practice, you can apply your own acrylic nails like a pro, saving you trips to the nail salon and allowing for a personalized touch to your nail care routine.
The Rise of Dip Powder Nail Kits as a Safer Alternative
Have you ever considered dip powder nails as a safer alternative to traditional acrylics? Dip powder nail kits are gaining popularity among those who prioritize nail health without compromising on the allure of long nails. Unlike acrylics, which require a monomer and polymer combination, dip powders adhere to the nail beds using a special sealant, reducing exposure to potentially harsh chemicals. This method eliminates the need for UV light to cure the product, minimizing health risks associated with traditional gel polishes and acrylic liquid.
Dip powder nails not only offer a safer option but also boast a more straightforward application process that can be mastered at home. The technique involves prepping your nails, applying a base coat, and dipping them into the powder. After several layers, the nails are sealed with a top coat, resulting in a durable manicure lasting several weeks. This method is less likely to cause damage to the natural nail plate and can be a game-changer for those with skin symptoms or allergic reactions to conventional nail products.
The Significance of Nail Kit Ingredients and Potential Allergies
When considering whether it is safe to use acrylic nail kits at home, it's crucial to understand the ingredients in the products you're using. Acrylic nail kits typically contain acrylic powder and acrylic liquid, which, when combined, create the hard shell of the acrylic nail. However, some individuals may experience allergic reactions to these chemicals, manifesting as redness, itching, or swelling around the nail beds. To minimize the risk, always check the ingredient list for potential allergens and perform a patch test before applying the product to your own nails.
Moreover, the nail glue used to adhere the acrylic to the natural nail can also cause adverse reactions for some. If you have sensitive skin or a history of allergies, opt for hypoallergenic nail glues and be vigilant about the signs of an allergic reaction. Remember, maintaining nail health is about more than just the appearance of your long nails; it's also about ensuring the products you use don't harm your natural nails or skin.
The Impact of UV and LED Lights in Acrylic Nail Application
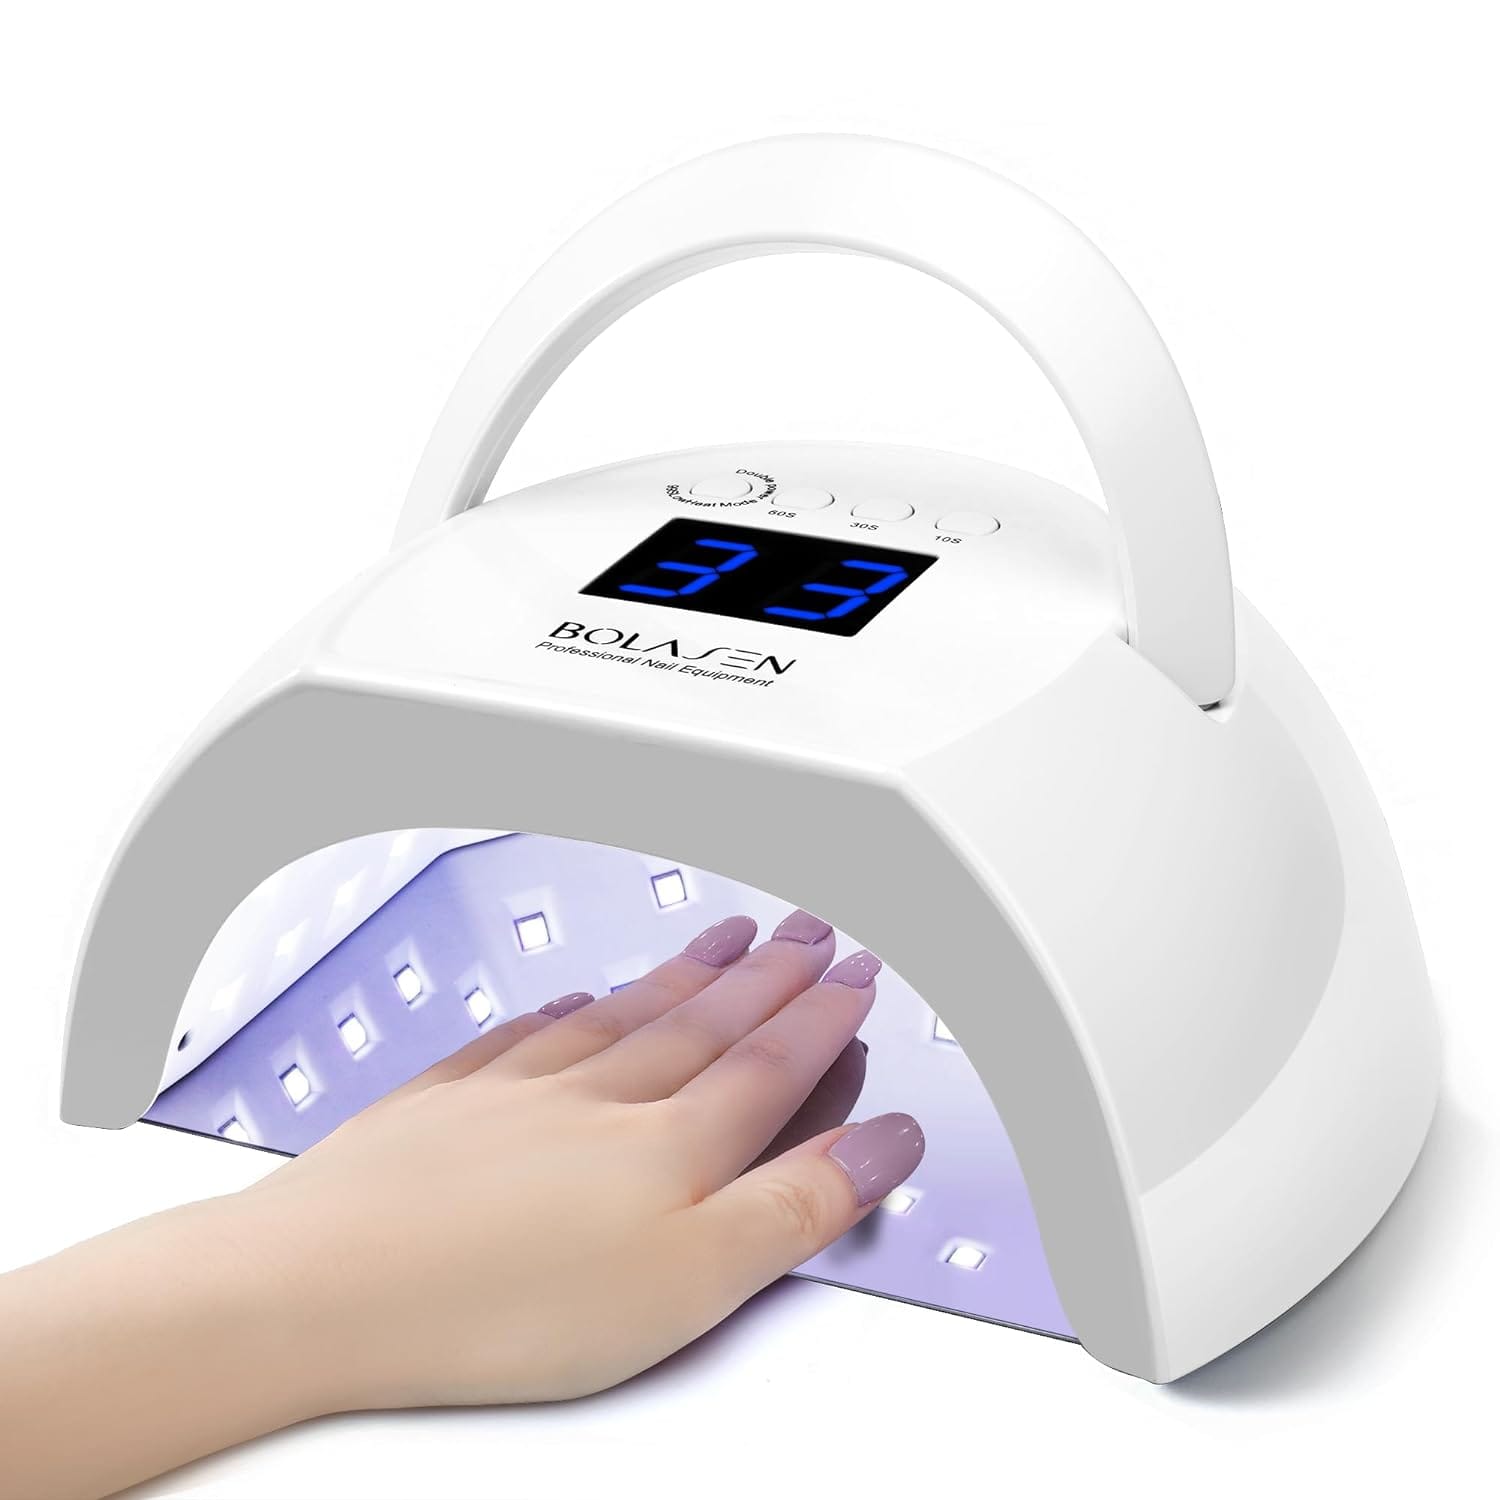
When considering whether it is safe to use acrylic nail kits at home, it's crucial to discuss the role of UV and LED lights in the curing process. UV light has been a staple in salons for setting gel polishes and acrylics, but there are concerns about the potential health risks associated with prolonged exposure. At-home kits often include LED lights, considered a safer alternative as they emit lower levels of UV radiation and cure nails faster. However, even LED lights should be used with caution. Wearing protective gloves that only expose the nails can help minimize skin exposure, and it's important to follow the manufacturer's guidelines to avoid overexposure.
In contrast, dip powder nails, which are gaining popularity as a safer alternative to traditional acrylics, do not require UV or LED light to set. This method involves dipping the nail into a colored powder and sealing it with a clear protective polish. While this eliminates the need for UV light, it's still important to ensure proper ventilation and to avoid inhaling any of the fine particles. Whether using a dip powder nail kit or traditional acrylic nail kits, being mindful of the curing process and its implications on your nail health is key.
The Role of Nail Technicians in Acrylic Application
While at-home kits provide a convenient option, nail technicians are trained professionals who understand the intricacies of nail care and acrylic application. They can ensure that the acrylics are applied safely and correctly, reducing the risk of damage to the natural nails.
If you're new to acrylic nails or have had issues with at-home kits, consider visiting a nail salon for your first few applications. Observing a professional at work can provide valuable insights into the process and help you achieve better results at home.
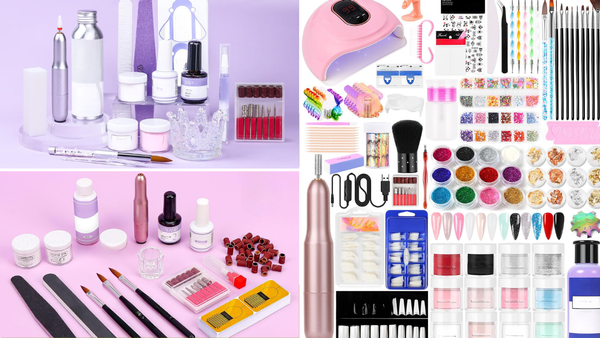
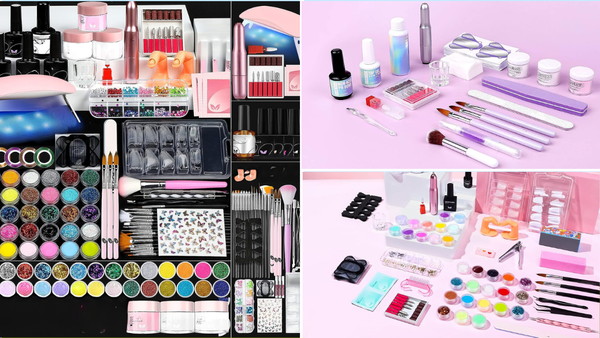
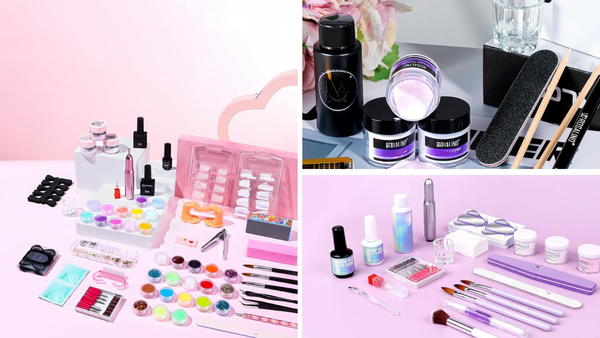
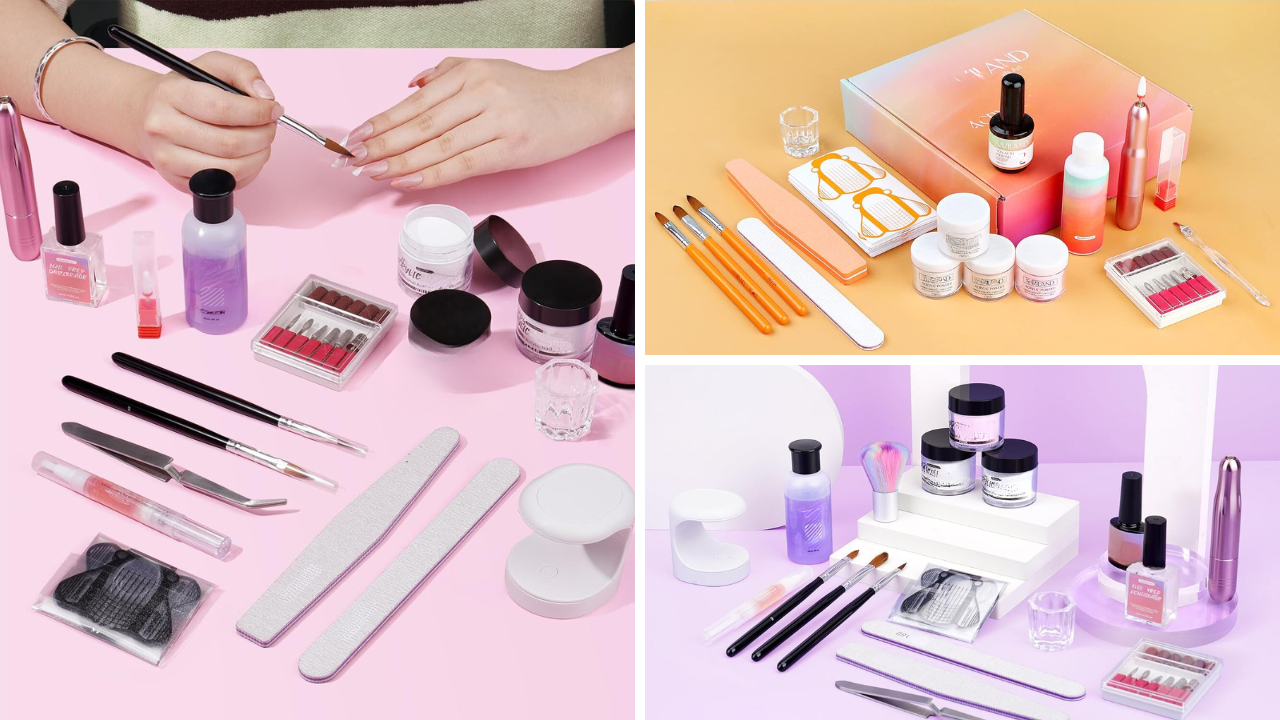
Choosing the Right Acrylic Nail Kit
Not all acrylic nail kits are created equal. It's important to invest in a high-quality kit from a reputable brand to ensure the safety and effectiveness of the products. Look for kits that include comprehensive instructions, as well as support from the manufacturer, in case you have questions or concerns.
Additionally, read reviews and seek recommendations from experienced users to find a kit that suits your skill level and needs. A good kit should include all the necessary components, such as a quality acrylic brush, nail prep solutions, and various acrylic powders for different nail looks.
The Importance of Nail Preparation
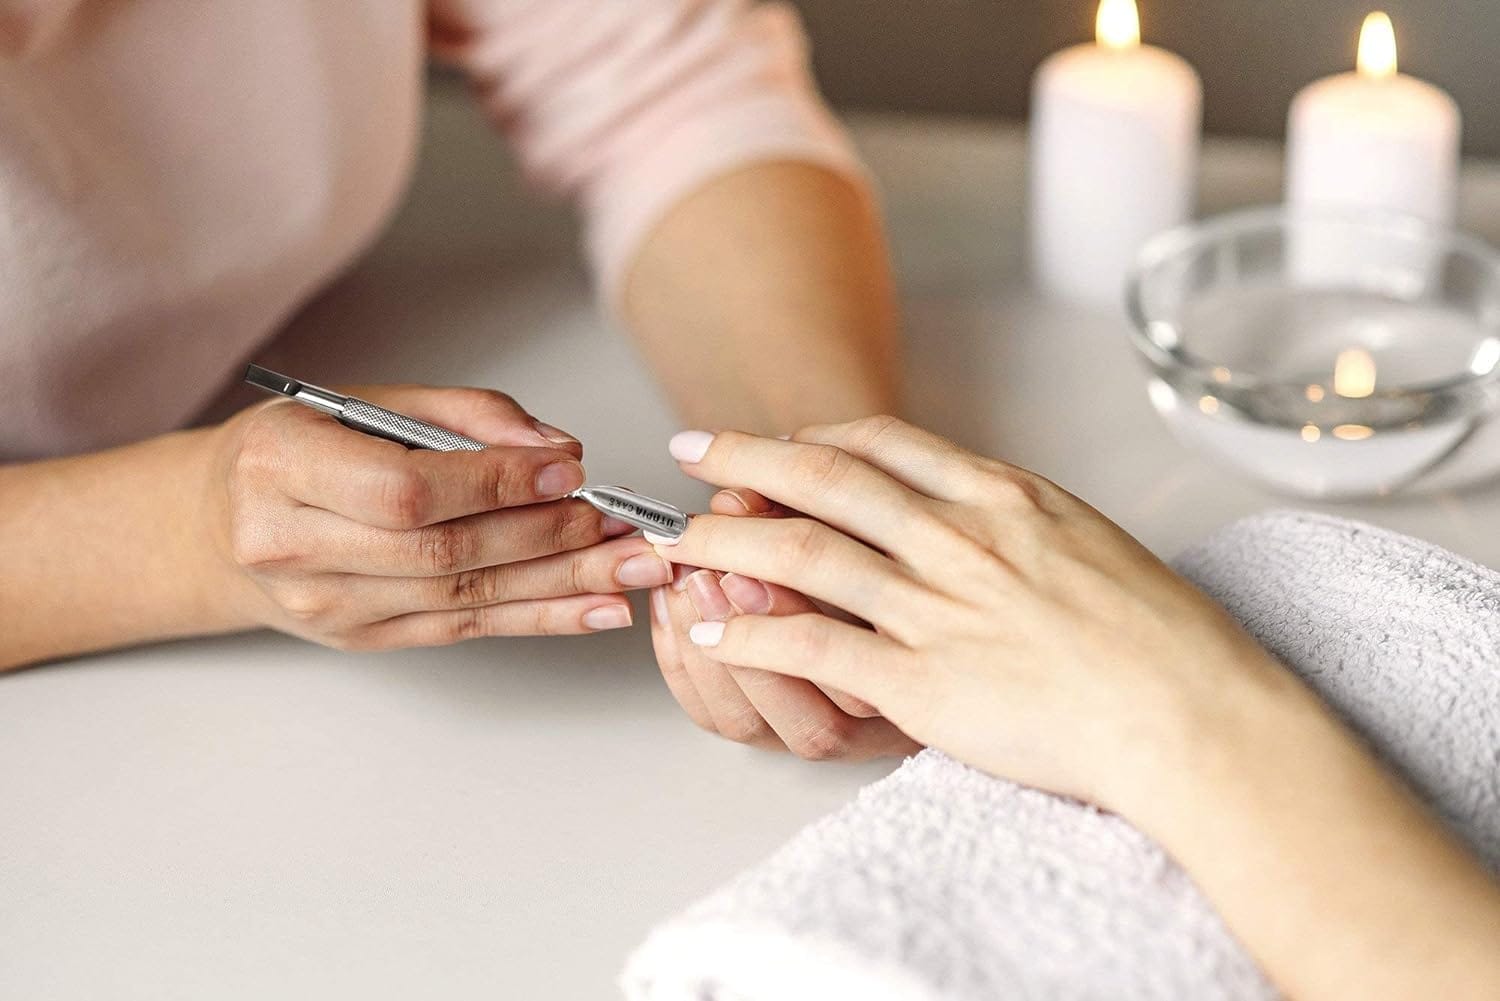
Proper nail preparation is key to a successful acrylic application. This involves thoroughly cleaning and drying the natural nails, pushing back the cuticles, and gently buffing the nail surface to create a good foundation for the acrylic to adhere to.
Skipping these steps can lead to lifting, where the acrylic nails detach from the natural nails, creating gaps that can harbor bacteria and lead to infections. Therefore, take your time with nail prep to ensure a long-lasting and safe acrylic manicure.
Aftercare and Removal of Acrylic Nails
Once your acrylic nails are in place, aftercare is essential to maintain their appearance and integrity. Avoid using your nails as tools, and wear gloves when performing tasks that could damage the acrylics, such as cleaning with harsh chemicals.
When removing the acrylic nails, do so carefully to avoid damaging the natural nails. Soak the nails in acetone to dissolve the acrylic, and gently scrape off the softened material with a nail pusher or orange stick. Never pull or force the acrylics off, which can cause significant nail damage.
Summary
Using acrylic nail kits at home can be a safe and enjoyable way to achieve beautiful nails, provided you take the necessary precautions and follow proper application and removal techniques. By investing in a quality kit, preparing your nails correctly, and maintaining good nail health, you can minimize the risks and enjoy the benefits of at-home acrylic nails.
FAQ Section
How often should I take breaks from wearing acrylic nails?
It's recommended to give your natural nails a break every three to six months to allow them to recover and strengthen. During this time, focus on nail care and treatments to restore nail health.
Can I develop an allergic reaction even if I've used acrylic nails before without issues?
Yes, allergic reactions can develop over time with repeated exposure to the chemicals in acrylic nail products. Always be vigilant for symptoms and seek medical advice if you suspect an allergic reaction.
What should I do if the top layer of my nails is damaged?
If the top layer of your nails is damaged, it's important to keep them moisturized and protected. Consider using a nail strengthener or protective coating to help restore and strengthen the nails. Avoid harsh chemicals and excessive filing, and consult a nail care professional if the damage is severe.
Is it safe to use acrylic nail kits at home, especially for dip nails?
While acrylic nail kits, including those for dip nails, can be used at home, caution and proper technique are essential to avoid potential damage to the nails.
Is it safe to use acrylic nail kits at home, even with nail treatments?
It can be safe to use acrylic nail kits at home alongside nail treatments, but it's important to follow instructions carefully and prioritize nail health to prevent damage.