


Key Takeaways:
- Understand the Basics: Learn the primary colors needed to mix and create your desired shade of light blue.
- Mixing Techniques: Master the art of mixing nail polishes to achieve the perfect light blue shade.
- Application Tips: Discover how to apply your homemade light blue nail polish for the best results.
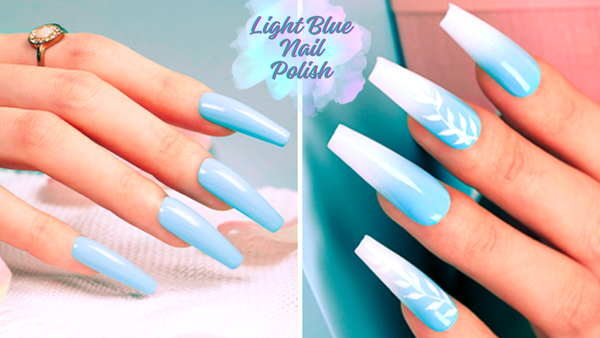
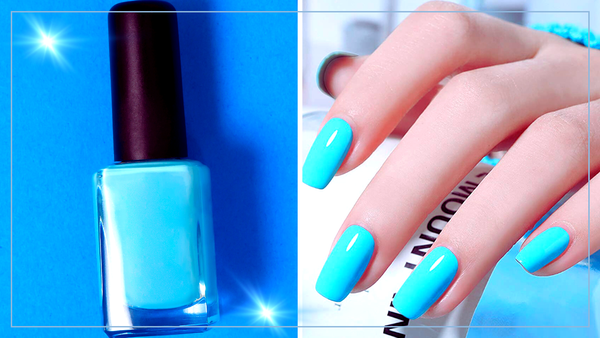
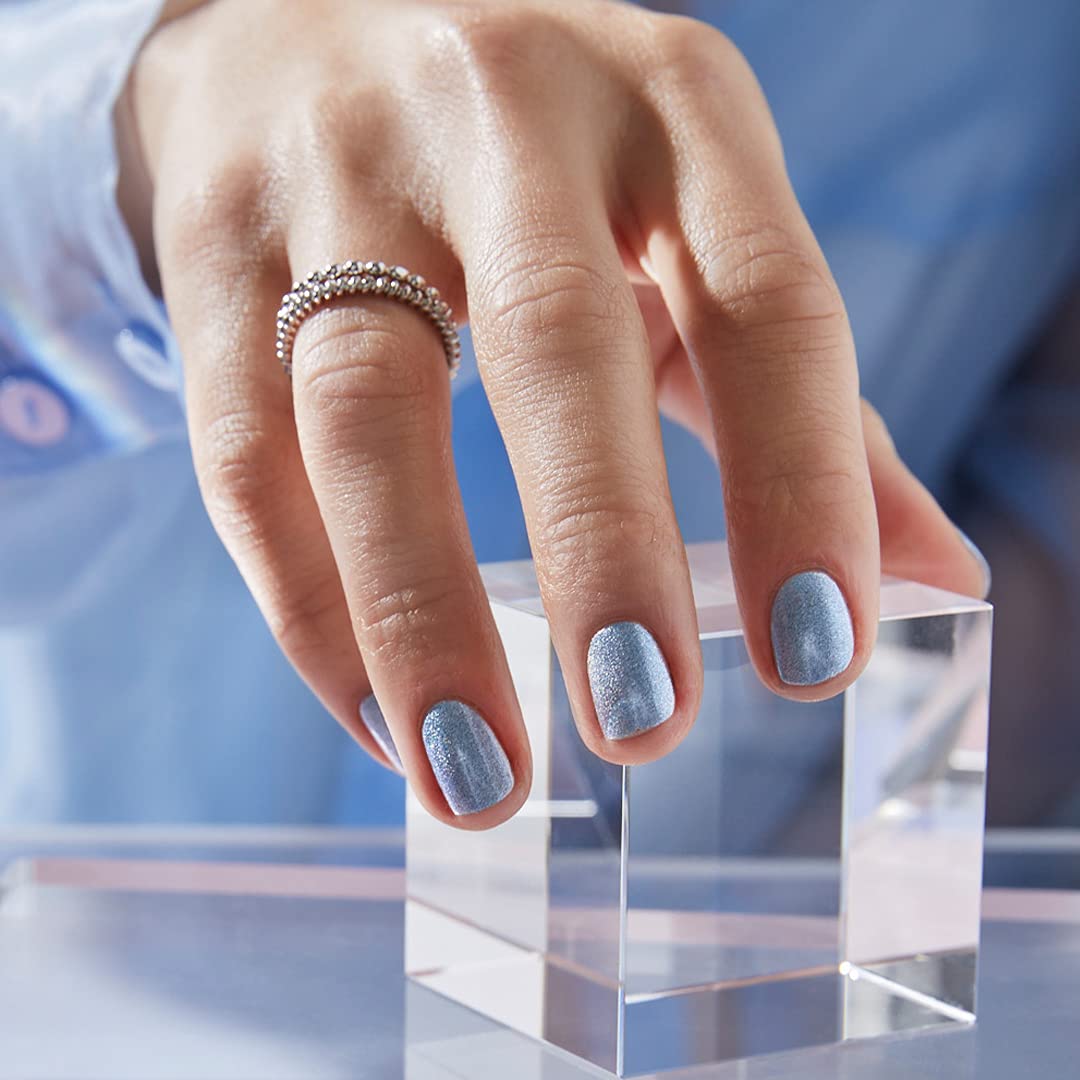
Nail art enthusiasts often seek unique shades that stand out. Light blue nail polish is a popular choice, especially for its cool, calming effect and versatility in nail art designs. If you want to create this shade, understanding the basics of color mixing and application techniques is essential. This article will guide you through making light blue nail polish, from selecting the right materials to applying the polish smoothly.
Understanding Color Theory
Before making your nail polish, it's crucial to have a basic understanding of color theory. The color wheel is your best friend here. Light blue is typically achieved by mixing primary colors in the correct ratios. Blue is one of the three primary colors, along with red and yellow. To create different shades of blue, including light blue, you might need to mix blue with small amounts of these other colors.
Materials Needed
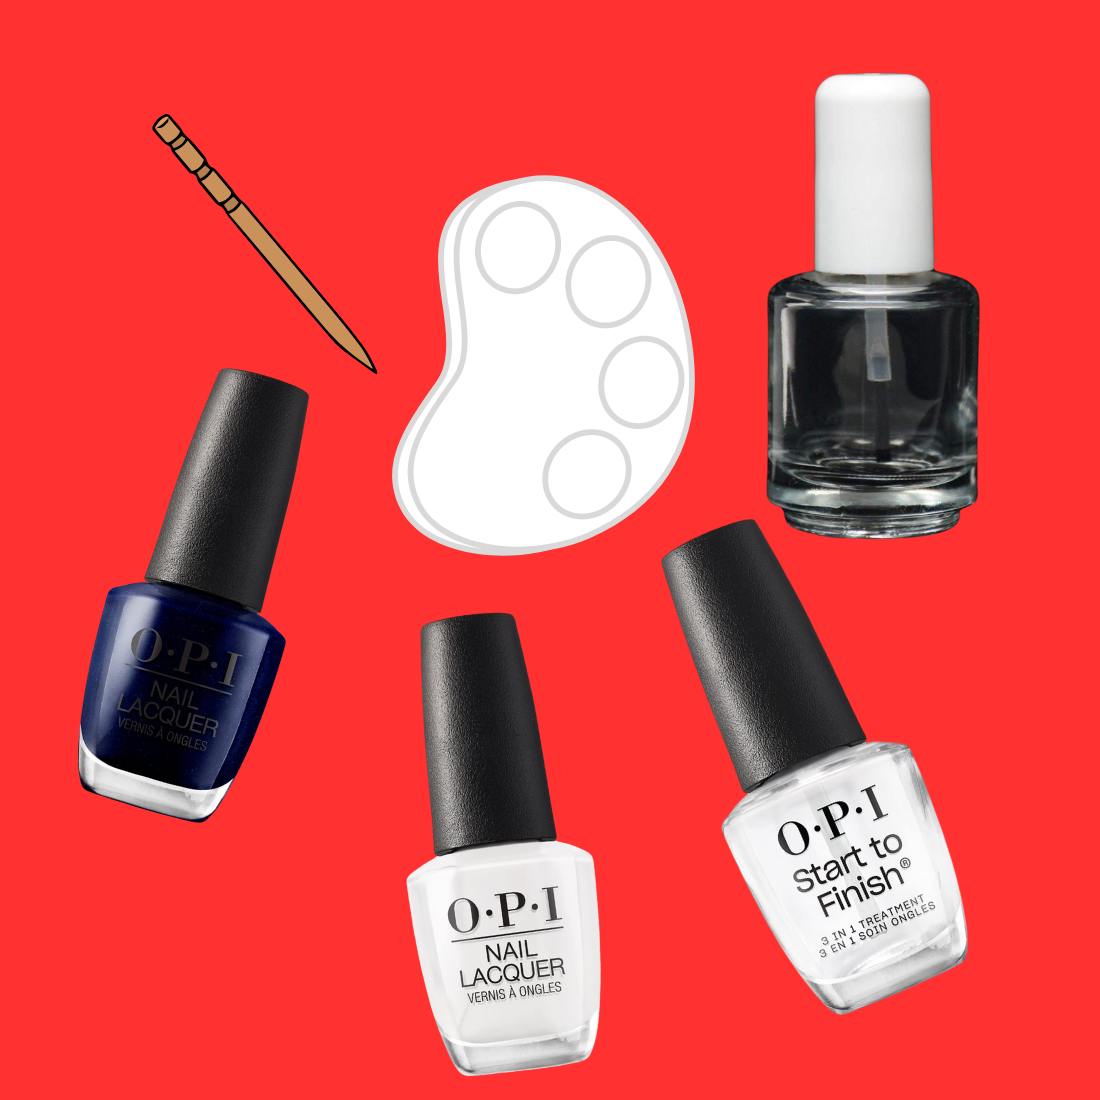
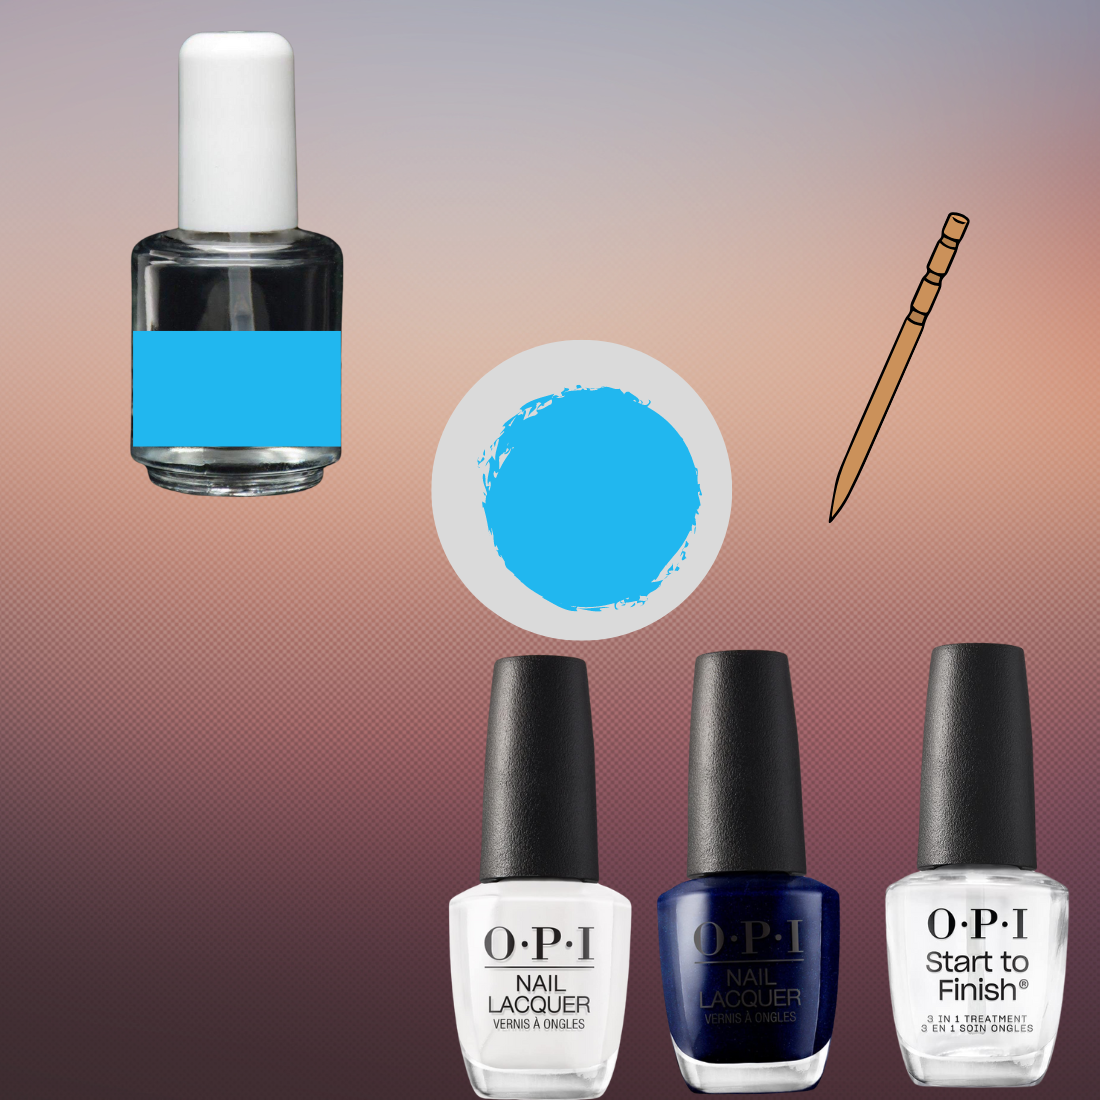
To start, you'll need a few key materials:
- Clear nail polish (base coat)
- Blue nail polish
- White nail polish (to lighten)
- Mixing tools (such as a toothpick or small stick)
- A small mixing palette or a piece of foil
- An empty nail polish bottle or a clean surface to mix on
Step-by-Step Mixing Guide
Preparing Your Workspace
First, ensure your workspace is well-ventilated and has a flat surface. Lay down paper or foil to protect the surface from spills.
Mixing Your Custom Color
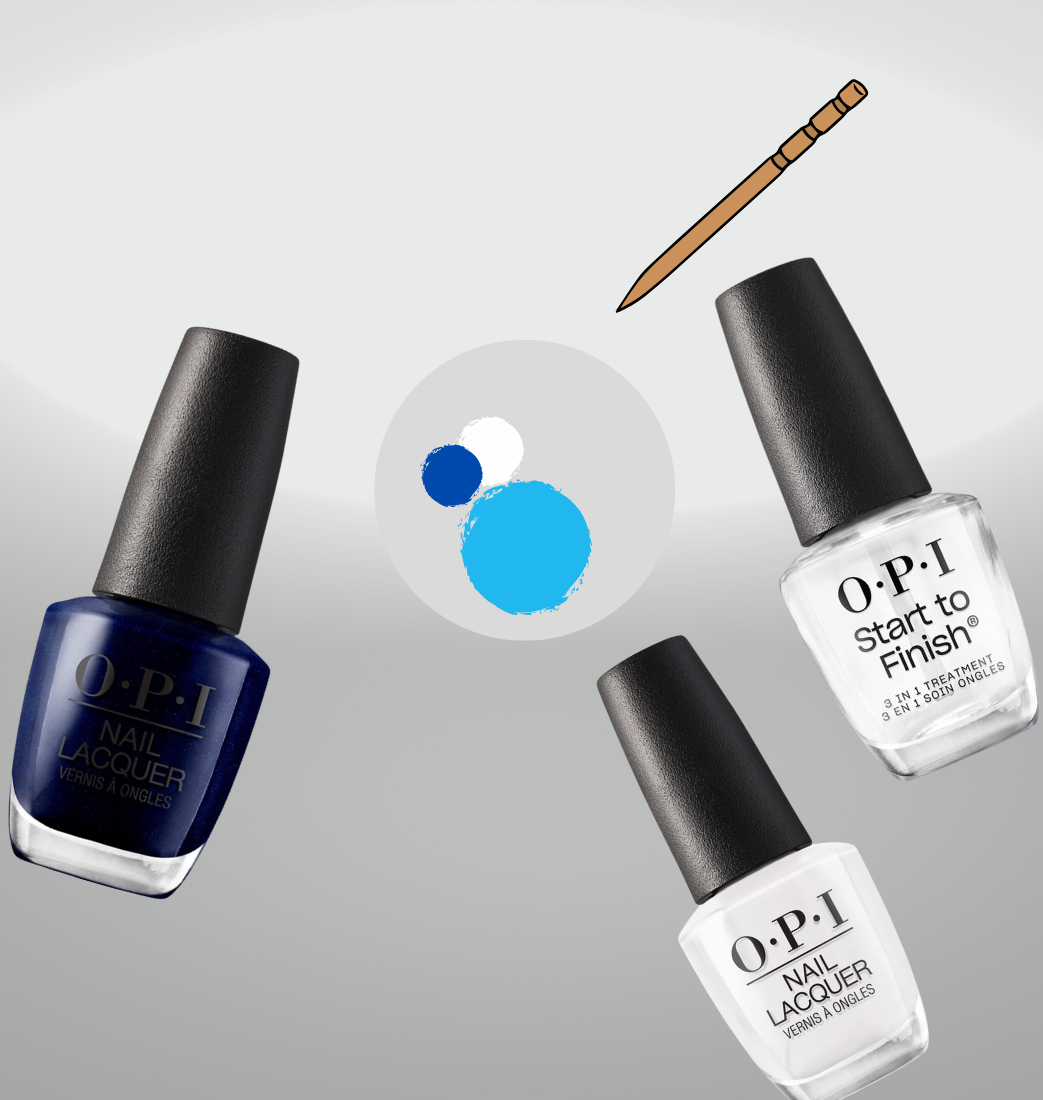
Start by adding a base of clear nail polish to your mixing surface. This acts as a diluter and will help achieve the light, sheer look typical of light blue shades. Add a few drops of blue nail polish and mix thoroughly. Gradually add white polish to lighten the blue until you reach the desired light blue shade. It’s important to mix slowly and steadily to avoid creating bubbles.
Testing and Adjusting Your Shade
Once you've mixed a small amount, test the color on white paper or a nail tip to see how it looks when dry. If the color is too dark, add more white polish; if it's too light, add a bit more blue. This step might require a few iterations to get the perfect shade of light blue.
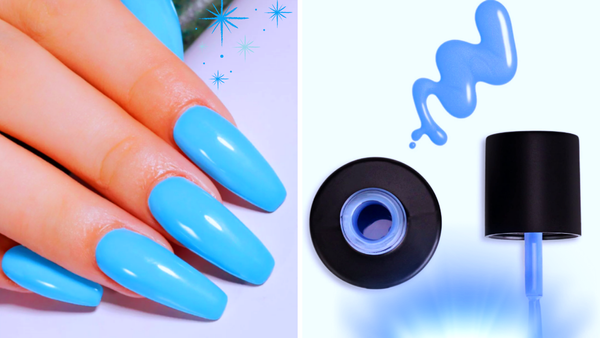
Bottling Your Nail Polish
After achieving the desired shade, carefully pour or scoop your custom nail polish into an empty bottle. Using a small funnel can help prevent spills. Ensure the cap is tightly sealed to avoid drying out.
Enhancing Durability: Tips for Long-lasting Light Blue Nail Polish
When exploring how to make light blue nail polish, durability is a key concern. To ensure your custom color lasts longer, apply a solid base coat. This layer not only protects your nails but also provides a smooth canvas that enhances the adherence of the nail polish. Allow the base coat to dry completely before applying your light blue polish. This step is crucial as it prevents the polish from peeling and extends the wear time.
In addition to a base coat, applying a top coat over your light blue nail polish can significantly increase its longevity. The top coat acts as a barrier against chips and scratches, keeping your nails looking glossy and freshly painted for longer. For an extra layer of protection, consider reapplying the top coat every few days. This not only keeps your nails shiny but also reinforces the protective layer, ensuring your DIY light blue nail polish remains vibrant and durable.
Custom Color Variations: Exploring Beyond Light Blue
When learning to make light blue nail polish, don't hesitate to experiment with variations to create a spectrum of blue shades. By adjusting the primary color mix, particularly the ratio of blue to the tiny increments of red and yellow, you can achieve everything from a soft sky blue to a deep oceanic tone. This exploration allows you to tailor your nail polish to your mood, outfit, or season. For instance, adding a bit more blue might give you a shade reminiscent of a summer sky, perfect for beach days or casual outings.
Moreover, mixing colors can be a fun and creative process. Add a hint of purple or green to your light blue base to create unique, custom colors. This subtle tweak can transform the light blue into a cool, icy hue or a warmer, teal-like shade. These variations can be achieved by carefully blending small amounts of adjacent colors on the color wheel, ensuring you mix thoroughly to avoid any streaks. This method not only broadens your nail polish collection but also enhances your understanding of color theory and its practical applications.
Incorporating Effects: Textures and Finishes in Light Blue Nail Polish
Creating light blue nail polish isn't just about achieving the right color; it's also about playing with different textures and finishes. For a fun twist, add glitter or a shimmering top coat to your freshly mixed light blue polish. This addition can turn plain nail polish into a party-ready accessory. Whether it's fine silver glitter for a subtle sparkle or chunky holographic pieces for a bold statement, the reflective particles catch the light beautifully. They can elevate the overall look of your nails.
Additionally, for those who prefer a more understated style, experimenting with matte and glossy finishes can add depth to your light blue nails. Applying a matte top coat over your light blue polish can give it a sophisticated, velvet-like finish, while a glossy top coat makes the color pop with a wet, shiny look. Both options provide different vibes and can be switched depending on the occasion or style preference. Mixing finishes can also result in a custom nail art look, such as matte nails with glossy tips or vice versa, providing endless possibilities for personalization.
Creative Expressions: Incorporating Glitter and Art into Light Blue Nail Polish
Adding glitter to your light blue nail polish mix can transform your nails into a sparkling statement piece. When mixing colors, sprinkle fine glitter into your light blue base while it's still unset. Stir gently with a clean brush to distribute the glitter evenly. This method allows you to control the amount of sparkle and achieve a uniform shimmer across all nails. Experiment with different shades of glitter—silver or iridescent can complement the cool tones of light blue beautifully.
For those who love detailed nail art, light blue nail polish provides a perfect backdrop for intricate designs. Use a thin brush or a nail art pen to add patterns like stripes, dots, or floral motifs. Light blue acts as a soft, subtle canvas, making it ideal for both bold and delicate designs. If you're new to nail art, start with simple geometric shapes or use stencils to achieve precise designs. This approach not only enhances the beauty of your nails but also adds a personal touch to your light blue creation.
Application Techniques
Applying the Base Coat
Before applying your homemade light blue nail polish, start with a clear base coat. This layer helps protect your nails and ensures better adhesion of the colored polish.
Using Your Light Blue Polish
Apply the light blue polish in thin, even layers. Allow each layer to dry completely before applying the next. This prevents smudging and helps maintain an even, opaque color across the nail.
Nail Art Ideas
Light blue nail polish works beautifully in various nail art designs. Consider using it as a base for:
- Glitter Overlays: Add a layer of clear polish mixed with silver glitter for a sparkling effect.
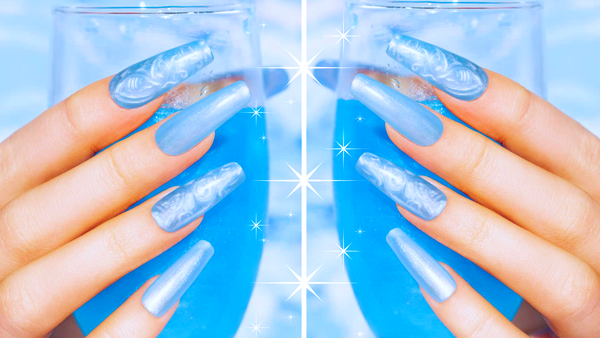
- Marble Effects: To create a marble effect, swirl light blue with a darker blue or white on the nail using a toothpick.
- Stripes or Dots: Use a fine brush or a dotting tool to create intricate patterns over the light blue base.
Summary
Creating your own light blue nail polish is a fun and rewarding DIY project. By understanding basic color theory and practicing mixing techniques, you can customize a shade that's uniquely yours. Remember to work in a well-ventilated area, mix colors gradually, and test your polish to ensure the best results. With these tips, you're ready to sport beautiful light blue nails that are sure to impress!
FAQ
What are the best colors to mix for a light blue nail polish?
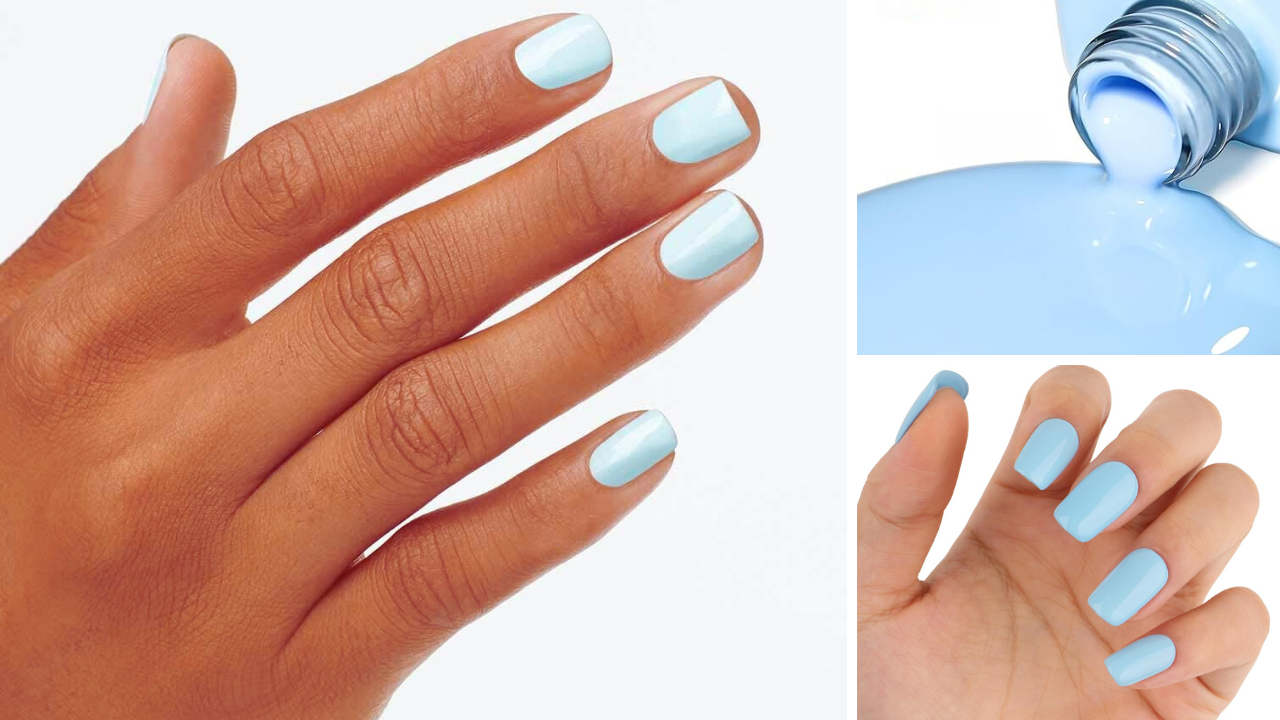
To create light blue, start with a base of blue and gradually add white to lighten the shade. Adjust the mix until you achieve your desired hue.
How can I make my homemade nail polish last longer?
Use a good-quality base coat and top coat. Apply the polish in thin, even layers and let each layer dry completely.
Can I mix matte and glossy polishes to create a custom finish?
Yes, you can mix matte and glossy nail polishes to adjust the finish of your custom color. Adding a matte top coat over glossy polish can achieve a matte finish.
How can I customize a nail polish color to achieve light blue?
You can mix white nail polish with a small amount of blue nail polish to create a light blue nail polish color.