


Key Takeaways:
- Learn to create your gold nail polish using real gold leaf for a luxurious manicure.
- Mix gold leaf with clear polish for a custom gold top coat.
- Explore more ideas to enhance your DIY gold nail polish with additional colors and techniques.
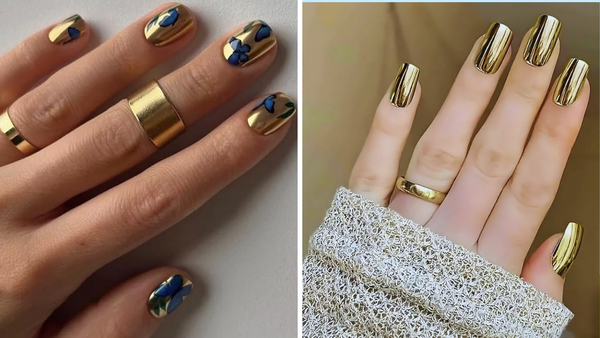
Gold nail polish is a timeless classic, exuding elegance and sophistication with every shimmering stroke. But what if you could elevate your manicure game by creating your gold nail polish? This article will guide you through the process, from selecting the right materials to applying the final coat, ensuring your nails are stunning.
Selecting Your Materials
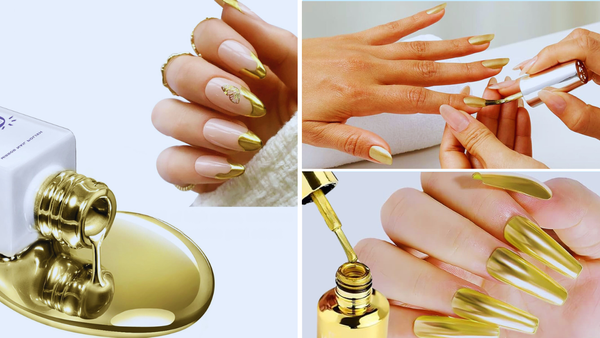
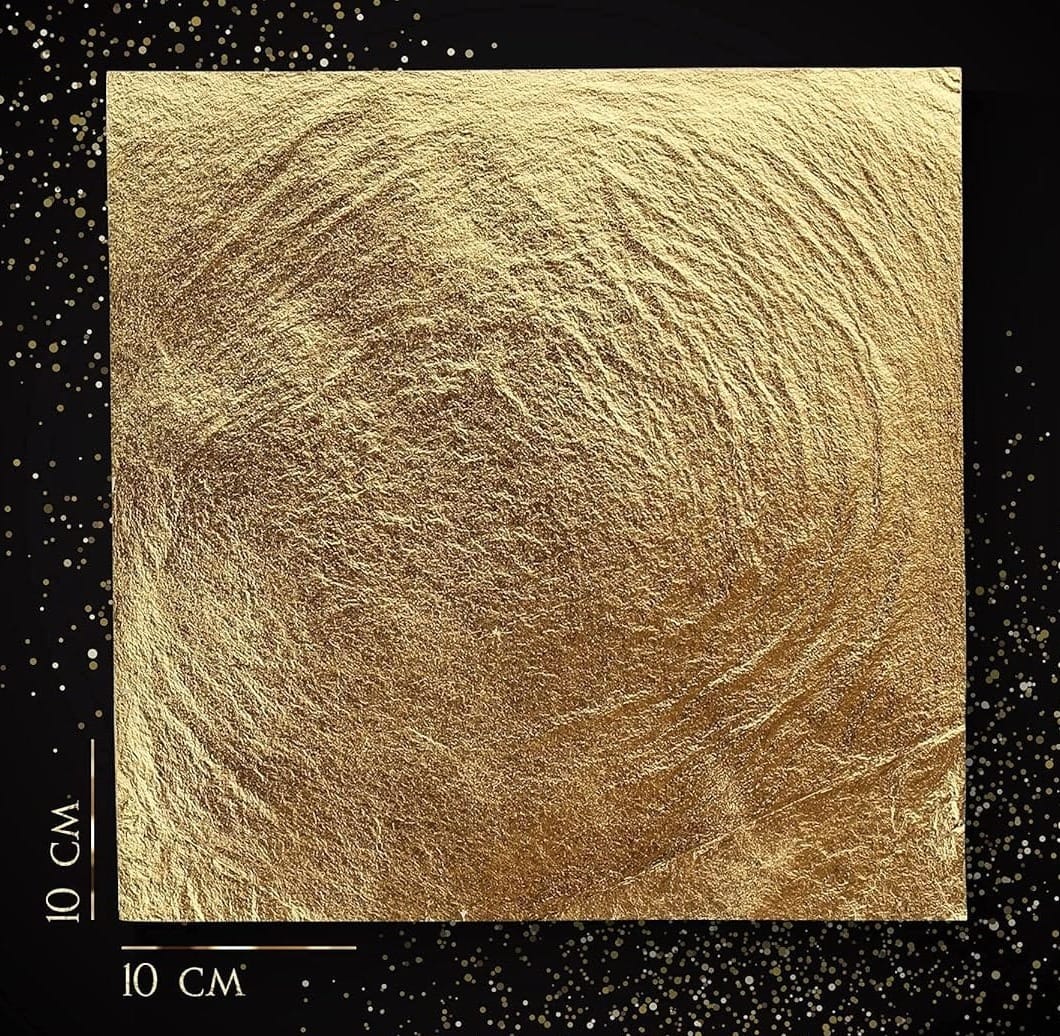
To embark on your DIY gold leaf manicure adventure, visit your local craft stores to pick up some essential items. The show's star is, of course, a real gold leaf. This thin layer of genuine metal will give your nails an authentic gold shine. You'll also need a bottle of clear polish to act as your base and mixing medium. A nail polish thinner might be handy if you prefer a more fluid consistency. Lastly, grab a fine brush for precise application.
Preparing the Gold Leaf
Once you have your gold foil, it's time to get crafty. Start by laying out a piece of paper to catch stray bits of gold leaf. Using tweezers, gently pick up a piece of the gold leaf and lay it flat on the paper. With your brush, lightly tap the gold leaf to break it into smaller pieces. These tiny flakes will be easier to mix into your clear polish, creating a smooth and even gold coat.
Mixing Your Gold Nail Polish
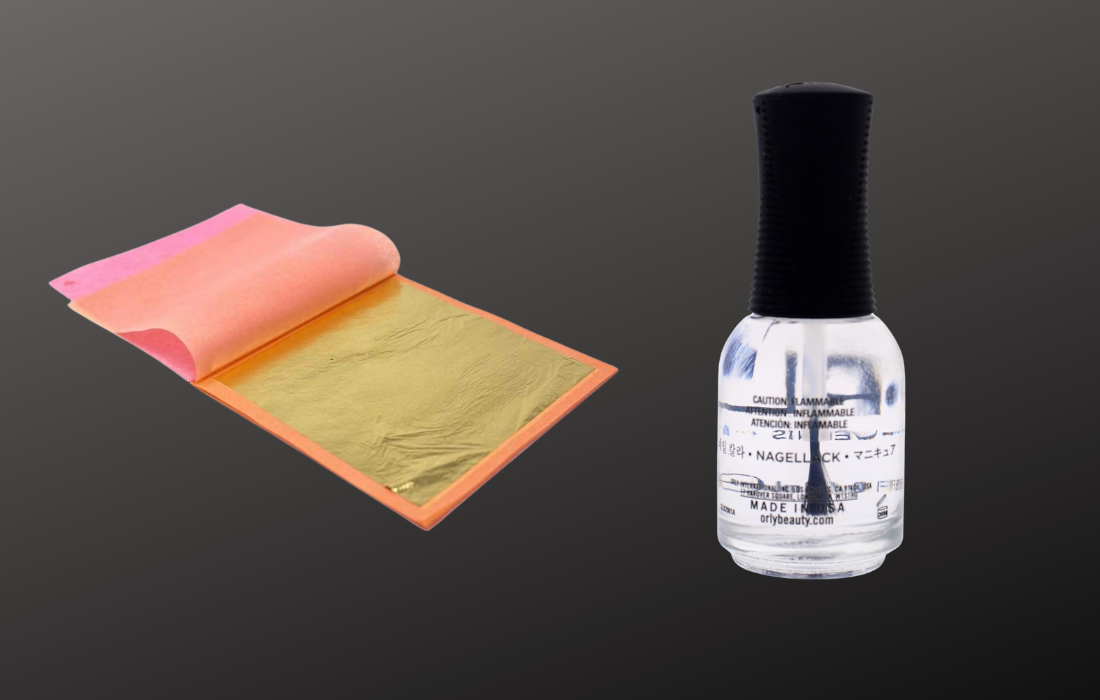
Now for the fun part – mixing your metals! Take your clear polish and pour a bit into a small container. Gradually add your gold leaf flakes, stirring gently with your brush. If the mixture seems too thick, add a few drops of nail polish thinner until you achieve the desired consistency. Remember, you aim for a thin layer that will stick to your nails without clumping.
The Alchemy of Gold Nail Polish Creation
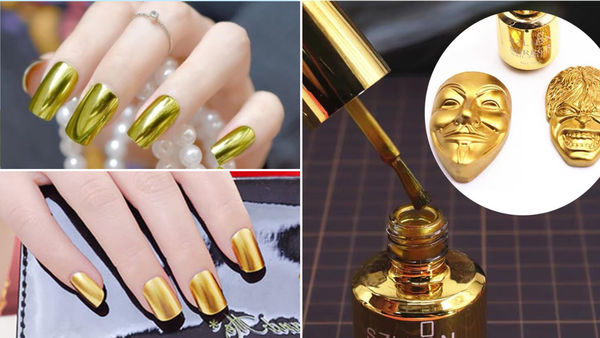
Creating your gold nail polish is like alchemy, transforming basic ingredients into a precious metallic finish that can adorn your fingertips. The process begins with sourcing real gold leaf from craft stores or online suppliers. This material, typically used in art and decoration, is the key to achieving that authentic gold shimmer. Unlike conventional glitter, gold leaf provides a unique luster and depth that can't be replicated with synthetic alternatives.
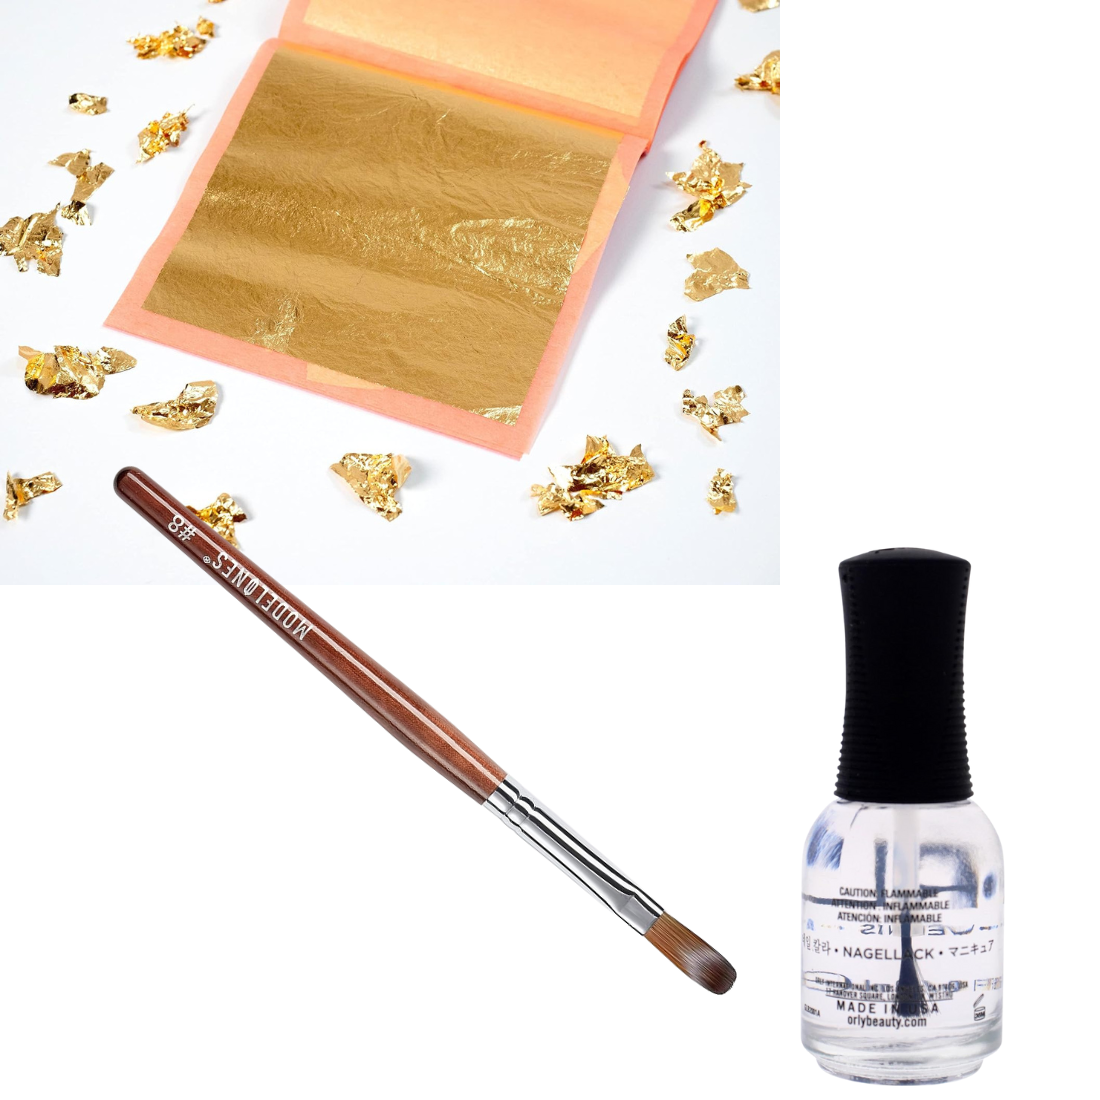
When you're ready to start, remember that the gold leaf is delicate and requires a gentle touch. A painting brush can be your best ally in handling and applying the gold leaf to your nails. For a dramatic effect, consider using gold leaf on just one nail, like the middle finger, to create a bold statement. Alternatively, a thin layer of gold leaf can be applied to all nails for a uniformly luxurious look. The beauty of DIY is that you can experiment with the metal colors and find the perfect gold foil to match your style.
Innovating with Gold Leaf Manicure Techniques
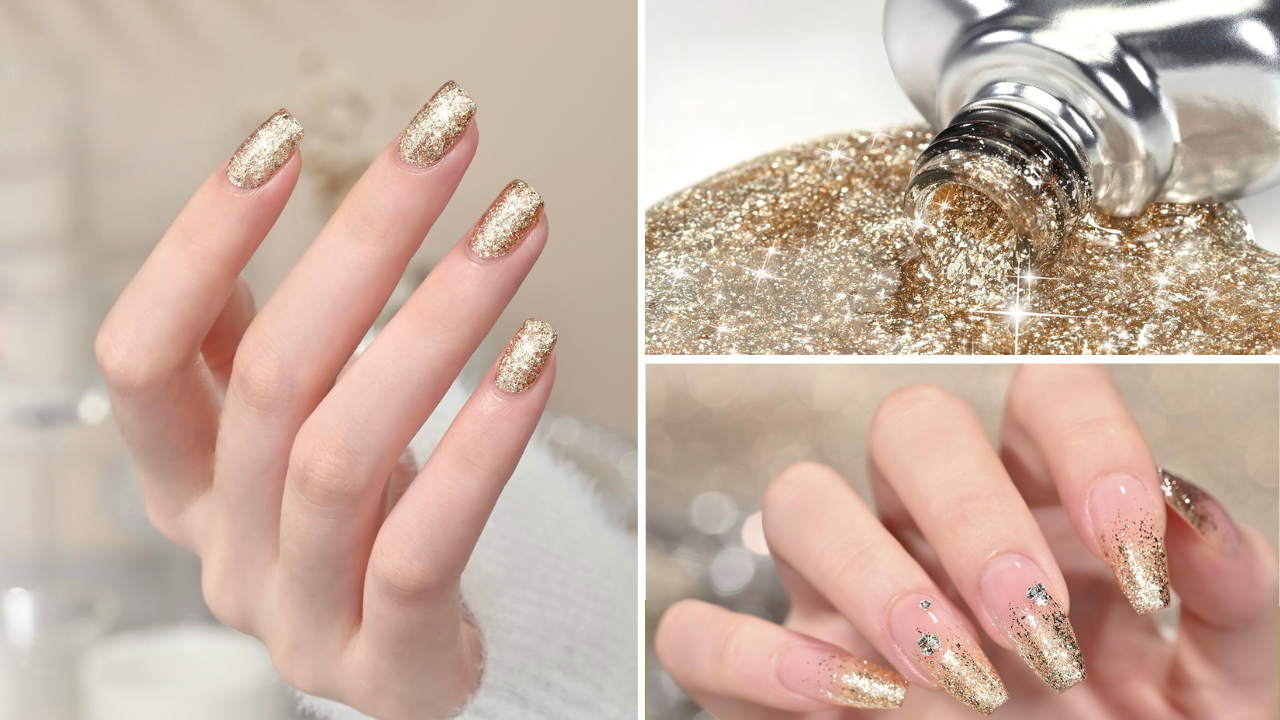
Once you've mastered the basic gold leaf manicure, it's time to let your creativity flow. Think beyond the single color and start mixing metals. A silver and gold combination can offer a chic and contemporary vibe, while rose gold can add a warm, romantic touch. The key is to apply a thin layer of each metal leaf, allowing them to slightly overlap for a seamless transition between colors.
For those who love a bit of sparkle, why not create a DIY rainbow effect? Start with a base color of your choice, then add small pieces of gold, silver, and copper leaf to create a dazzling, multi-colored effect. This technique is perfect for festivals, parties, or any occasion where you want your nails to be the center of attention. And if you're worried about the durability of your masterpiece, a DIY gold top coat can help seal the deal, ensuring your metallic creation lasts as long as possible.
Applying Your DIY Gold Top Coat
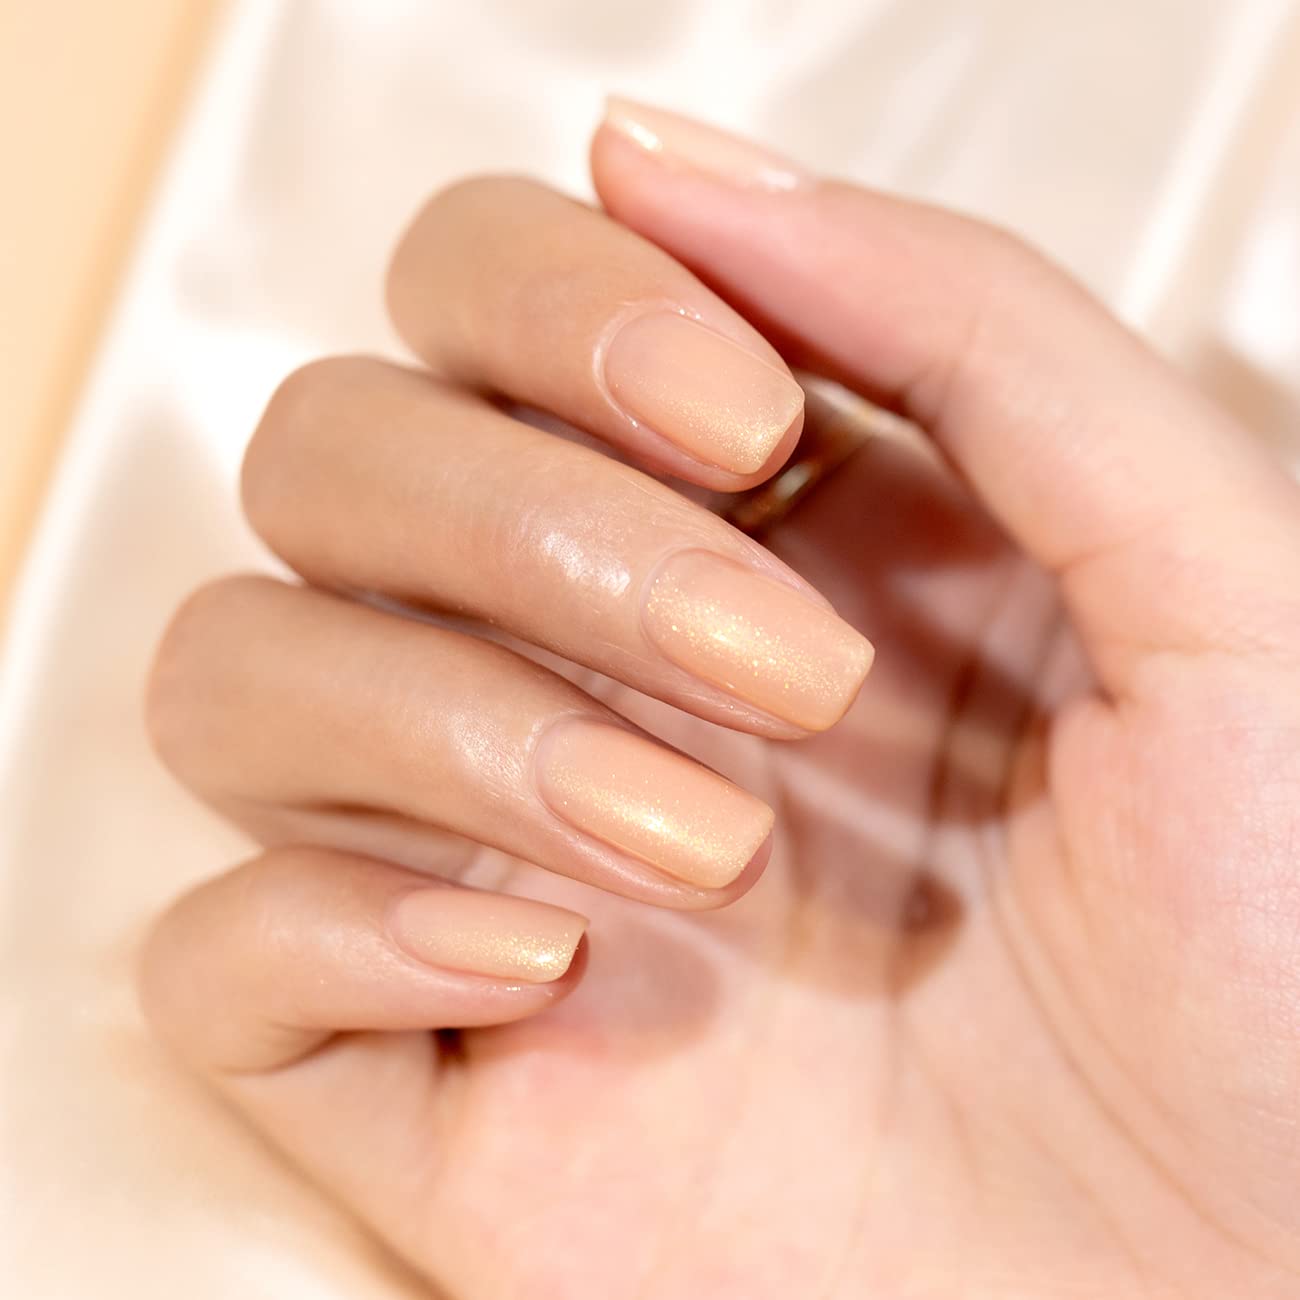
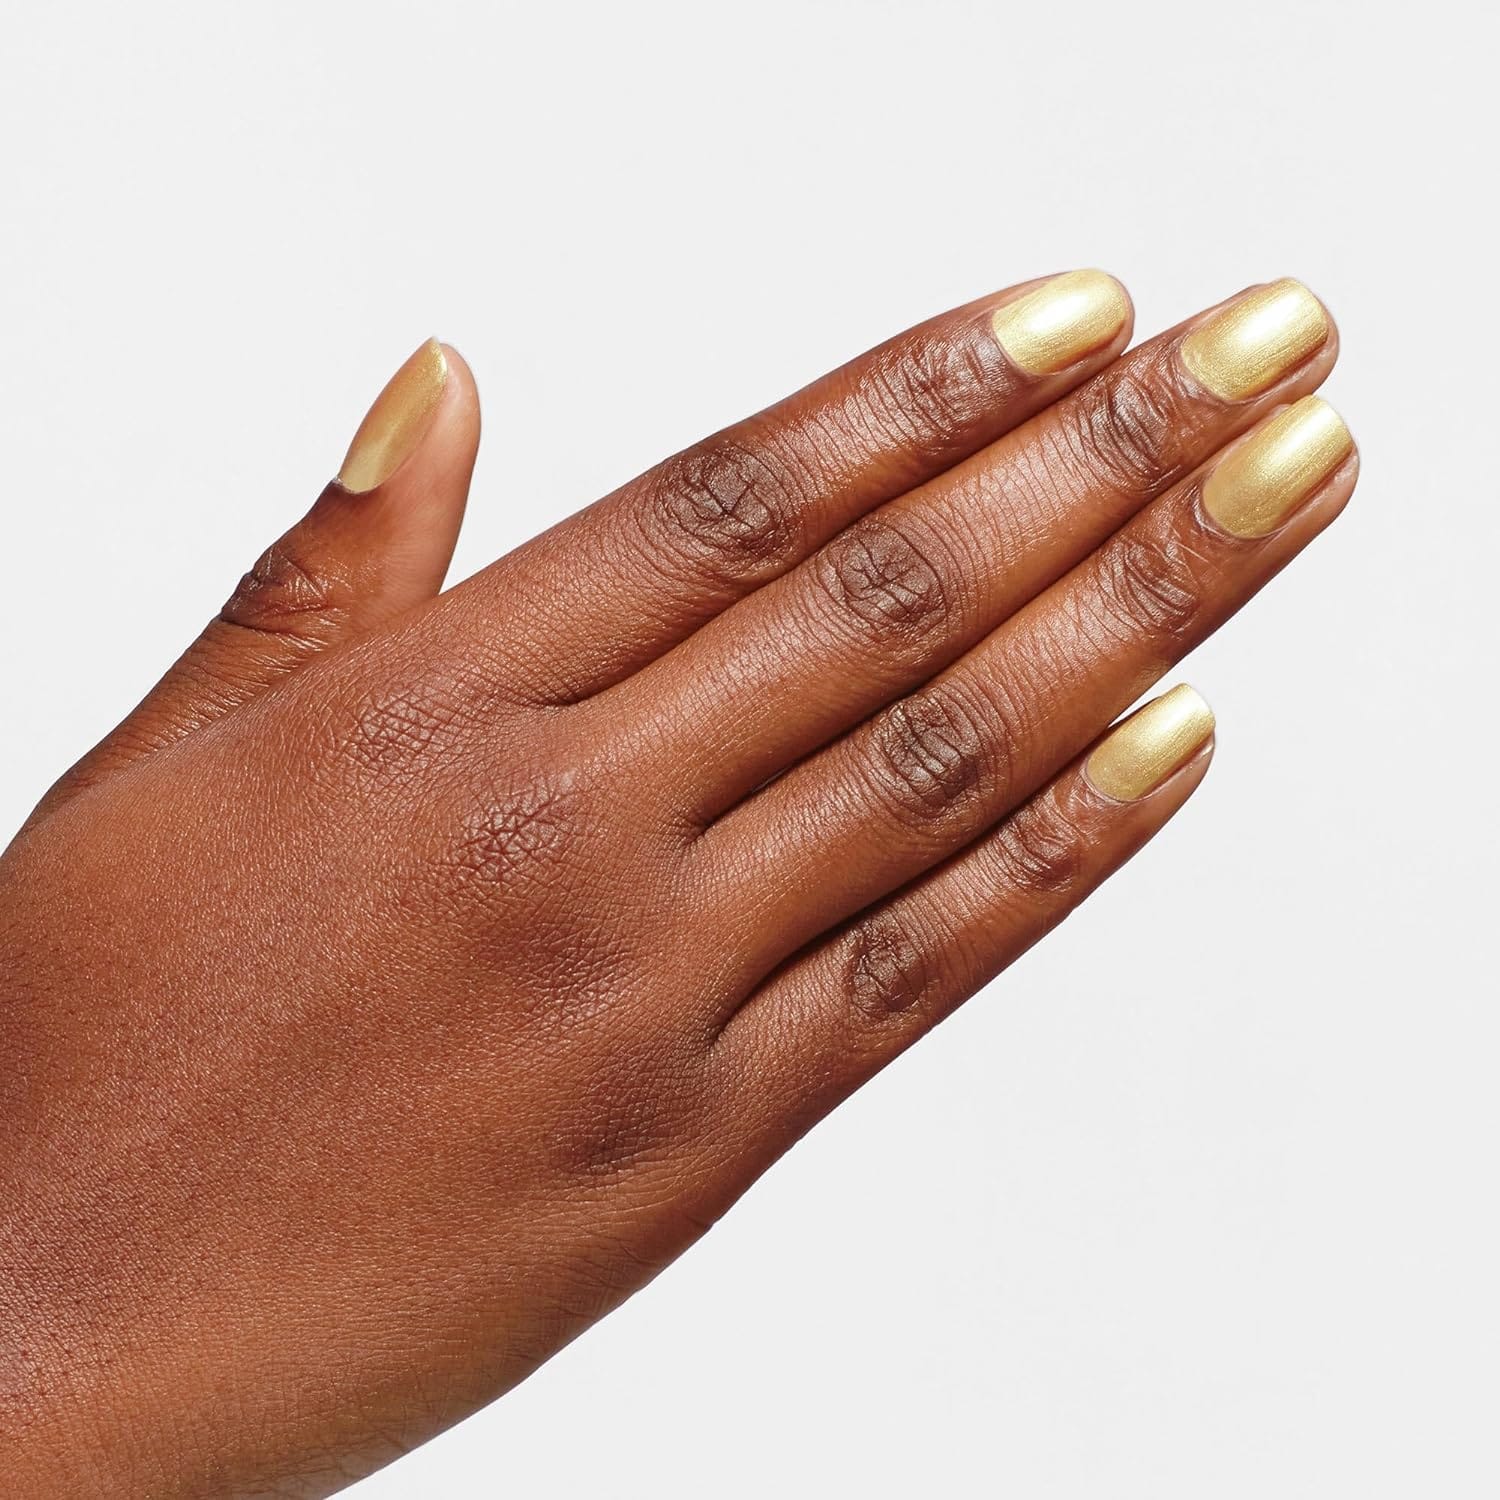
With your gold nail polish ready, it's time to paint. Start with a base color if you want a specific color to peek through the gold. Once your base is dry, dip your brush into your gold mixture and apply a thin coat to each nail. Allow the first coat to dry completely before adding a second for more opulence. Two coats should suffice for a rich, metallic finish.
More Ideas for Your Gold Manicure
Don't stop at a simple gold coat; get creative with your DIY gold nail polish! Try using a thin layer of gold polish to accent your middle finger for a trendy look. Or mix gold with other metal colors like silver or copper for a unique combination. The possibilities are endless, and each idea adds more personality to your nails.
Maintaining Your Gold Polish
Gold nail polish, especially when crafted with real gold leaf, requires some care to maintain its luster. Always apply a clear top coat to seal in the gold leaf and prevent it from flaking off. When it's time to remove your polish, use a gentle remover to avoid damaging your nails. With proper care, your gold manicure can remain as good as new for days.
Summary
Creating your gold nail polish is not only a fun DIY project but also a way to add a personal touch to your manicure. Following these steps, you can achieve a luxurious gold leaf finish that will make your nails the center of attention. Whether you opt for a full gold coat or a subtle hint of shimmer, your DIY gold nail polish will turn heads.
FAQ Section
Can I use any gold leaf for my nail polish?
It's best to use real gold leaf or gold foil designed for cosmetic use to ensure it's safe for your skin and nails.
How long does homemade gold nail polish last?
With proper application and a clear top coat, your DIY gold nail polish can last as long as a regular manicure, typically around a week.
Can I mix other colors into my gold nail polish?
Absolutely! Feel free to experiment with mixing different colors into your gold polish for a custom shade. Just remember to mix well for an even color distribution.