


Key Takeaways:
- Learn the secrets to maintaining a high-gloss finish on your nail polish.
- Discover the best practices for applying and preserving your manicure.
- Understand the importance of using quality products and techniques to extend the life of your glossy nails.
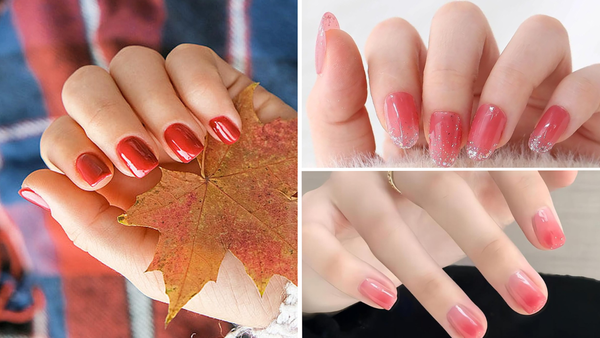
Maintaining a glossy finish on your nail polish is akin to preserving a masterpiece. It's not just about the initial application; it's about the care and attention you give to your nails afterward. Whether you're a DIY enthusiast or a salon regular, this guide will walk you through the steps and tips to keep your nail polish as shiny as the day it was applied.
The Foundation of Gloss: Base Coats
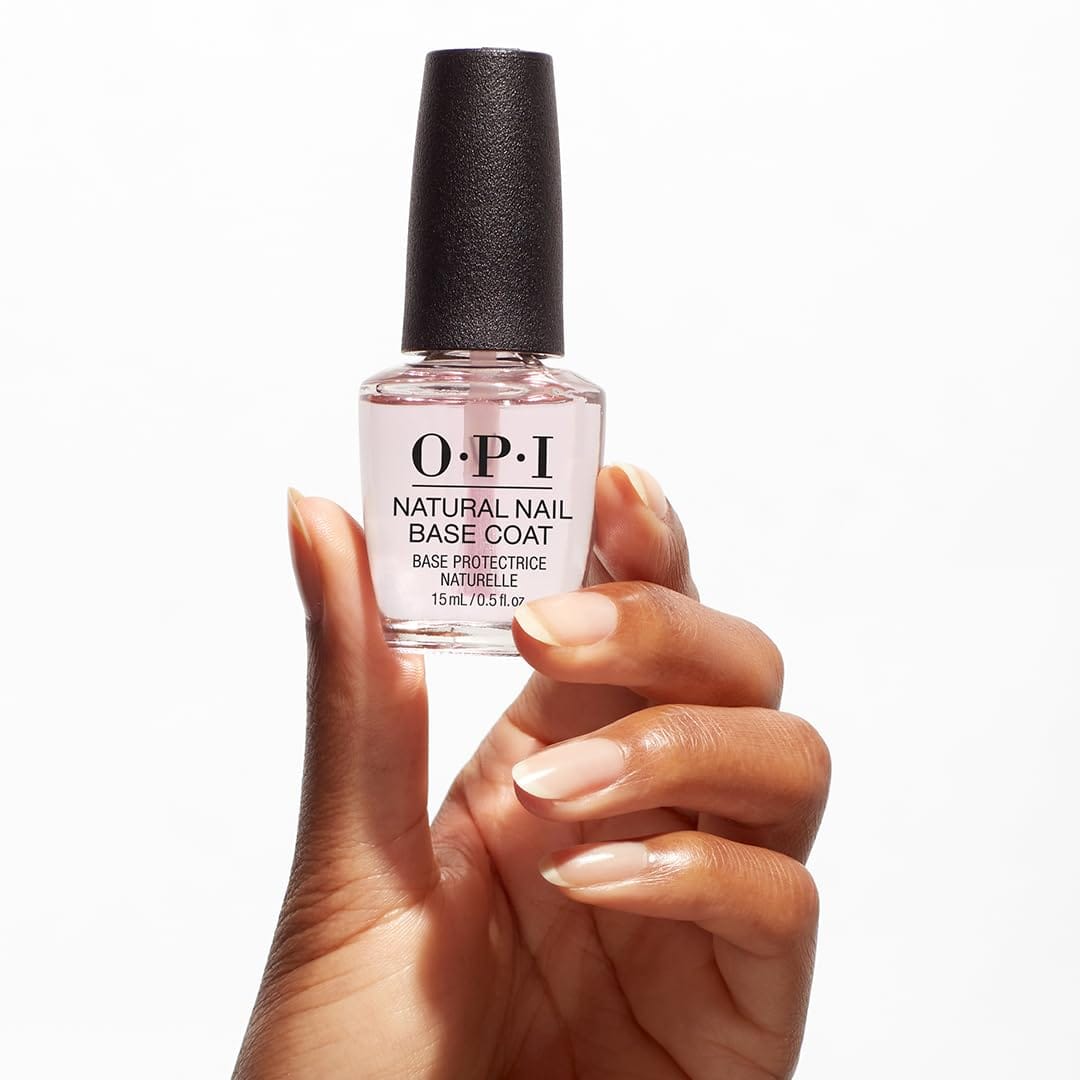
A glossy manicure starts with a solid foundation. Applying a base coat is like preparing a canvas for painting. It ensures that the polish adheres to the nail plate and provides a smooth surface for the color. Not only does a base coat prevent staining from pigmented polishes, but it also helps to extend the life of your manicure. For best results, apply a thin layer of base coat and allow it to dry completely before moving on to the color.
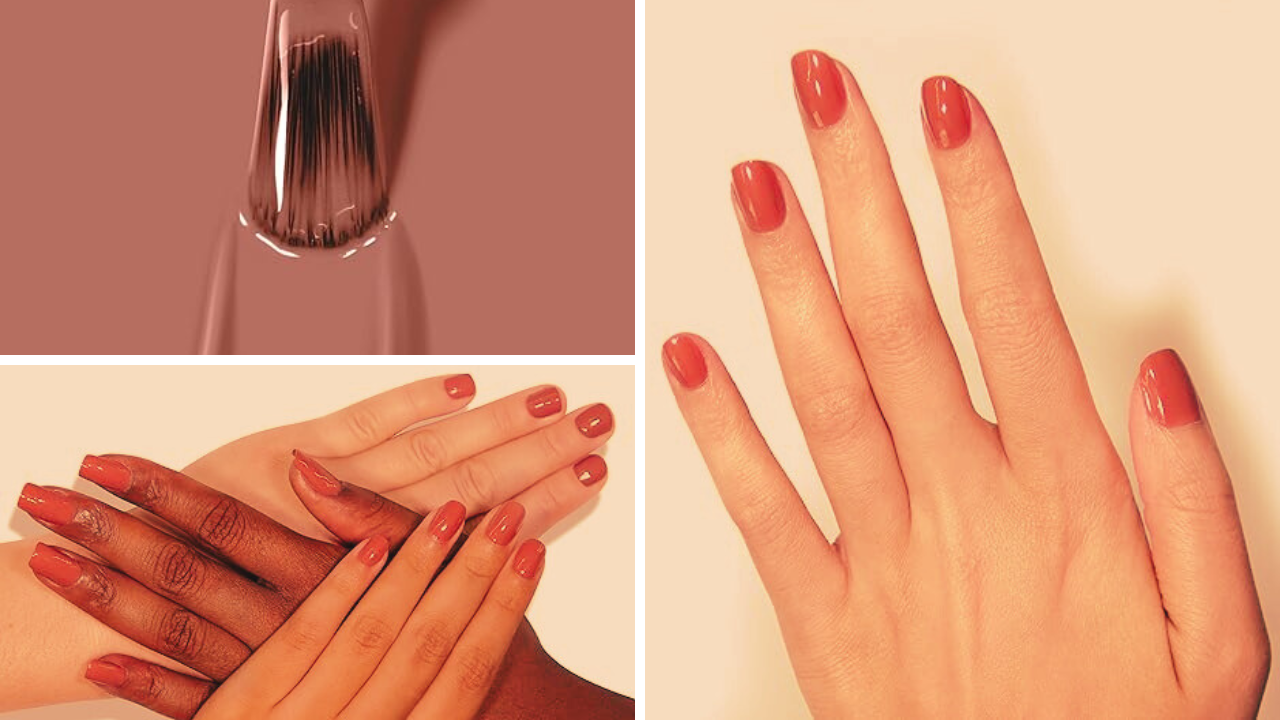
Color Application: Thin Coats are Key
When it's time to polish nails, thin coats are your best friend. Thick layers of nail polish are more prone to create air bubbles and take longer to dry, which can lead to smudges and dents. Celebrity nail artists recommend applying two to three thin coats of polish, allowing each layer to dry before adding the next. This technique ensures even color distribution and a smoother finish, essential for a glossy look.
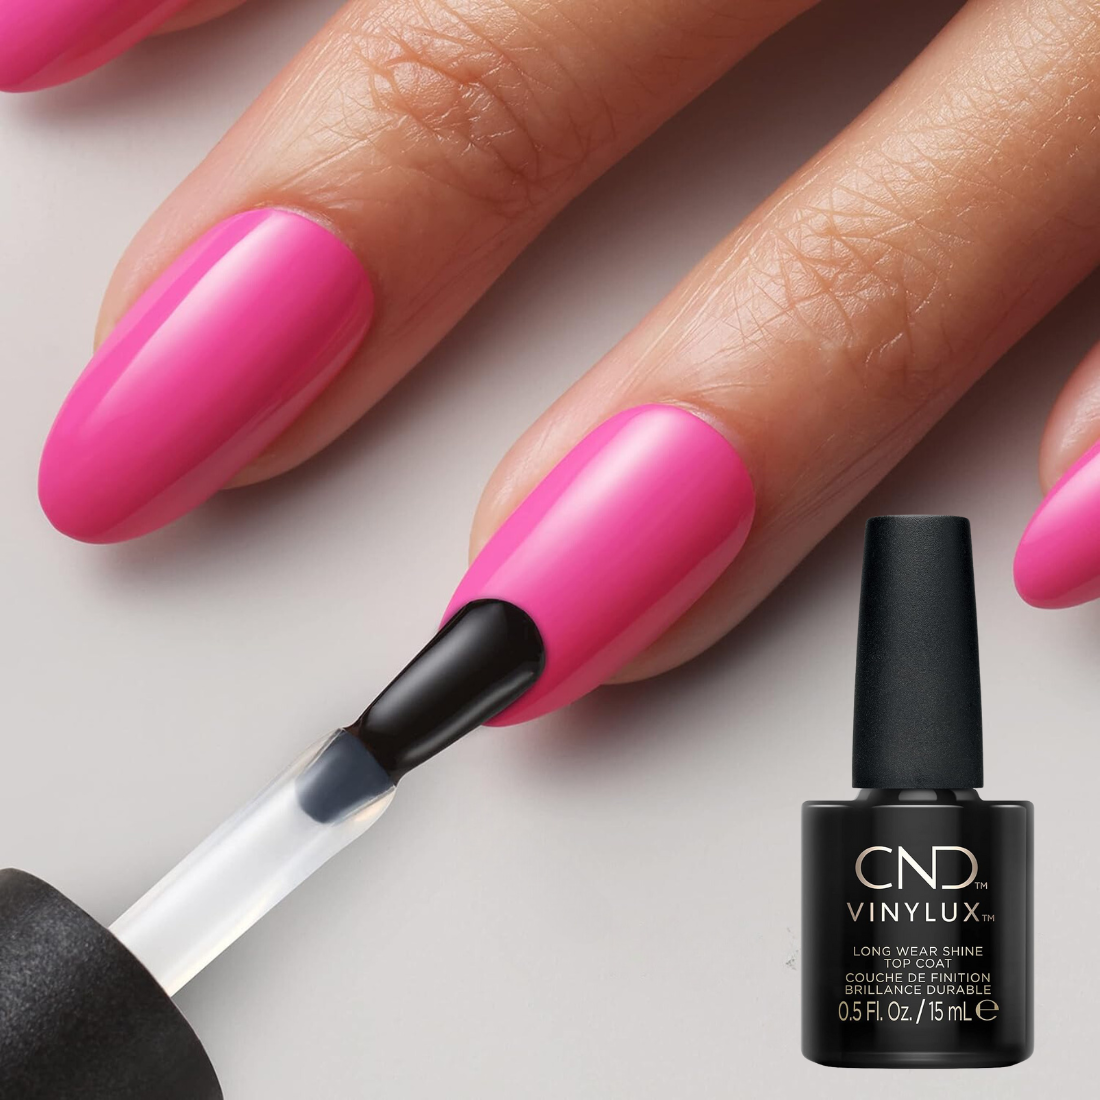
The Secret Weapon: Top Coats
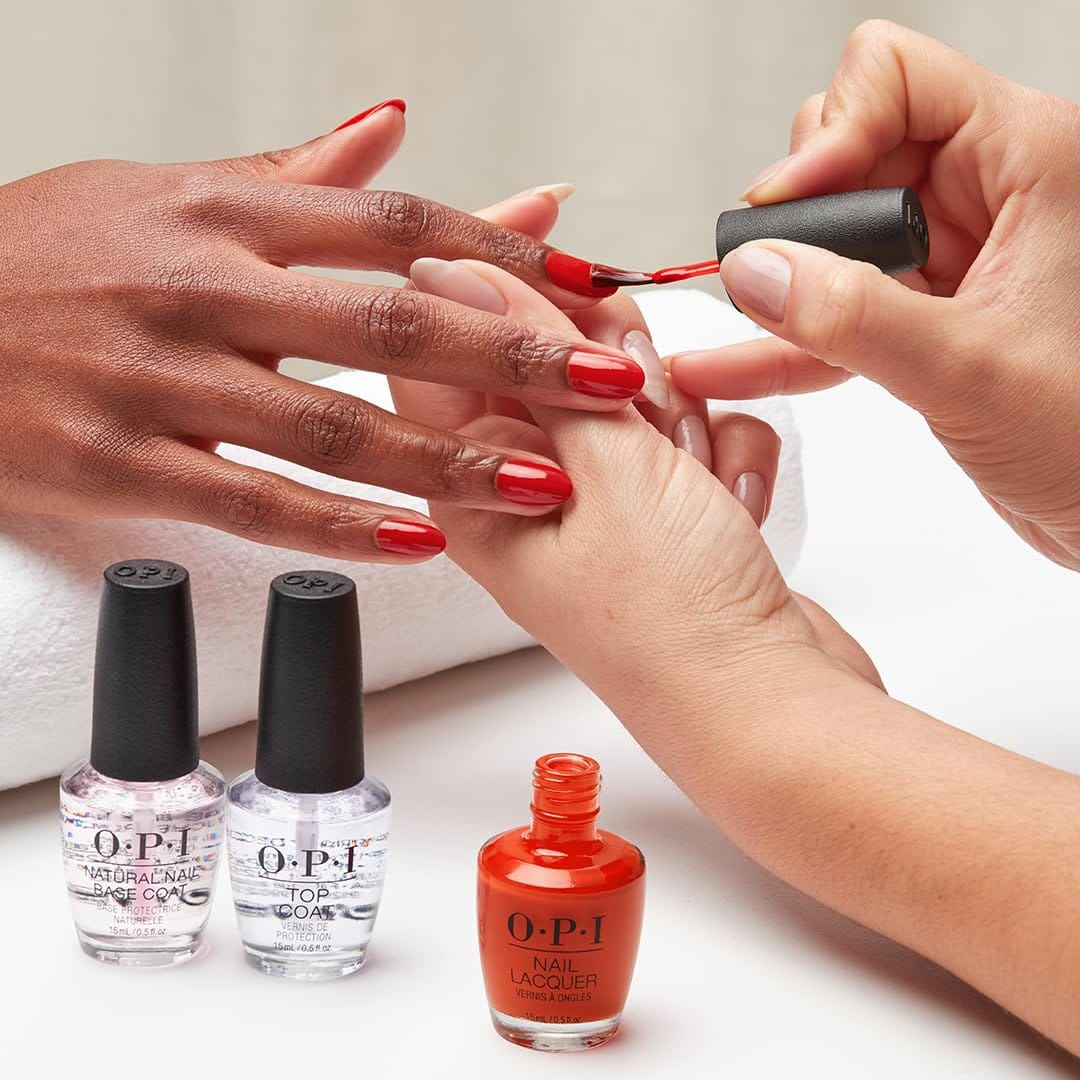
Top coats are the armor that protects your manicure from the elements. They seal in the color and add an extra layer of shine. When selecting a top coat, look for one that promises long-lasting results and a high-gloss finish. Apply the top coat while the last layer of polish is still slightly tacky to help the layers bond together. Reapplying a top coat every few days can also revive the shine and extend the life of your manicure.
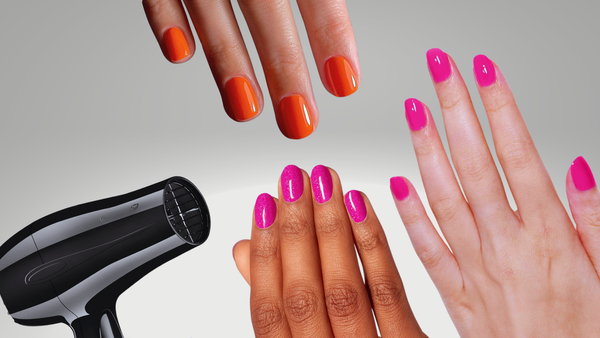
Avoiding the Heat: Cool Air is Your Ally
Contrary to popular belief, blowing hot air on your nails does not help them dry faster. Heat can cause the polish to bubble and ruin the glossy finish. Instead, use cool air from a fan or a hairdryer set to the cool setting to help set the polish. This method helps to prevent smudging and keeps the shine intact.
The Role of Cuticle Oils
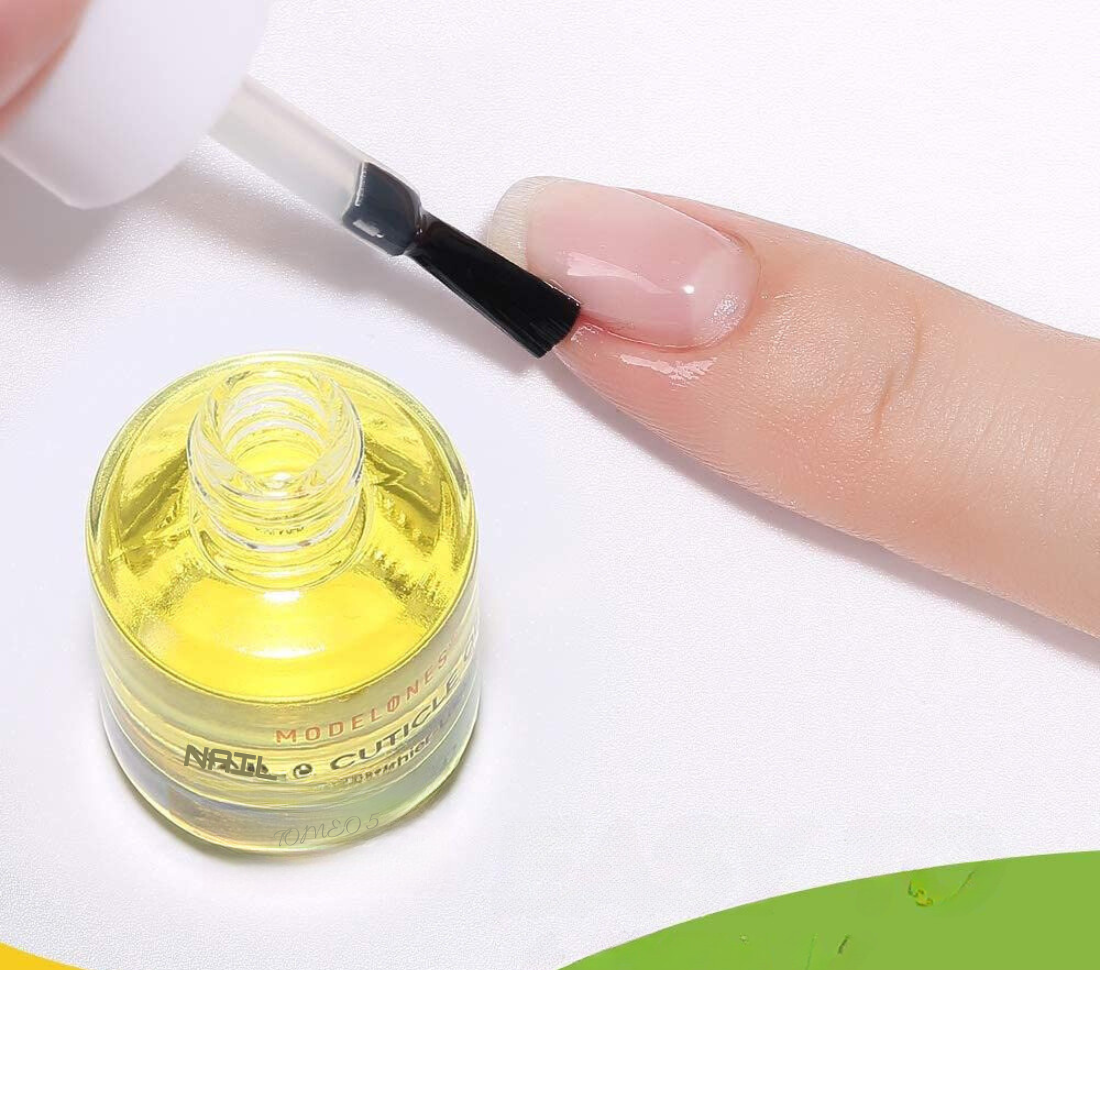
Cuticle oils are not just for keeping your cuticles hydrated; they also contribute to the shine of your manicure. By keeping the skin around your nails moisturized, cuticle oils help prevent peeling and cracking, which can detract from the overall appearance of your nails. Apply cuticle oil daily to maintain healthy nails and a glossy finish.
The Chemistry Behind the Shine: Nail Polish Ingredients
When pondering how to keep nail polish glossy, it's essential to understand the chemistry behind the product. Nail polishes are concocted with film-forming agents that adhere to the nail plate, plasticizers for flexibility, and pigments for that vibrant color. But what gives it the shine? It's the combination of resins and solvents that, when dried, leave behind a glossy finish. By choosing a nail polish bottle with a high-quality resin composition, you're already a step ahead in maintaining that enviable shine.
Moreover, certain nail polishes contain ultraviolet stabilizers that prevent color fading and dullness when exposed to sunlight. This tip is often shared by celebrity nail artists who need their clients' manicures to last through long events and photo shoots. So, when you're applying polish, remember that the ingredients matter just as much as the technique. Opt for formulas that promise long-lasting results and shine, and you'll find your manicure not only looks better but also endures the rigors of daily life more effectively.
Extending Manicure Longevity: Beyond the Top Coat
Protecting Your Investment: Gloves and Care
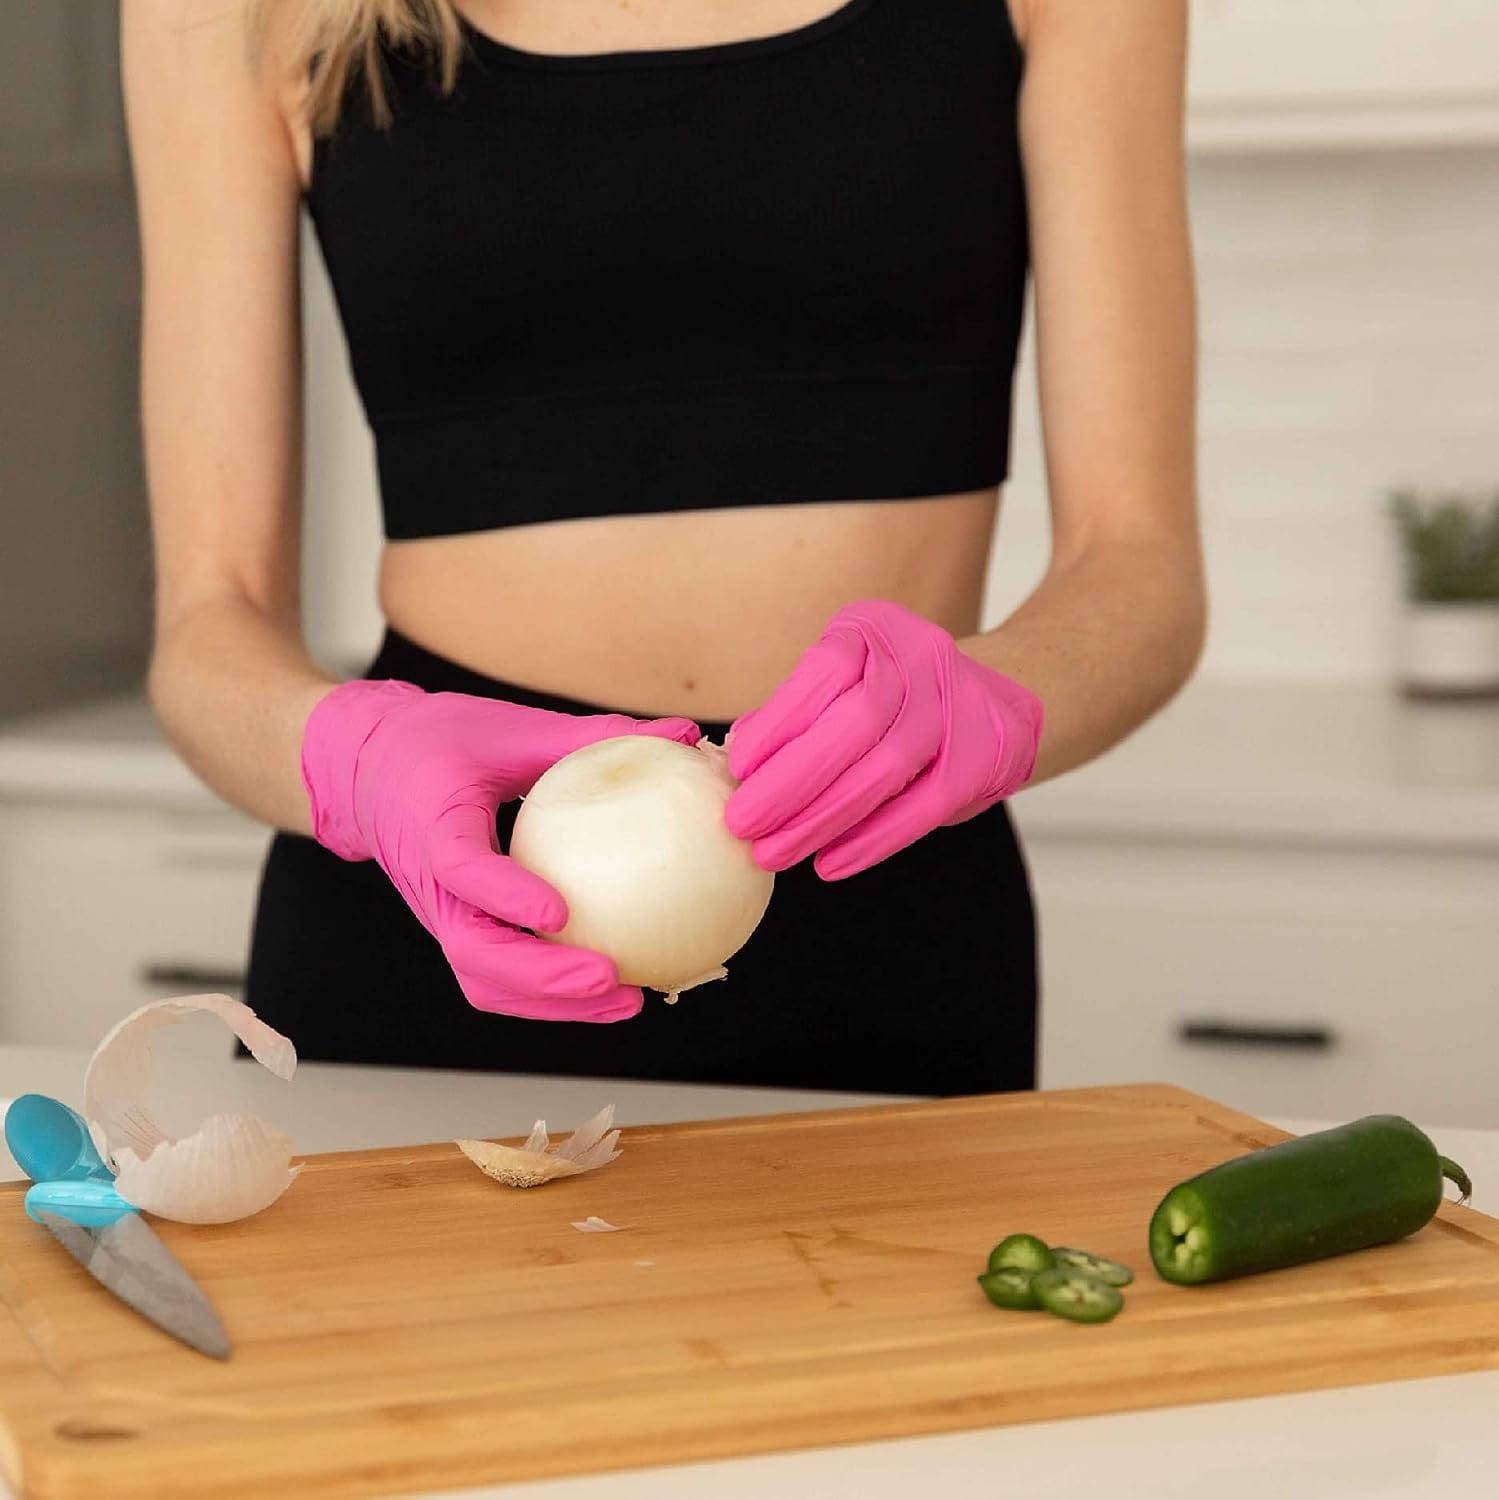
When it comes to how to keep nail polish glossy and extend the life of your manicure, don't underestimate the power of protection. Wear rubber gloves when doing household chores like washing dishes or using harsh polish removers. This simple barrier can prevent your nail polish from premature chipping and keep your hands dry, preserving the natural oils in your nail beds that contribute to overall nail health. Plus, it stops nail polish remover from seeping onto your own nails, which can strip away the shine and degrade the polish's adherence.
The Myth of the Hot Bath: Nail Care's Arch-Nemesis
Contrary to popular belief, a hot bath might be your manicure's worst enemy. The heat and moisture can cause the nail plate to expand, leading to air bubbles and a short-lived manicure. To prevent this, wait until your nail polish is completely dry—which can be longer than you think. Celebrity nail artists suggest that even when nails feel dry to the touch, the layers underneath might still be setting. So, give your gel polish or regular polish ample time before soaking in the tub. And remember, cool air is your ally in setting your polish quickly without creating air bubbles.
The Science of Shine: Nail Maintenance and Chemistry
Nail Chemistry: Ingredients for Success
The chemistry behind nail polish's shine is fascinating. Ingredients like nitrocellulose, which forms a film on the nail plate, and plasticizers, which give the polish flexibility, play a crucial role. To maintain that lustrous shine, avoid substances that can break down these chemicals. For instance, nail polish remover containing acetone can be harsh on your nails, so opt for acetone-free versions if possible. Additionally, cuticle oils can help keep your cuticles hydrated, enhancing the overall appearance of your manicure and preventing peeling.
Regular Maintenance: The Key to Glossy Nails
Maintaining the shine of your nail polish isn't a one-time effort; it's an ongoing process. Celebrity manicurist Evelyn Lim advises applying a thin layer of top coat every few days to not only add an extra layer of gloss but also to extend the life of your manicure. This can also help to prevent chipping and wear on the free edge of long nails. And if you do notice a chipped mani, a quick fix with a cotton swab dipped in polish can save the day. Just remember to seal it with a top coat to ensure long-lasting results.
The Art of Brushwork: Applying Polish Like a Pro
How you wield the brush can make or break the life of your manicure. Celebrity manicurists often stress the importance of proper brushwork to prevent chipping and ensure an even coat. Start by dipping the brush into the bottle and wiping off excess polish against the neck of the bottle. This helps to avoid creating air bubbles, which can mar the surface of your nails. Then, apply the polish in thin, even strokes from the base of the nail to the free edge. This technique helps the polish to adhere better and reduces the likelihood of peeling.
Remember, thin coats are preferable to thick ones. Not only do they dry faster, reducing drying time, but they also last longer. After applying the first coat, allow it to dry completely before adding a second one. This patience pays off by providing a smoother, more shiny finish. And if you're working with a particularly tricky polish, don't hesitate to reach for a cotton swab dipped in nail polish remover to clean up the edges. This attention to detail is what elevates a home manicure to salon-quality status.
The Perils of Household Chores
Washing dishes, cleaning, and other household chores can be the downfall of a glossy manicure. The chemicals in cleaning products can strip away shine and weaken the polish, leading to chips and peeling. To protect your nails, wear rubber gloves when performing tasks that involve water or chemicals. This simple step can significantly extend the life of your manicure.
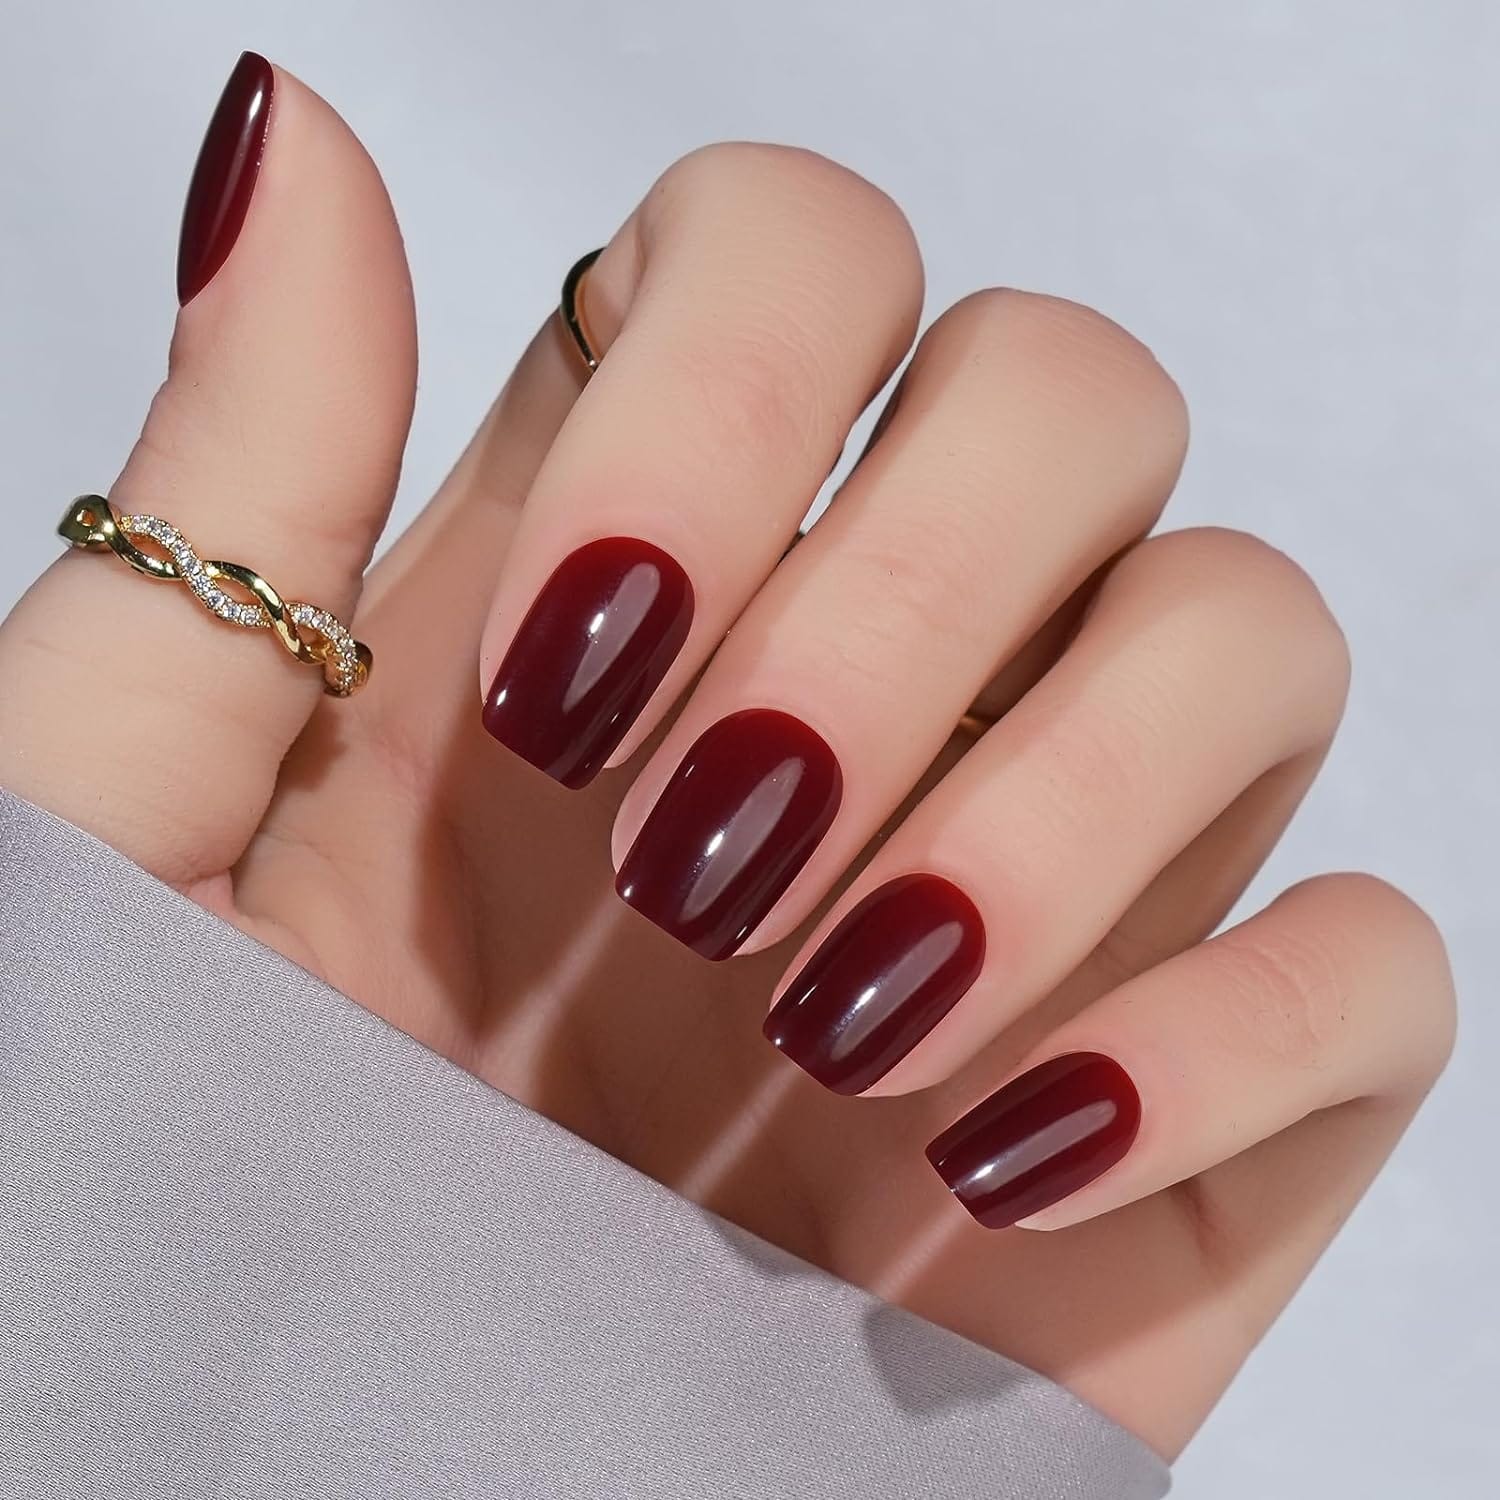
Long Nails, Greater Risks
Long nails are beautiful but more susceptible to chipping and losing their glossy finish. The free edge of long nails is more likely to contact surfaces, leading to chips. To prevent chipping, be mindful of how you use your hands and avoid using your nails as tools. Keeping your nails at a manageable length can also reduce the risk of damage.
The Drying Time Dilemma
One of the most common mistakes that can lead to a short-lived manicure is not allowing enough drying time. Nail polish may feel dry to the touch after a few minutes, but it can take up to 24 hours to completely dry. Be patient and give your nails ample time to set before engaging in activities that could smudge or dent the polish.
When Chips Happen: Quick Fixes
Even with the best care, chips can happen. When they do, it's important to address them quickly to prevent further damage. Use a cotton swab dipped in nail polish remover to smooth out the chipped area, then reapply a thin layer of polish and top coat. This quick fix can restore the glossy finish and prevent the chip from spreading.
The Final Touch: Keeping Your Manicure Shiny
To keep your nail polish glossy, it's important to maintain the shine throughout the life of your manicure. Celebrity manicurist Evelyn Lim suggests using a high-shine buffer to gently buff the surface of your nails every few days. This can help revive the gloss and keep your nails looking freshly painted.
Summary
Achieving and maintaining a glossy nail polish finish is all about the details. From the base coat to the top coat, every step plays a crucial role in the longevity and shine of your manicure. By following these expert tips and taking care of your nails, you can enjoy a long-lasting high-gloss finish.
FAQ Section
How often should I reapply a top coat to keep my nail polish glossy?
To maintain a glossy finish, reapply a top coat every two to three days. This not only revives the shine but also adds a protective layer against chips and wear.
Can I use a hairdryer to speed up the drying process of my nail polish?
Yes, but use it on the cool setting. Hot air can create air bubbles and ruin the glossy finish, while cool air helps to set the polish without causing damage.
What should I do if my nail polish chips?
Quickly smooth out the chipped area with a cotton swab dipped in nail polish remover, then reapply a thin layer of polish and top coat. This will restore the glossy finish and prevent the chip from getting worse.