
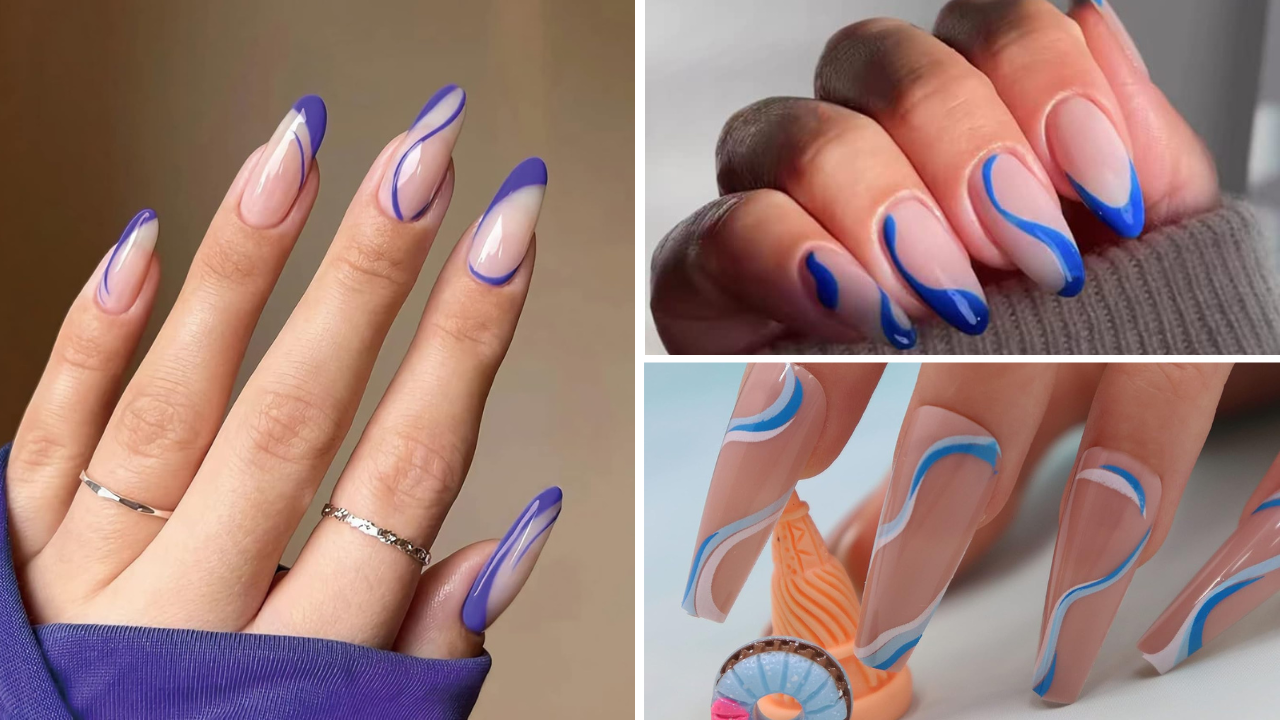


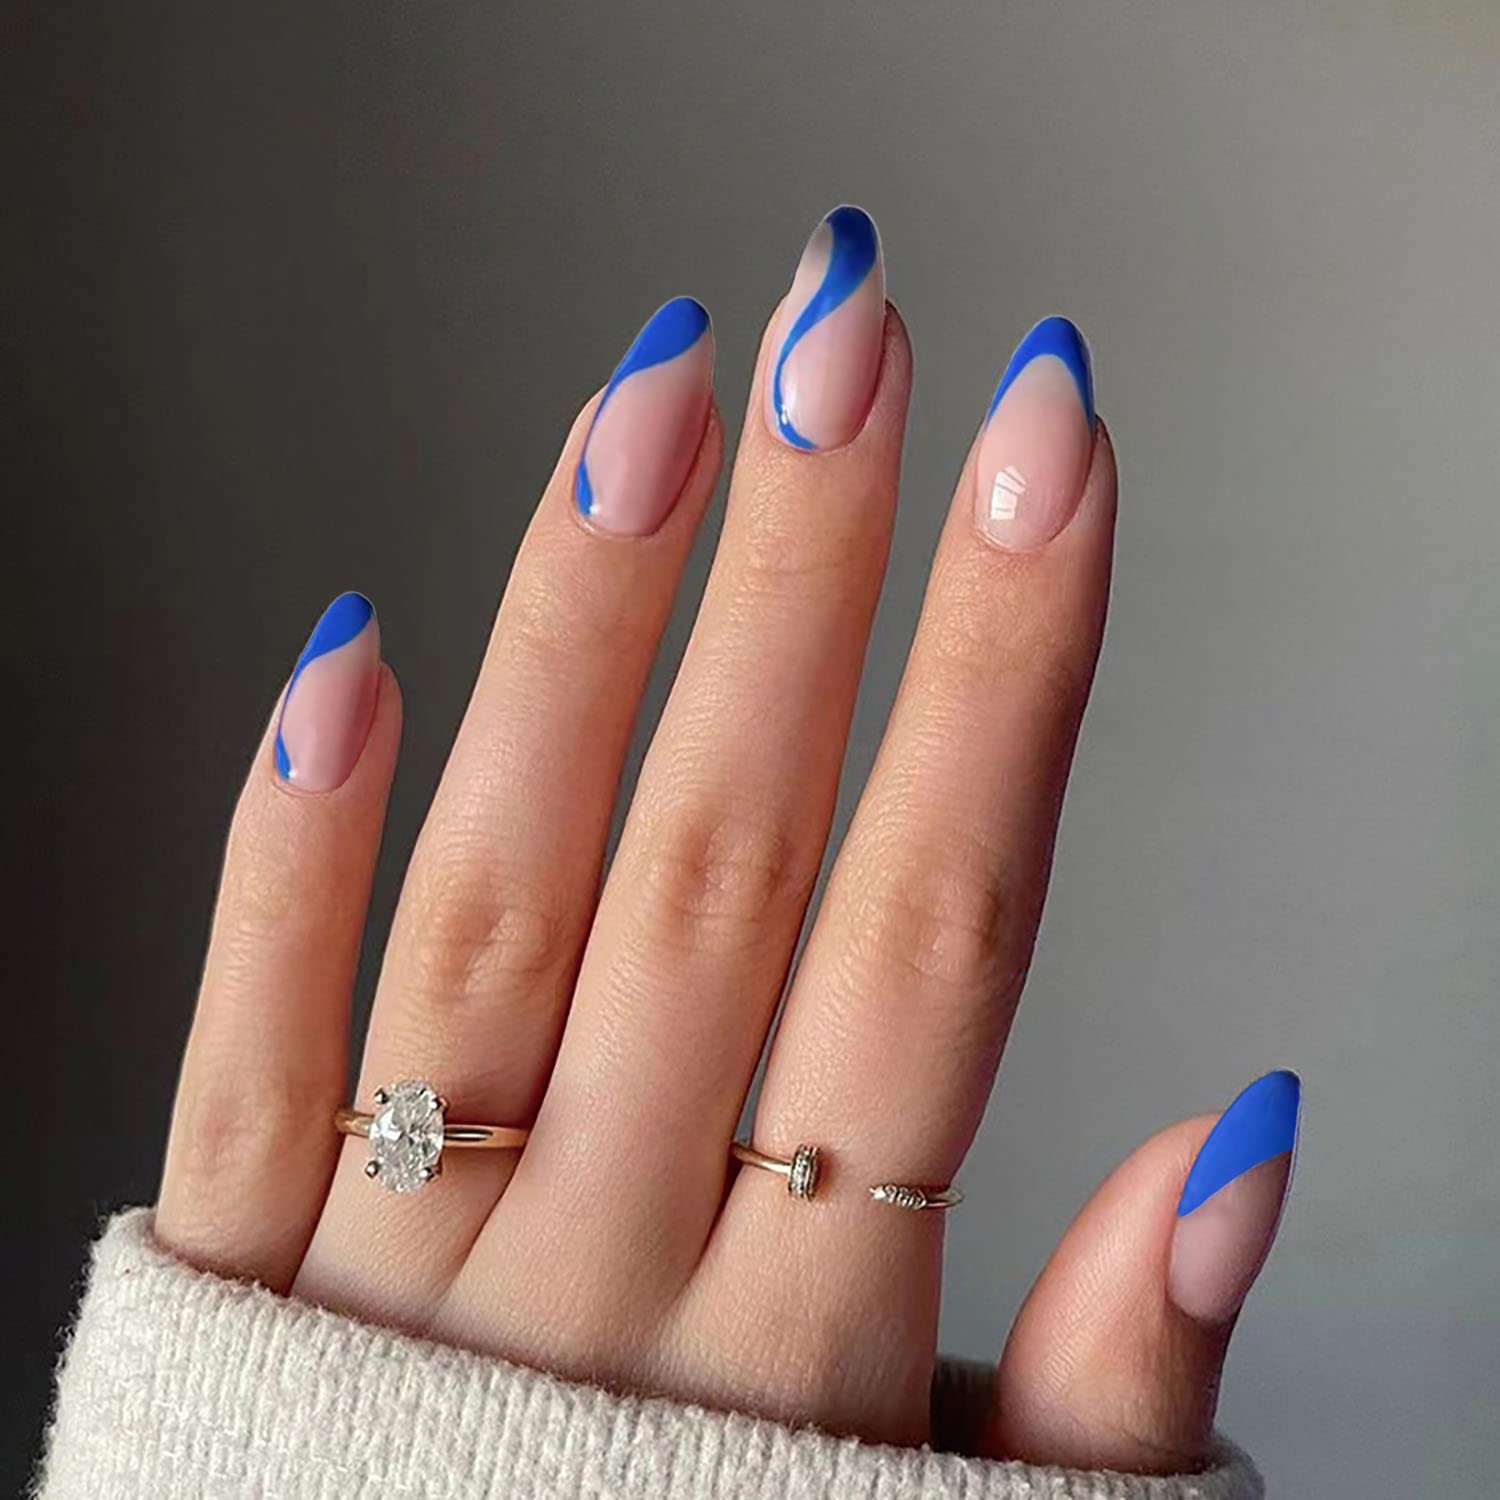
Swirl nails have taken the beauty world by storm, offering a playful and artistic way to express one's personal style. This nail art trend is all about creating abstract swirls and psychedelic waves on your nails using a variety of nail polish colors. Whether you're a seasoned nail artist or a beginner looking to try something new, this guide will walk you through achieving stunning swirl nails.
Key Takeaways:
- Learn the step-by-step process to create swirl nail art at home.
- Discover tips for choosing the perfect color combination to complement your skin tone.
- Understand how to maintain your swirl nails for lasting beauty.
Preparing Your Nails for Swirl Art
Before diving into the swirl nail art process, it's crucial to prepare your nails properly. Start by cleaning your nails with acetone to remove any oils or old polish. Next, apply a base coat to protect your nails and ensure a smooth canvas for your art. This step is essential for preventing staining and prolonging the life of your manicure.
Choosing the Right Colors
Selecting the right nail polish colors is key to creating eye-catching swirl nails. When picking shades, consider your skin tone and the occasion. A neutral base color works well for a subtle look, while bright hues and bold contrasts make a statement. Use the color wheel to find complementary colors to make your swirls pop.
The Base Layer
Apply two coats of neutral base polish, allowing each layer to dry thoroughly. This will be the foundation of your swirl nail art. A lightest color or a neutral shade like soft pink or beige can create a subtle backdrop for more vibrant swirls.
Creating the Swirls
Once your base color is dry, it's time to create the swirls. Dip a thin brush or toothpick into a contrasting polish and gently drag it across the nail's surface to form abstract swirls. You can mix swirl colors on a separate palette before applying them to your nails for a more blended look.
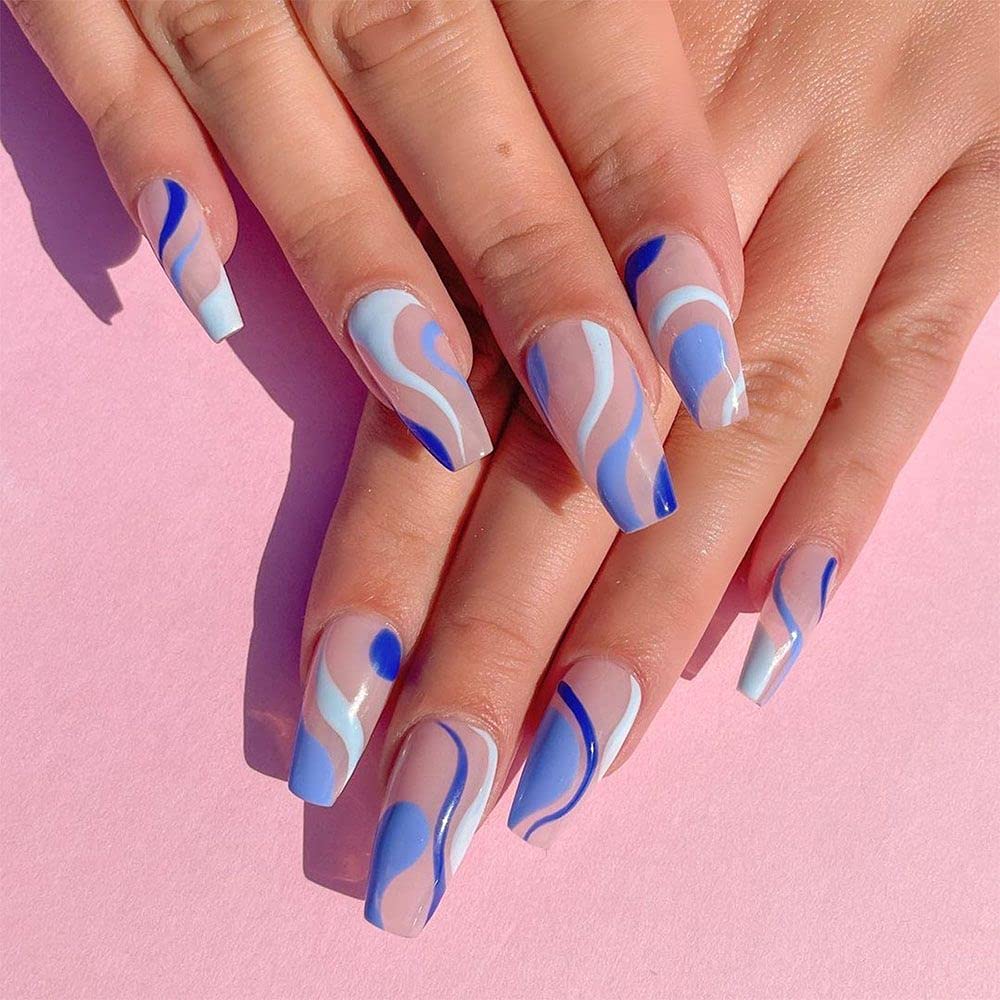
Adding Multi-Colored Swirls
For multi-colored swirls, choose two or more nail polish colors that complement each other. Apply small dots of each color onto the nail, then use a toothpick or a fine brush to swirl them together. Work quickly before the polish dries to achieve smooth, seamless lines.
Sealing the Design
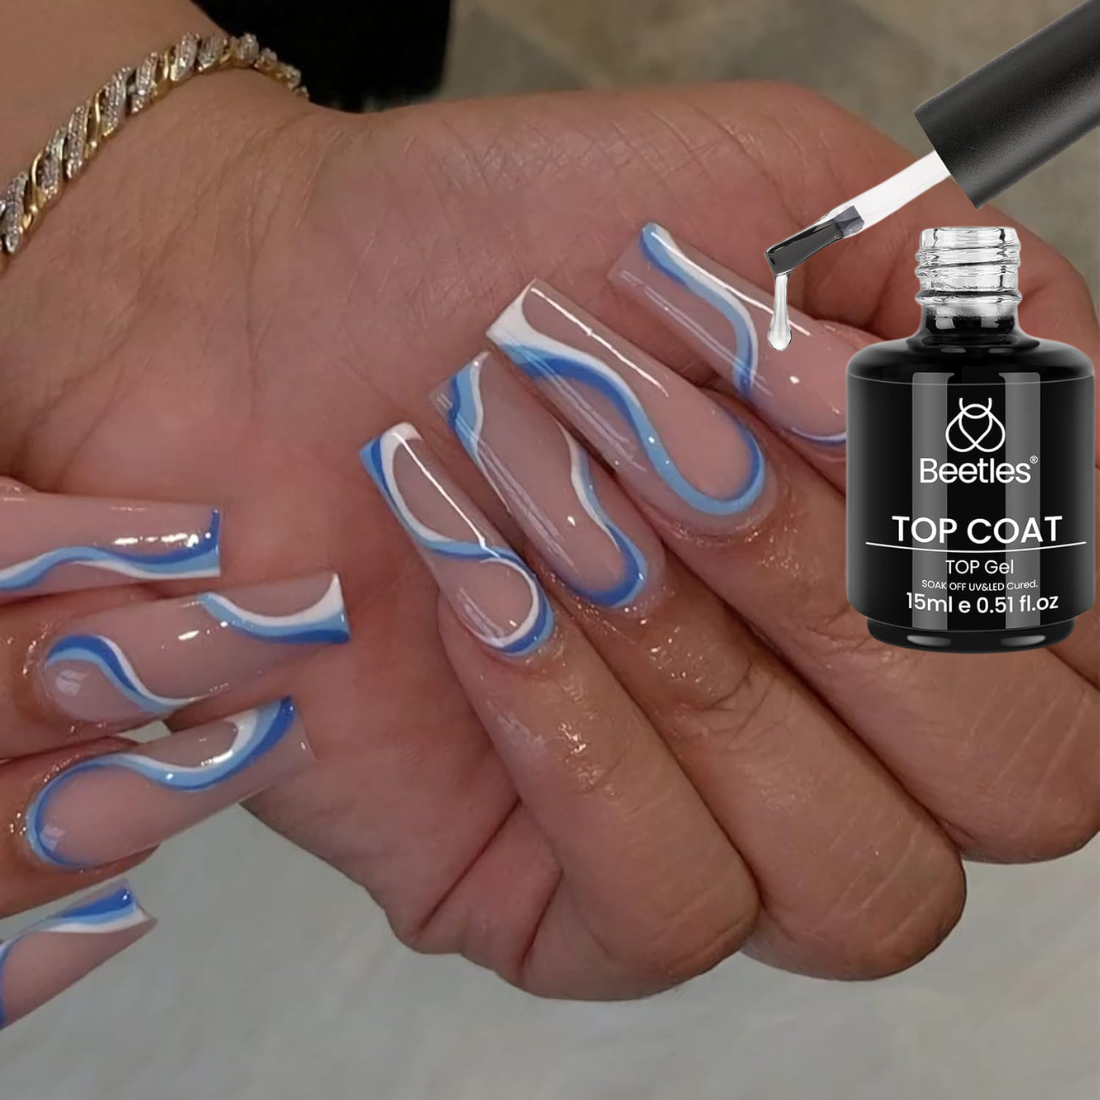
After your swirls have dried, apply a top coat to seal the design and add a glossy finish. This step not only enhances the appearance of your swirl nails but also protects the nail art from chipping and wear. Allow the top coat to dry completely before using your hands.
The Art of Mixing and Matching Swirl Nail Colors Creating the perfect swirl nail art is akin to being a painter with a palette of endless possibilities. When considering how to do swirl nails, selecting the right nail polish colors is crucial. Think of the color wheel as your best friend; it guides you in choosing complementary colors to make your design pop. For a harmonious look, pick colors that sit next to each other on the wheel, like blue and green for psychedelic waves. Alternatively, for a striking contrast, opt for colors opposite each other, such as orange and blue.
When you're ready to mix and match, start with a neutral base polish to ensure the colors stand out. Then, decide whether you want a subtle or bold statement. For a more understated approach, neutral shades like pastels can be paired with a single bright hue to create a sweet and sophisticated look. If you want something more eye-catching, choose a colorful combination of vibrant shades. Remember, the lightest color often makes an excellent base to allow other colors to shine.
Swirl Nail Techniques for Every Skill Level Swirl nail art can seem daunting, but there are techniques for every skill level. Beginners might start with simple abstract swirls, using a toothpick or the tip of a brush to drag the nail polish across a wet base coat. This method is great for creating thin, neat lines and is a fun way to recreate trending nail designs at home. As you gain confidence, you can experiment with more intricate patterns and multiple layers of swirls.
For those who have mastered the basics, it's time to dive into more complex designs. Try using a thin brush to paint multi-colored swirls, allowing each layer to dry before applying the next. This technique requires a steady hand and patience, but the results are stunning. You can also explore the marble nails technique, which involves swirling different nail paint colors on a surface before dipping your nails in. Whether you're a DIY enthusiast or a seasoned nail artist, there's always a new swirl nail art style to explore and master.
Swirl Nails for Different Occasions
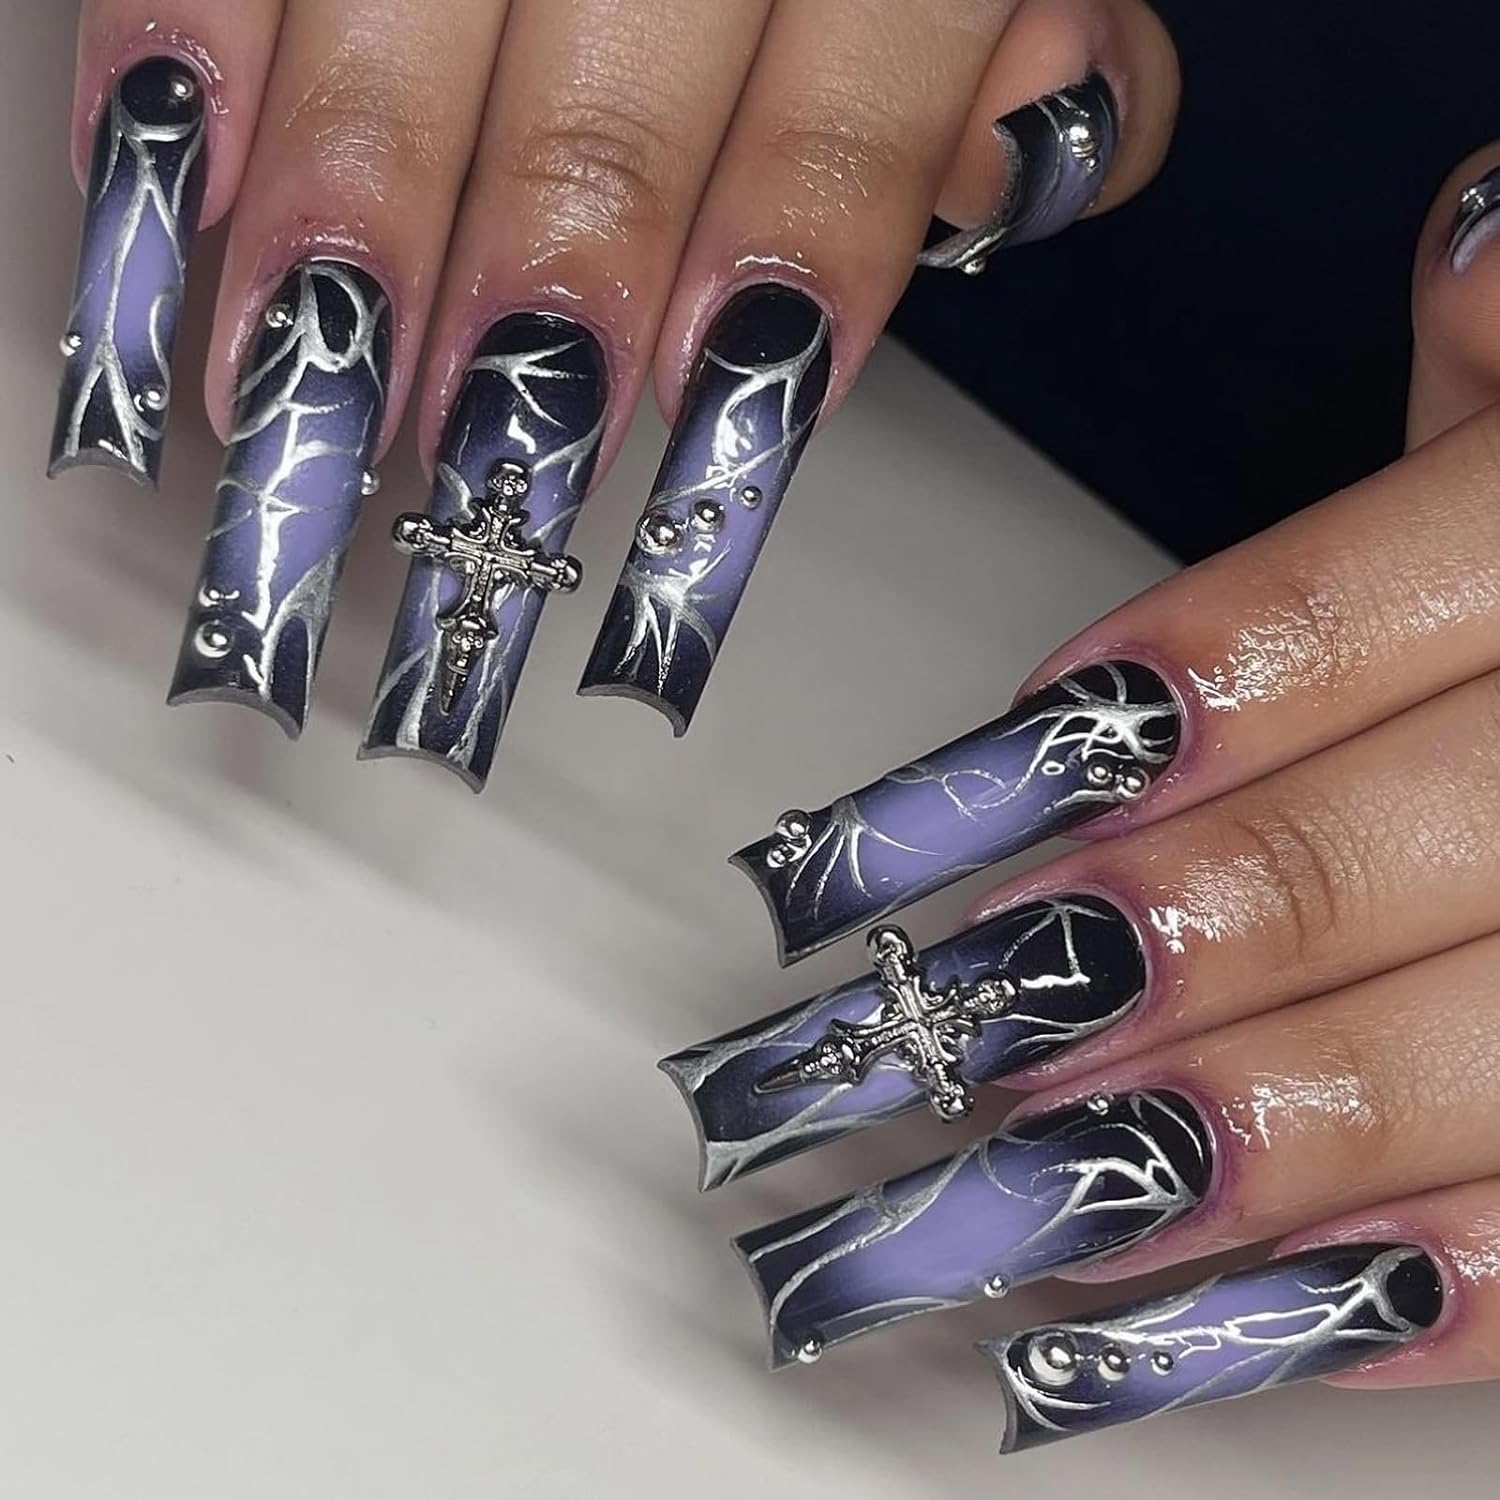
Swirl nails are versatile and can be tailored to suit any event. For a formal occasion, opt for gold or silver swirls over a dark base. For a casual day out, try bright and colorful swirls that reflect your playful side. The beauty of swirl nail art is that it can be as subtle or bold as you like.
Maintaining Your Swirl Nails
To keep your swirl nails looking their best, avoid using them as tools and wear gloves when doing household chores. Reapply a top coat every few days to maintain the shine and protect the design. If you notice any chips, touch them up with a thin layer of polish and finish with a top coat.
DIY Swirl Nails vs. Professional Salon Service
Creating swirl nails at home can be a fun and rewarding DIY project. However, if you're looking for a more intricate design or don't feel confident in your nail art skills, visiting a nail salon is a great option. Nail artists can offer professional advice on color combinations and provide a flawless finish.
Tools and Brushes for Perfect Swirls
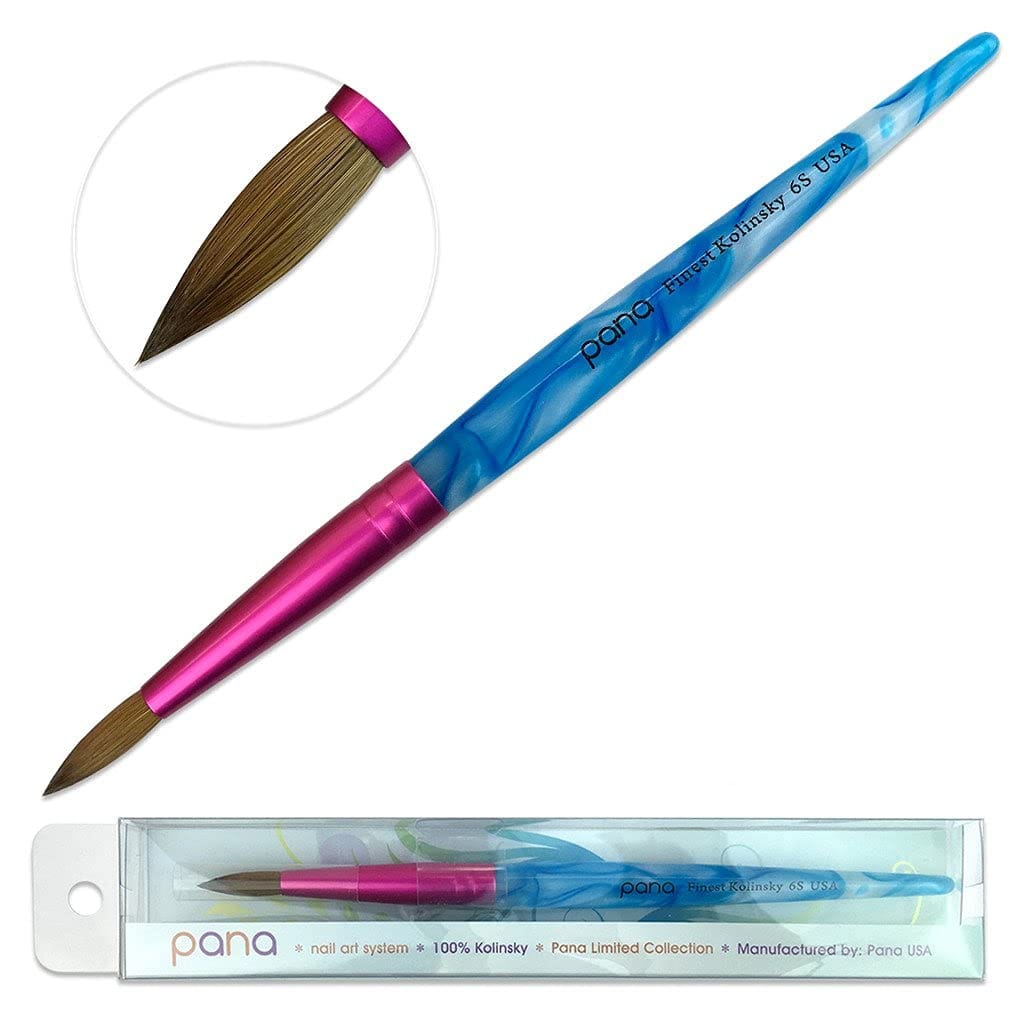
The right tools can significantly affect the outcome of your swirl nails. Invest in fine brushes designed for nail art to achieve neat and precise lines. A dotting tool can also help place color dots before swirling them together.
Nail Art Inspiration: Swirl Nail Ideas
Looking for inspiration? Check out social media platforms like Instagram and Pinterest for the latest swirl nail art trends. From pastel swirls to neon waves, there's no shortage of creative ideas. Save your favorite designs and use them as a reference when creating your swirl nails.
The Finishing Touches: Caring for Cuticles and Edges
Pay attention to the details for a professional-looking manicure. Keep your cuticles moisturized and neat, and clean up any polish that may have strayed onto your skin. Use a small brush dipped in acetone to tidy up the edges of your swirl nails for a clean and polished look.
Summary
Swirl nails are a fun and creative way to add flair to your manicure. By following this step-by-step guide, you can achieve beautiful swirl nail art at home. Remember to prepare your nails, choose the right colors, and apply a protective top coat to ensure your design lasts. Whether you opt for subtle waves or bold, multi-colored swirls, this nail art trend will turn heads and showcase your artistic side.
FAQ Section
How long do swirl nails last?
With proper application and maintenance, including a base coat and top coat, swirl nails can last up to two weeks. Regularly applying a top coat can extend their longevity.
Can I create swirl nails with gel polish?
Yes, swirl nails can be created with gel polish. The process is similar, but you must cure each layer under a UV or LED lamp. Gel polish typically offers a longer-lasting finish.
Are swirl nails suitable for short nails?
Absolutely! Swirl nails can look great on nails of any length. On shorter nails, consider simpler designs with fewer colors to avoid overwhelming the nail's surface.
