Key Takeaways:
- Essential Supplies: Understand the tools and products needed, such as holographic powder, base coat, and no-wipe gel top coat.
- Application Techniques: Learn the correct application techniques for a flawless holographic finish.
- Aftercare Tips: Discover how to maintain your holographic nails to keep them looking spectacular.
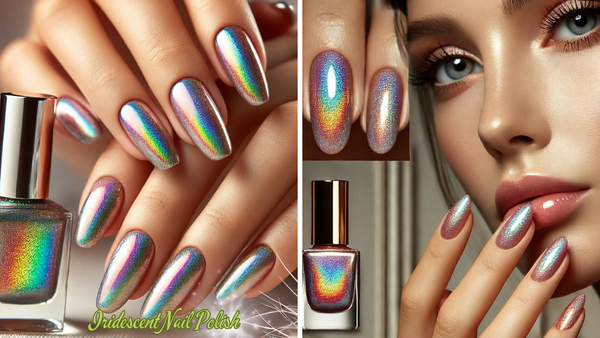
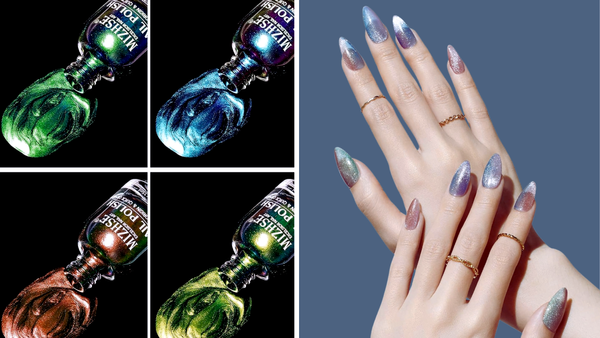
Holographic nails have taken the beauty world by storm, offering a dazzling, eye-catching finish that shifts and shines with every flick of the fingers. Whether you're a seasoned nail art enthusiast or a beginner looking to spice up your manicure game, mastering the art of holographic nails can add that wow factor to your look. Let's dive into the process, ensuring you can achieve that perfect holo sparkle from the comfort of your home.
Gather Your Supplies
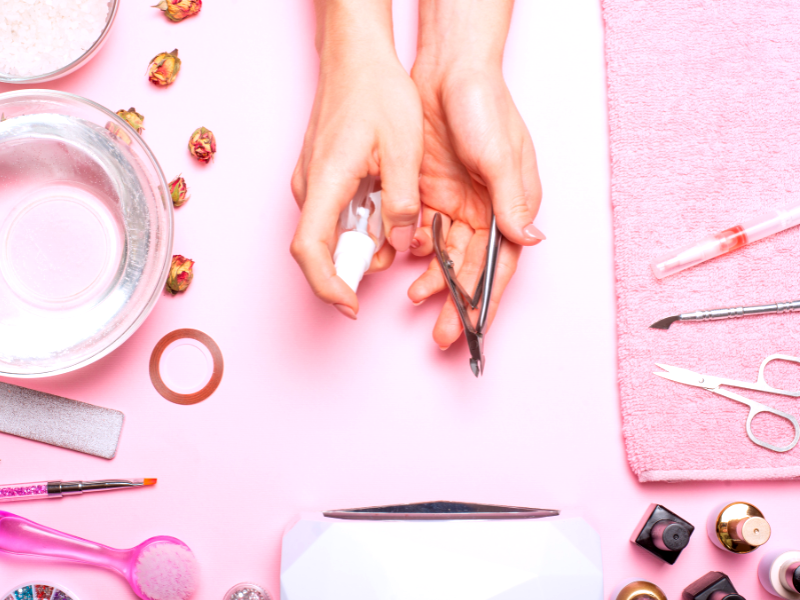
Before you start, make sure you have all the necessary items on hand. You'll need a base coat, holographic nail powder, a no-wipe gel top coat, a UV or LED lamp, a soft brush for removing excess powder, and nail polish remover for any clean-up. Choosing high-quality products is key to achieving a professional-looking manicure.
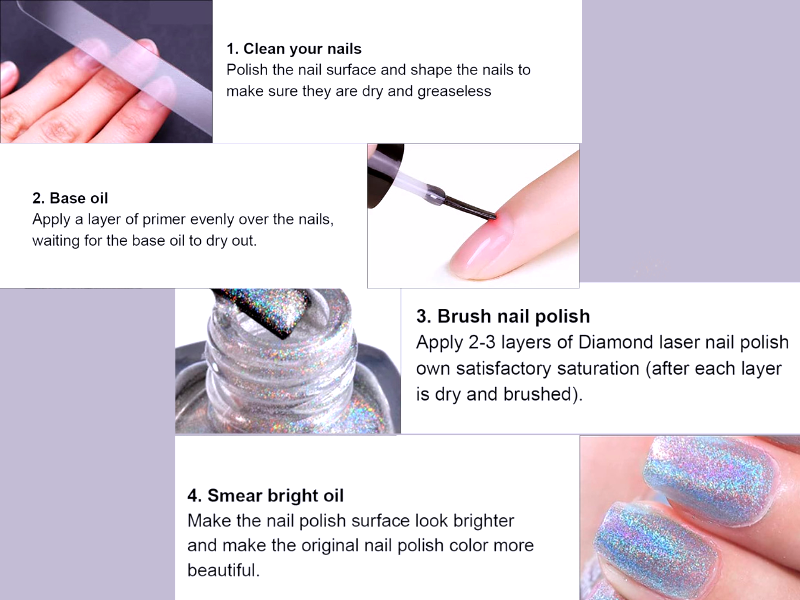
Prepare Your Nails
Start with clean, dry nails. Apply a thin layer of base coat and cure it under the nail LED lamp as instructed. This step is crucial as it creates a sticky base that helps the holographic powder adhere better and ensures the longevity of your manicure.
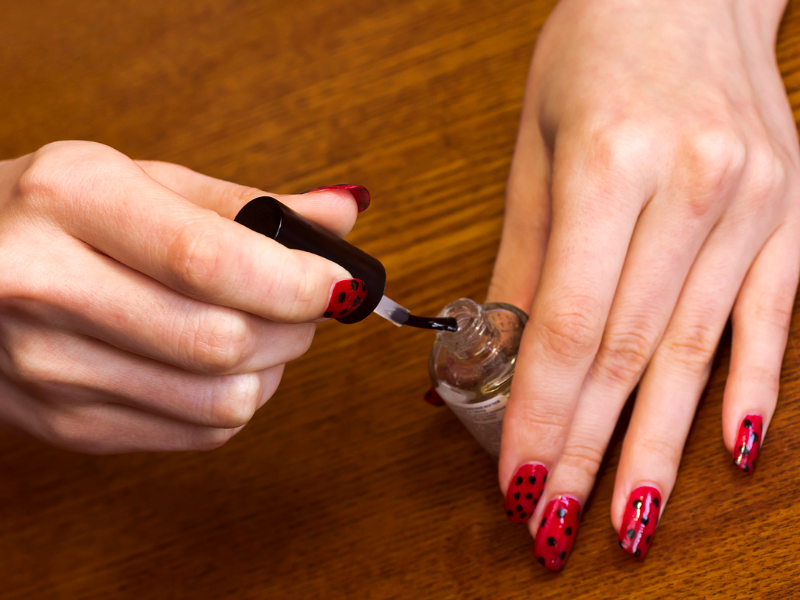
Applying the Holographic Powder or Nail Polish
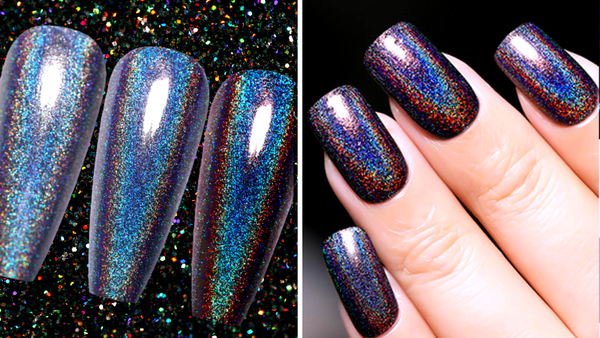
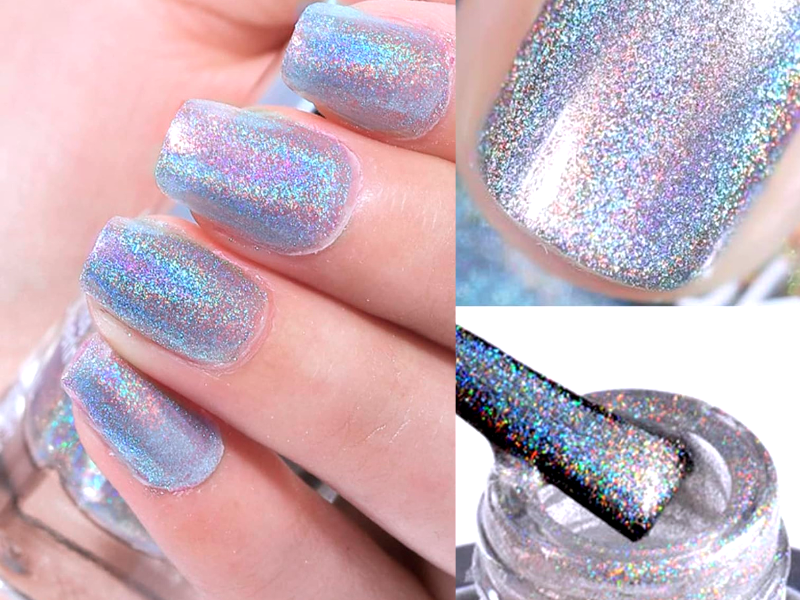
Once your base coat is cured and tacky, it's time to apply the holographic nail powder. Using a small applicator or your fingertip, gently rub the powder onto the nail surface. Ensure you cover the entire nail for a uniform look. The magic starts as the powder sticks to the base coat, giving your nails a stunning chrome look.
Remove Excess Powder or Polish
After you've applied the holographic powder or holographic nail polish to each nail, use a soft brush to gently remove any extra powder. This step is essential to avoid any clumpy or uneven areas that could spoil the smooth, shiny finish of your holographic nails.
Seal with Top Coat
To lock in the holographic effect, apply a thin layer of no-wipe gel top coat over the powder. Be careful to cover every part of the nail to prevent chipping and maximize the shine. Cure the top coat under your lamp according to the product's instructions. This not only seals in the holographic layer but also adds an extra level of gloss that enhances the holographic effect.
Enhancing Longevity: Tips to Make Your Holographic Nails Last Longer
Holographic nails aren't just a fleeting sparkle; they're a statement you want to keep as long as possible. To extend the life of your holo nails, start with a solid foundation. Use a high-quality base coat before applying any gel polish. This acts as a protective barrier and improves the adhesion of the holographic powder. After applying the chrome powder, cure your nails under a nail LED lamp until they're completely dry. This step is crucial as it prevents the holographic layer from smudging and losing its mesmerizing shine.
Once your nails are fully cured, apply a gel top coat to seal in the magic. Opt for a no-wipe gel top coat for a smoother finish and better durability. Remember, the top coat is not just a protective shield against chips and scratches; it also enhances the depth and intensity of the holographic effect, making your nails look shiny and new for longer. Avoid exposing your nails to harsh chemicals or hot water, as these can degrade the quality of the holographic finish. Regular touch-ups with a thin layer of top coat can also help maintain the allure of your manicure.
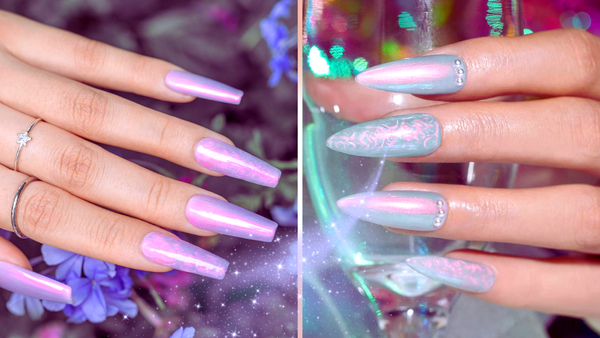
Creative Twists: Experimenting with Holographic Nail Art
Why stop at a full holographic nail when you can elevate it with some creative nail art? Holographic nails serve as a fantastic canvas for artistic expression. Use a thin brush or a dotting tool to apply gel paint over your cured holographic base. You can create delicate patterns, geometric shapes, or even tiny stars that reflect light beautifully against the holographic backdrop. This not only adds a personal touch but also makes your manicure stand out in a crowd.
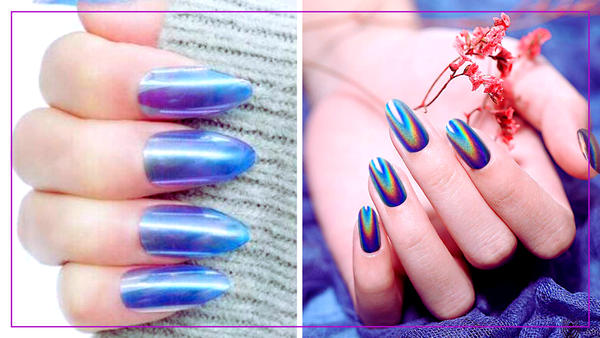
For those who love a bit of drama, mix different shades of holographic powders. Apply a silver base and sprinkle a little gold holographic powder at the tips, or vice versa, to achieve a stunning gradient effect. The key is to apply each color in thin coats and cure them properly to prevent the colors from blending messily. With these techniques, your nails won't just sparkle; they'll tell a story as dynamic as a dancing beam of light on a disco ball.
The Curing Process
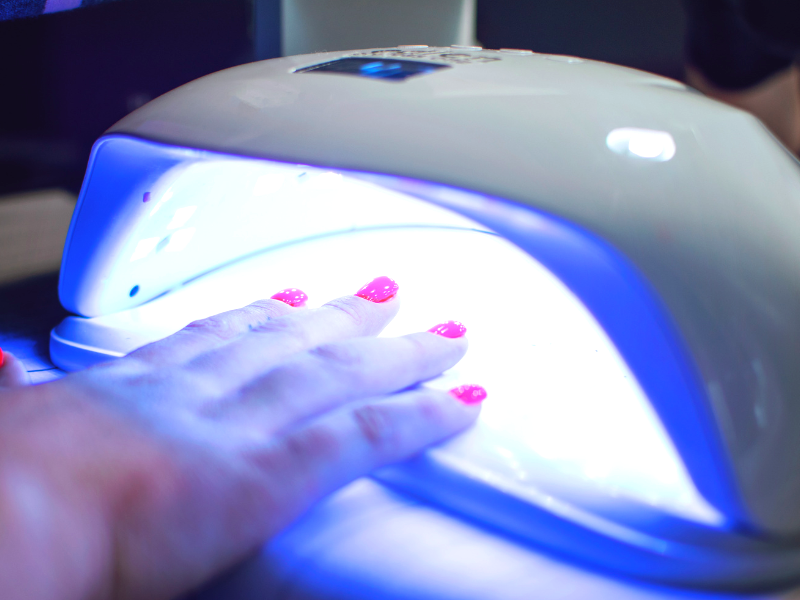
Curing is vital in the application process. Each layer, from the base coat to the top coat, needs to be cured under a UV or LED lamp to harden and set the polish. This ensures your holographic nails are durable and have a high-shine, reflective finish.
Aftercare for Holographic Nails
Maintaining your holographic nails involves minimal exposure to harsh chemicals and wearing gloves while doing household chores that involve water or cleaning products. You should also use oil around your cuticles nightly to keep your nails and skin hydrated and healthy.
Quick Fixes and Tips
If you notice any smudges or the holographic effect starts to fade, you can apply an additional thin coat of gel top coat and cure it again. This can revive the shine and ensure your nails continue to turn heads.
Summary
Creating holographic nails involves a straightforward process of preparing your nails, applying a base coat and holographic powder, and sealing it all with a top coat. The key to perfect holographic nails lies in careful application and curing, ensuring each layer is set properly to achieve that mesmerizing, shiny finish.
FAQ
What is the best way to apply holographic powder?
The best way to apply holographic powder is to use a small sponge applicator or your fingertip to gently rub the powder onto a tacky base coat until the entire nail is covered. Then, seal it with a non-wipe gel top coat and cure it under an LED lamp.
How long do holographic nails last?
With proper application and aftercare, holographic nails can last up to two weeks. Using a high-quality, no-wipe gel top coat and avoiding harsh chemicals can extend the life of your manicure.
Can I use regular nail polish instead of gel for holographic nails?
While you can use regular nail polish, gel polish is recommended for best results. Gel polish provides a stronger base for the holographic powder to adhere to and results in a more durable and shinier finish.