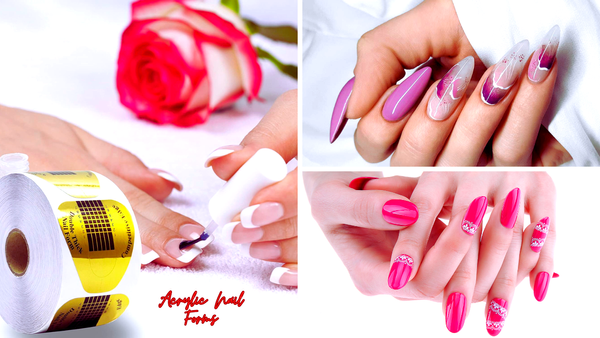


Nail forms are essential in nail art, providing a foundation for creating various nail shapes and extensions. Whether you're a professional nail technician or a DIY enthusiast, knowing how to apply nail forms correctly can elevate your nail game. This comprehensive guide will walk you through the process, ensuring your nail forms fit perfectly and have a flawless finish.
Key Takeaways:
- Learn the correct technique to apply nail forms for both gel and acrylic nails.
- Discover tips on choosing the right nail form for your desired nail shape.
- Understand how to prepare your natural nails for nail form application to ensure longevity and a professional finish.
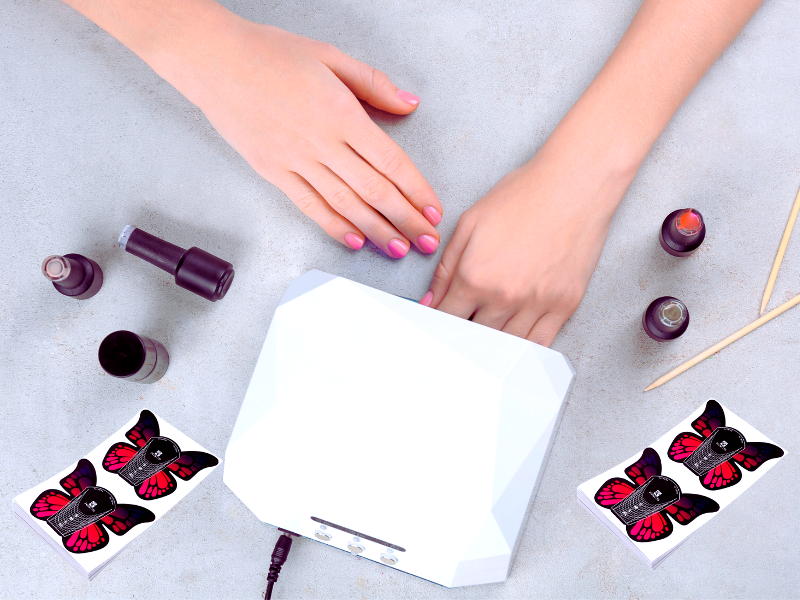
Preparing Your Natural Nails
Before applying nail forms, it's crucial to prepare your nails. Start by performing a thorough manicure. Push the cuticles gently with a cuticle pusher and remove any excess skin. Then, shape the free edge of your natural nails to match the desired length and shape of the extension you plan to create. Use a buffer to create a rough surface on the nail, which helps the nail form stickers adhere better. Remember to wipe your nails with a nail cleanser to remove any oils or debris.

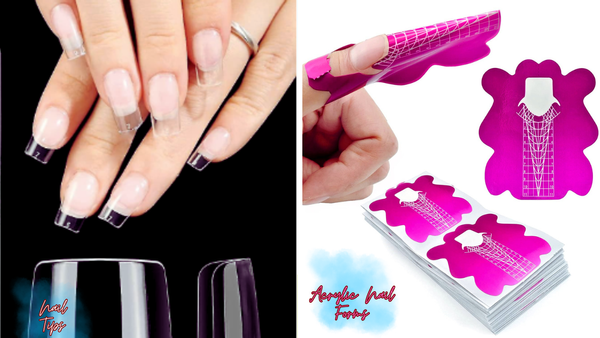
Choosing the Right Nail Form
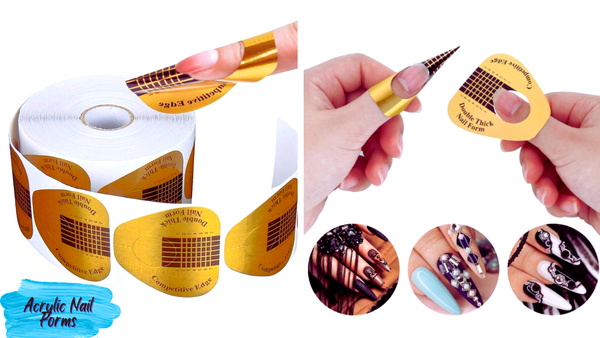
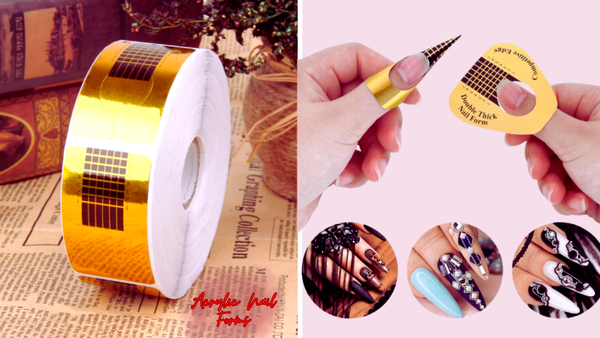
Selecting the right nail form is pivotal for achieving the perfect nail shape. Popular nail shapes include almond, square, and round. Nail forms come in various designs to accommodate these shapes. When choosing a form, ensure it can accommodate the width of your natural nails and has clear guidelines to help you sculpt the nail to the desired length and shape. The form should also be sturdy enough to support the weight of the acrylic or gel as it cures.
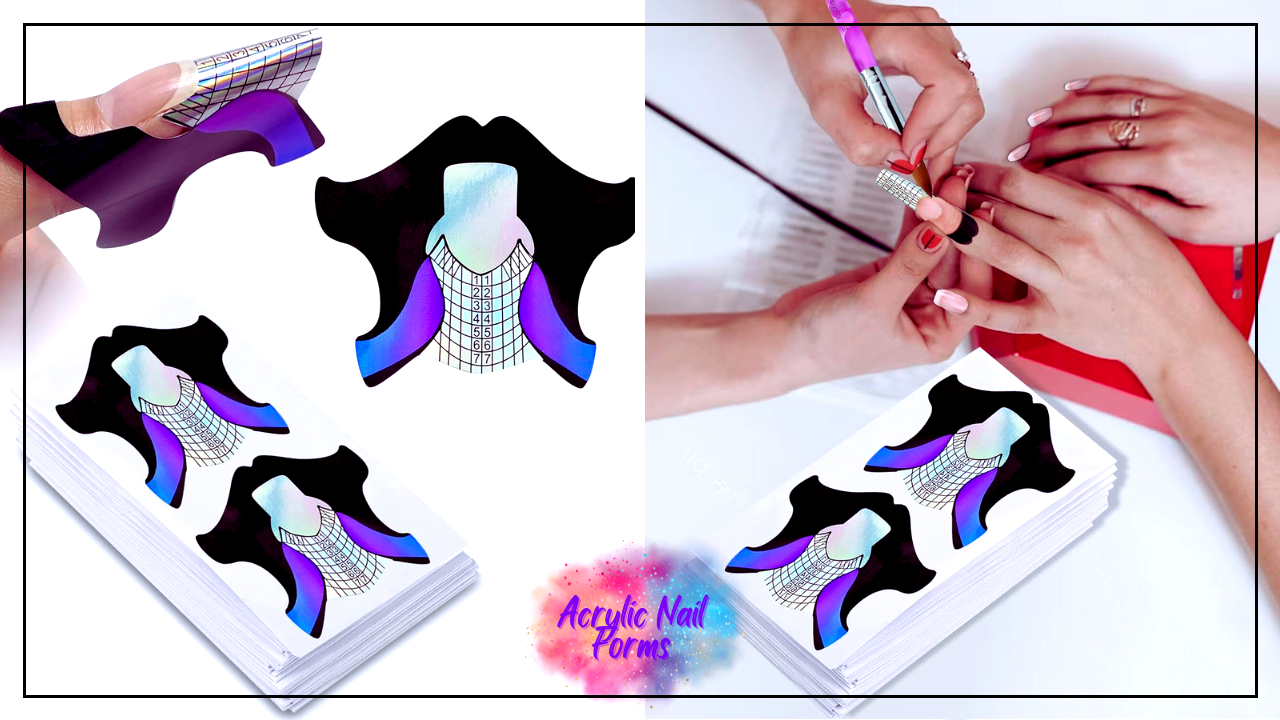
Applying Nail Form Stickers
Nail form stickers are the adhesive part of the form that secures it to your finger. Peel the sticker from the backing and place it underneath the free edge of your natural nail. Please ensure it's centered and that the form fits snugly against the nail without any gaps. The sticker should extend straight out from the natural nail to ensure the extension is properly aligned.
Attaching the Nail Form
Once the sticker is in place, it's time to attach the nail form. Hold the form at the edges and slide it under the free edge of your natural nail. The form should fit perfectly, hugging the natural curve of your nail without any wrinkles or bubbles. If the form has wings, secure them around your finger to stabilize it. Check from multiple angles to ensure the form is straight and level.
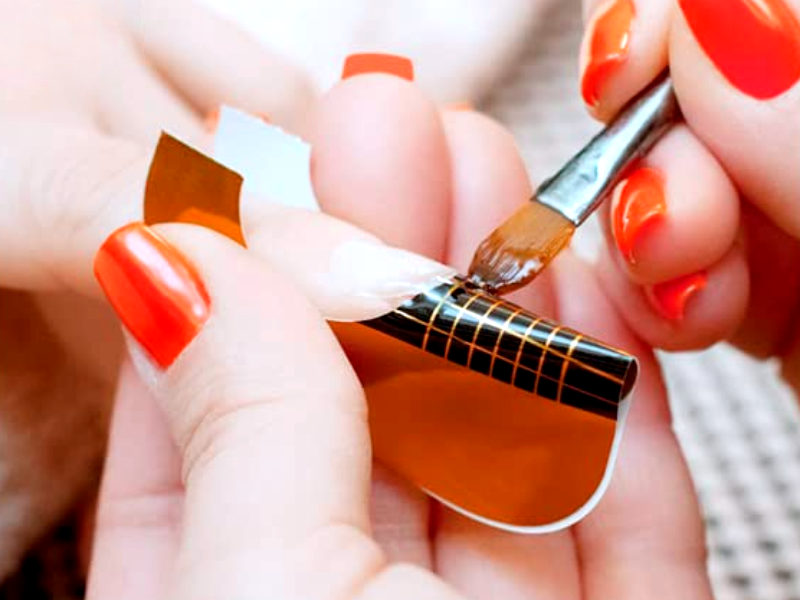
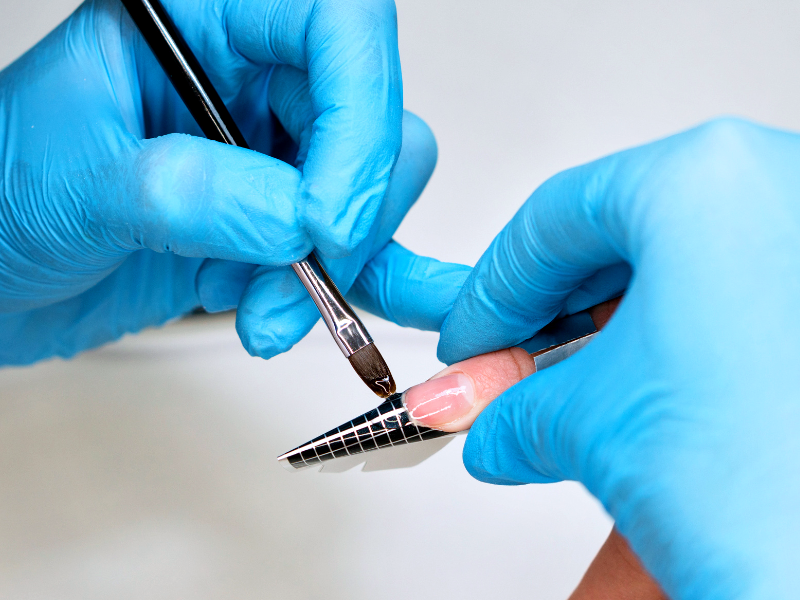
Sculpting with Builder Gel
For gel nails, begin by applying a thin layer of builder gel onto the natural nail and the nail form. Use a gel brush to smooth the gel, working from the cuticle to the free edge. Be careful not to get gel on the skin, which can cause lifting. Cure the gel under an LED lamp according to the manufacturer's instructions. Once cured, you can add layers to build the nail to the desired thickness.
Troubleshooting Common Issues with Nail Forms
When learning how to apply nail forms, you might encounter a few hiccups along the way. It's not uncommon for beginners to struggle with getting the nail form to fit perfectly or to have the builder gel or acrylic run under the form, creating a mess. The key is to start with a thin layer and work your way up. Ensure the nail form is snugly secured under the free edge of your natural nail and that there are no gaps where the product can seep through. If you do find the gel or acrylic seeping under, don't panic! Simply wipe it away with a clean brush before curing under an LED lamp.
Another issue could be the nail form not sticking properly, which often happens if the skin around the nail is oily or if there's residue on your nails. To avoid this, ensure your nails and fingers are clean and oil-free. You can use a small amount of nail prep dehydrator on the natural nail before applying the nail form stickers. If the form still doesn’t stick, try using a different brand of nail form stickers or give the surface of your natural nail a gentle buff to create a slightly rougher surface for better adhesion. Remember, practice makes perfect, and soon, you'll apply nail forms like a pro!
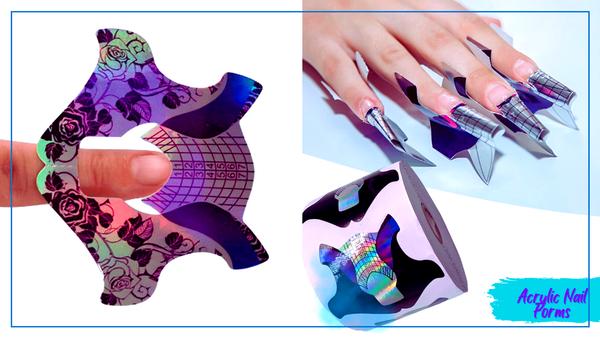
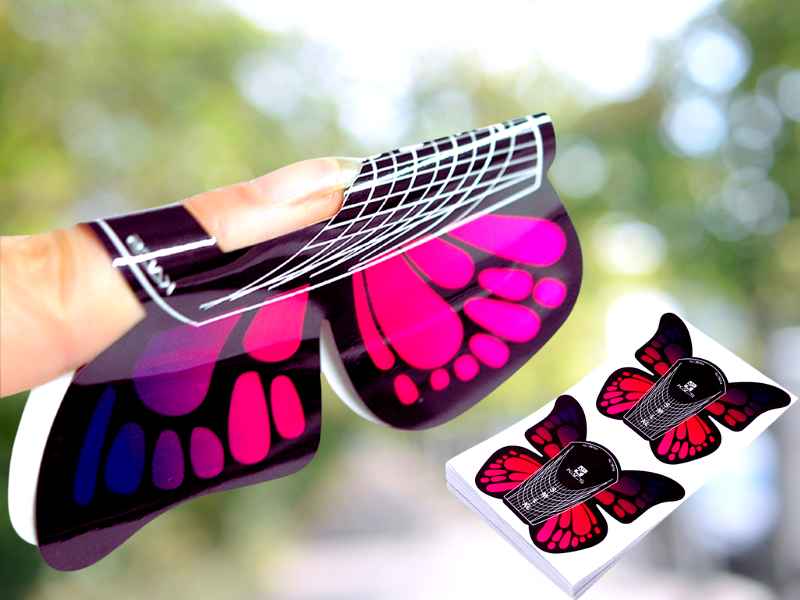
Enhancing Nail Form Stability
When considering how you apply nail forms for the perfect nail extension, stability is key. To ensure your nail forms fit perfectly and stay put, start by selecting a form that matches the width of your natural nail. If the form is too narrow or wide, it won't provide the right foundation, leading to a less stable nail tip. Before attaching the form, gently pinch the form's tip to create a slight curve; this helps the form to wrap snugly under the free edge of your natural nail, mirroring the natural curvature of the finger.
To further enhance stability, pay attention to the nail form stickers. These small but mighty tools are essential in securing the form of your finger. Place the sticker on the underside of the form, ensuring it's centered for even support. Press firmly to adhere the sticker to the form and the skin around your natural nail. This will prevent any wiggling or shifting, allowing you to sculpt your acrylic or gel nails with confidence. Remember, a stable form means a smoother process and a more beautiful, durable nail extension.
Optimizing the Curing Process
The curing process is a critical step in applying nail forms, whether you're working with builder gel or acrylic nails. For gel nails, after applying a thin layer of the product, it's essential to cure it under an LED lamp for the time specified by the product's instructions. This not only hardens the gel but also ensures that the shape you've sculpted remains intact. Be mindful not to apply too thick a layer, as this can lead to uneven curing and potential weak spots in the nail.
For acrylic nails, the curing process is different. Once you've applied the acrylic mixture to the nail form, you must allow it to air dry. This requires patience and a good understanding of the product's drying time. Work in a well-ventilated area to avoid inhaling fumes and to facilitate a quicker, more even drying process. Remember, whether using an LED lamp for gel nails or waiting for acrylics to set, proper curing is crucial for achieving a strong, long-lasting nail tip that won't easily chip or break.
Customizing Nail Forms for Unique Nail Shapes
Creating the perfect nail shape with forms can be an art in itself. Whether you're aiming for an almond shape, square shape, or round shape, it's important to understand how to trim and tailor your nail forms to achieve the desired look. For instance, if you're going for an almond shape, you'll want to trim the nail form to create a more pointed tip before attaching it to the finger. This provides a guideline and helps ensure that both sides of the nail extension are symmetrical. Use a small pair of scissors to make precise cuts, and always aim to cut less rather than more—you can always trim more if needed.
For those who prefer a square shape, pay close attention to the sidewalls of the nail form. They should be positioned straight out from the natural nail to ensure that the corners of the acrylic or gel nails will be sharp and square. If you're creating a round shape, the nail form should curve gently with the natural curvature of the fingertip. It's all about the angle at which you attach the nail form to your nails. Don't hesitate to adjust and reposition the form until you're satisfied with the shape. With patience and attention to detail, you can customize your nail forms to suit any popular nail shape you desire.
Sculpting with Acrylic
When using acrylic nails, prepare the acrylic mixture according to the instructions in your nail kit. With an acrylic brush, pick up a small amount of the mixture and place it onto the nail form. Gently pat and spread the acrylic, creating the shape and length you want. Be mindful of the acrylic's setting time and work quickly but accurately. Allow the acrylic to harden completely before proceeding to the next step.
Removing the Nail Form
After the gel or acrylic has been set, it's time to remove the nail form. Carefully unpin the form's wings and gently ease the form off your finger. If the form resists, you can apply a bit of warm water to help loosen the adhesive. Once removed, you should see the rough shape of your nail extension, ready for refining.
Shaping and Refining
Use a nail file to shape the extension, working on the sidewalls and free edge to achieve the desired shape. Be it almond, square, or round, file the nails precisely, keeping the edges smooth and even. If any rough edges remain, go over them with a finer grit file or buffer. This step is crucial for ensuring a natural and professional-looking finish.
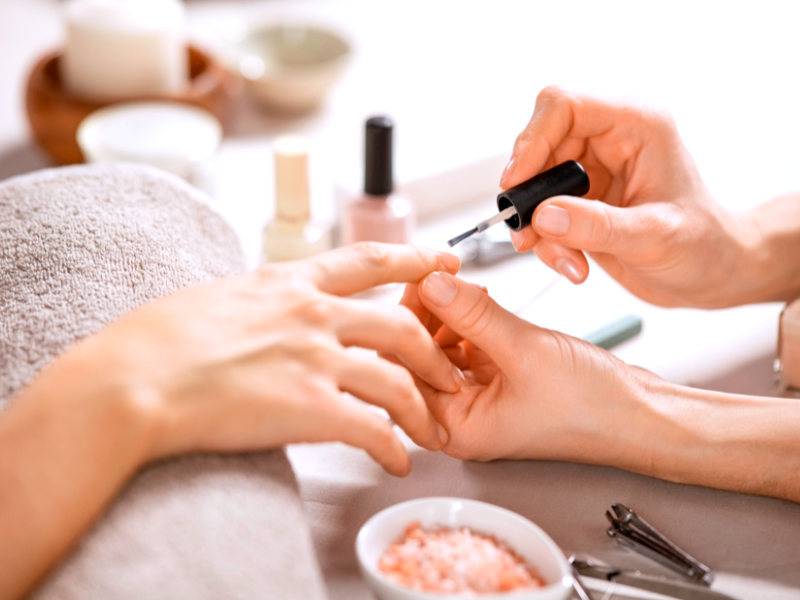
Applying the Top Coat
Once you're satisfied with the shape and smoothness of your nails, it's time to apply the top coat. This will seal your work and provide a glossy finish. Apply a thin layer of top coat over the entire nail, capping the free edge to prevent chipping. Cure the nails under an LED lamp using a gel top coat. For acrylic nails, let the top coat dry naturally.
Aftercare and Maintenance
To maintain your nail extensions, apply cuticle oil regularly to keep the skin around your nails hydrated. Avoid using your nails as tools to prevent breakage. If you notice any lifting or damage, visit a professional to have it corrected. With proper care, your nail extensions can last several weeks before needing a fill or replacement.
Summary
Applying nail forms is a meticulous process that requires attention to detail and practice. By preparing your natural nails, choosing the right form, and carefully sculpting with gel or acrylic, you can create stunning nail extensions in any popular shape. Remove the forms gently, refine the shape, and apply a protective top coat for a long-lasting, professional finish. With these steps, you can transform your nails into a beautiful canvas for nail art or a polished, elegant look.
FAQ Section
Can I apply nail forms on short nails?
Yes, nail forms can be applied to short nails. They are designed to extend the natural nail, so even if you have very little free edge, you can still use nail forms to create your desired length and shape.
How long do nail extensions last when using nail forms?
With proper application and aftercare, nail extensions created with nail forms can last anywhere from 2 to 4 weeks. Regular maintenance, such as fills and cuticle oil application, can help prolong their longevity.
Can I reuse nail forms?
Generally, nail forms are designed for single use, especially the adhesive part that sticks to the skin. However, some higher-quality forms are reusable if cleaned and stored properly after each use. Always check the manufacturer's recommendations to ensure the best results.